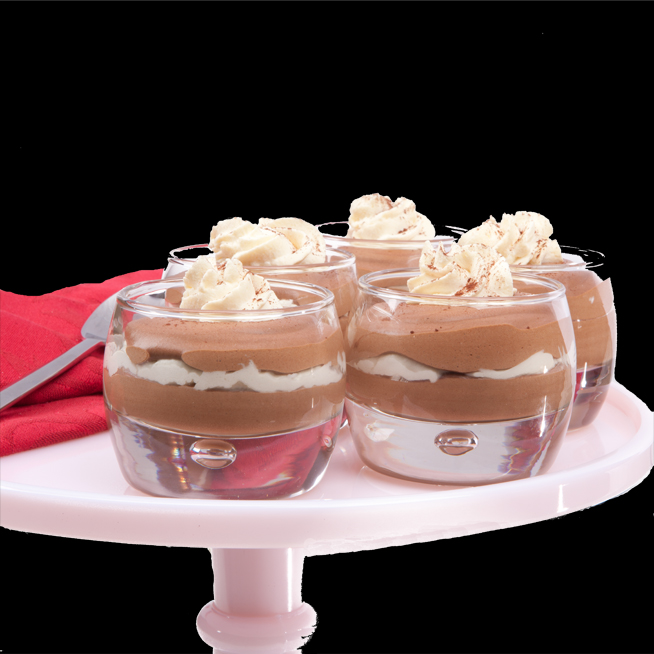
The Pink pops in front of the black background
If you are taking your own photographs for your blog, photoshop is a necessary tool, it is also like walking through mud. The book is almost as many pages as War and Peace, but the characters are not Russian. I have found after reading and re-reading the Photoshop CS5 book I found that there needs to be an easier way to understand. I have found a few short cuts and will share these with you. I hope my experience will be helpful. For the The Mousse au Chocolate I started with a studio background, using the the quick mask tool to cut out the mousses and the cake plate.

Quick selection/ magic tool box
Select the Quick selection tool on the left hand side of your photo directory, place the tolerance to 35. Sydney and I wanted to remove the background tablecloth as can be seen below, we thought the gold didn’t flow for this picture.
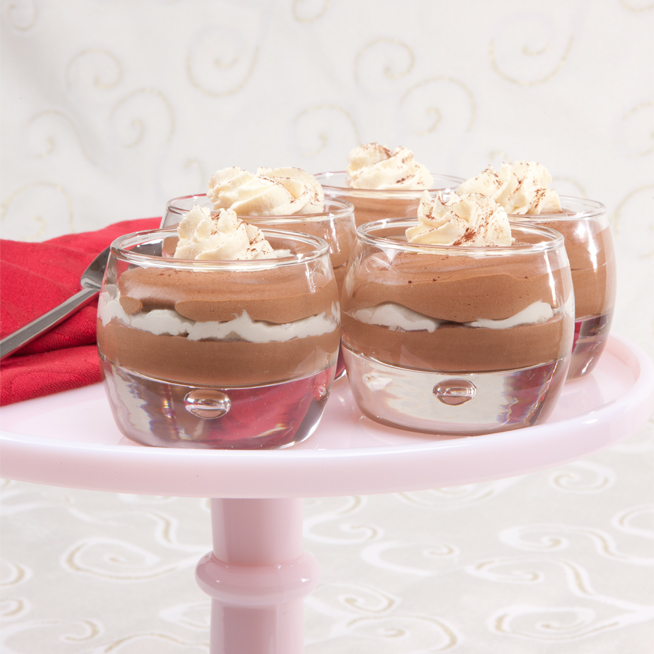
Original picture
- The idea is to trace the edges of the image you want to keep, press the refine button when you have completed the trace. (Think of grade school and staying in the lines)!
- I prefer to have the image lay on the marching ants option till I have completed the image and cleaned the edges.
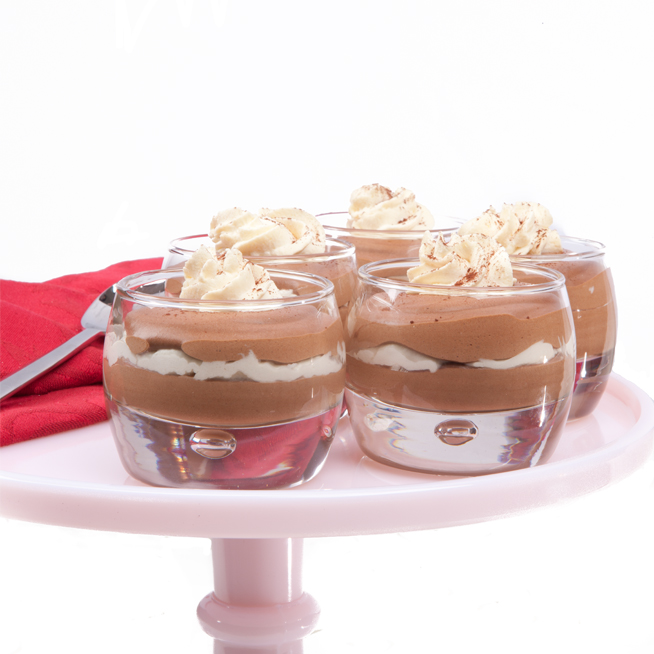
At this point you can choose to leave the photo on white or change the color of the background
Although the white was a great look; Sydney and I wanted a more dramatic look; now you can chose any color in the spectrum, for this photo we chose black. To ensure you do not lose your photos save at each phase, we do this with every photo we edit in photoshop. Copy the layer.
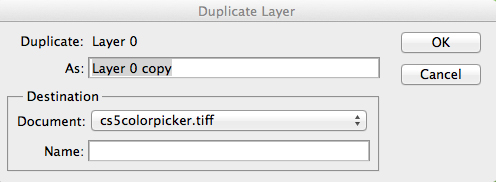
On top of the directory go to layer and select duplicate.
Great! Now you can work with the duplicate without worrying you might choose the wrong selection and have to begin all over.
To change the background select the colors that you want to replace, using the Eyedropper tool in the image directory, click image (on the directory bar), go to adjustments and then click on replace color.
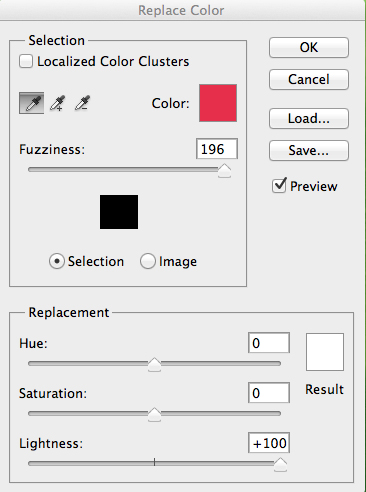
As can be seen the red color has been corrected
Generally, at this point you are finished unless your want to change a specific color in only part of the image.
Such as this photo.

The Champagne was red instead of a light blush
The picture also needed cleaning-up. I masked just where I was changing the color, repeated the previous steps as before, and saved my work. Once you are happy with the color grab the eraser tool, and carefully erase the colors that bleed out of their so called “lines.”
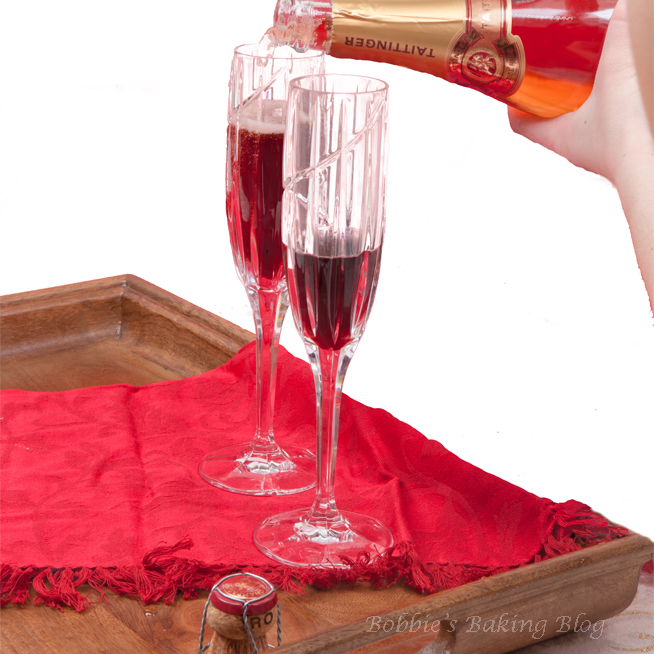
Voila!





The white backgrounds really look nicer. I have been starting to think more about the food photos I take and how to make them more professional looking. This helps a lot. Thanks!
Thank you
Really interesting take on it, white does give it a more clean cut feel, love the crispness of each photo
Thank you Dave, please feel free to share your photograph tips!
Hi, I’ve just read through all of your photography posts and learned a lot! I found your blog through a foodgawker photo, simply beautiful! Looking forward to future posts, I’ll be sure to sign up for emails.
Holly, Thank you for you for taking the time to let me know; btw your Roasted Cauliflower Soup sounds amazing. I signed up to receive your emails!
I love that your shop is family business. I also like the pictures on the website. I like the colors on your cakes, and the designes as well.
Shannen, thank you!