Royal icing is truly a versatile and impressive decorating medium. The icing can be used to decorate cookies, cupcakes or piped to make a whole host of cake decorations. Once you master the 4 main stages of royal icing and how to use the correct consistency for your project there will be no limitation on the beautiful designs you will be able to create.
Royal icing is also the one medium that seems to intimidate a beginning (sometimes seasoned) cake/cookie decorator.
However, with practice, time, and the willingness to fail and than learn from the mistakes you can be a wonderful royal icing artist.
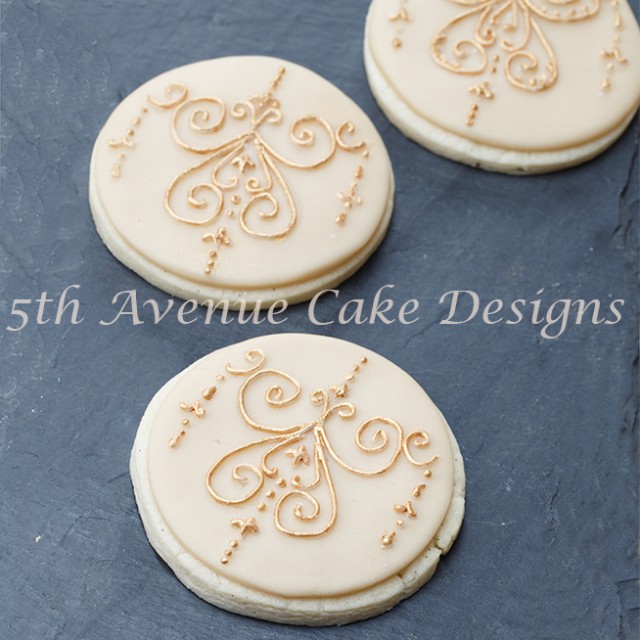
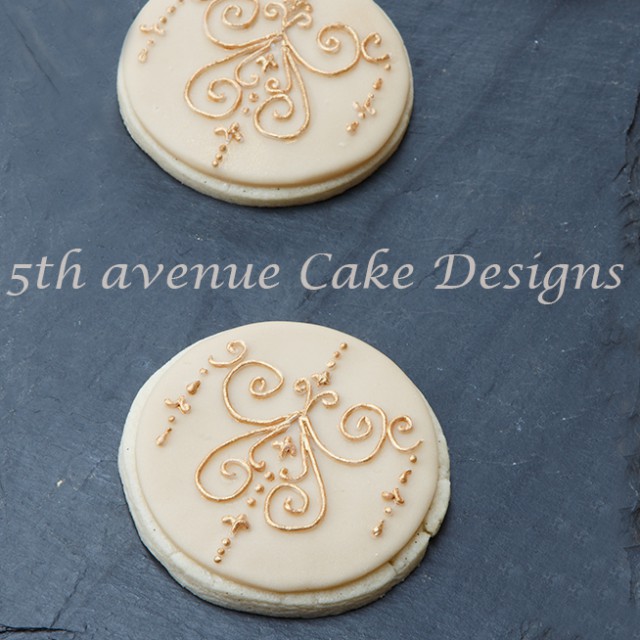
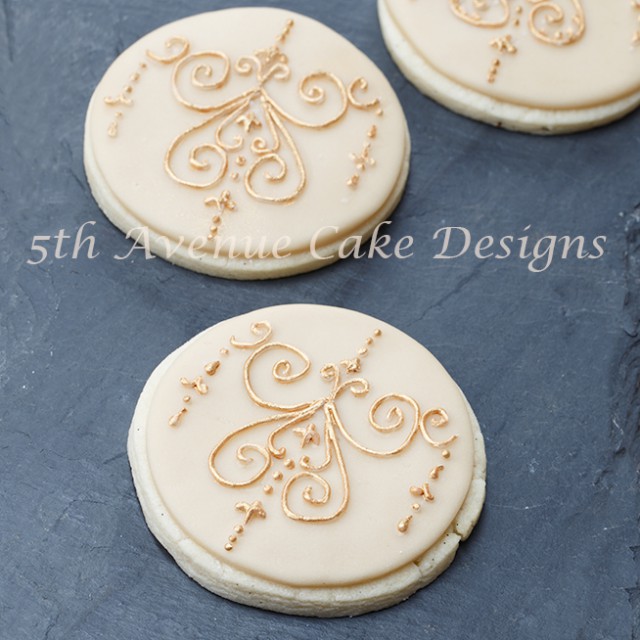
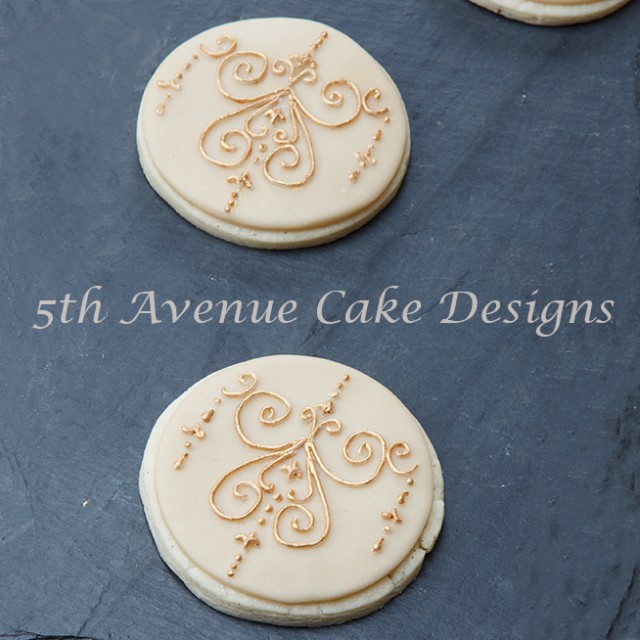
I wanted to share a video tutorial on how to pipe a medallion. First let me break down the medallion design: This pattern consist of a series of “C” scrolls or filigree. If you look around your home you probably will see several designs that are filigree or “C” scrolls. My front door is a the inspiration for several of my filigree piping.
Medallion Filigree Cookies:
Supplies Needed For This Project:
Equipment:
• Piping nozzle #1
• #5/0 soft brush
• 5/0 soft artist brush, for painting Cornstarch
• Damp paper towel
• Parchment paper cones
Materials:
• Sugar cookie recipe, use your favorite or use mine in my shop
• Royal icing recipe, use your favorite or use mine in my shop
• Soft consistency royal icing
• Antique gold lustre dust
• Everclear or lemon extract
All supplies, materials, and recipes can be found at Shop 5th Avenue Cakes for supplies
Bake and cool your cookies.
Once your cookies have completely cooled cover them with either royal icing or fondant. I love the flavor of soft fondant and the royal icing design.
Fondant:
If fondant is your covering of your choice you will need to allow 4 to 6 hours for the fondant to set.
Royal Icing:
If royal icing is your covering of choice, you will want to use a 15 second topcoat to cover the cookie, and allow 24 to 48 hours for the royal icing to dry completely.
The royal icing must be completely dry.
To Achieve Cold Boiled Water:
I use an electric tea kettle to boil the water, next I allow the water to come to room temperature.
Finally, I pour the room temperature water into a food safe (labeled) spray bottle, and place the spray bottle into the refrigerator.
Once cold, the spray bottle of water is ready to use.
Now that you have all your materials together, please enjoy the video tutorial!
The template for the medallion, and the three sizes, can be found here.
The design would be beautiful on the side of a cake.
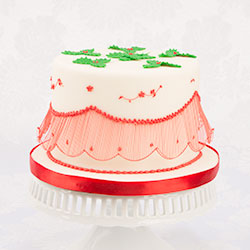
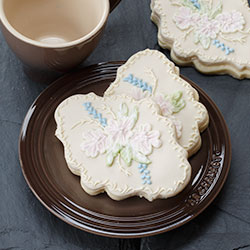
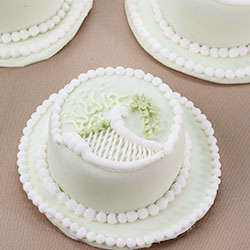
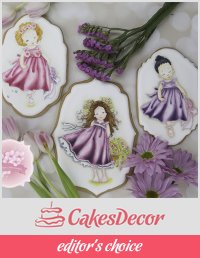
For more ideas and royal icing decorating projects click on the photos below!




Hi, thanks for the tutorial. Could you show your method for transferring designs or just let me know? Also wondering if you have ever used the gold luster dust with piping gel so that you don’t have to paint?
Thank you!
To transfer the design use a stylus tool and make an impression with either fondant or scratch on dried top coat royal icing. No,I have not tried the gold luster with piping gel yet.
Love the elaborate design, reminds me of the elaborate moulding on the walls of my shimmery shabby village! http://madelienerose.com/
Thank you, I just popped over to your site it is wonderful 🙂
Beautiful and especially tasty.
Thank You!