
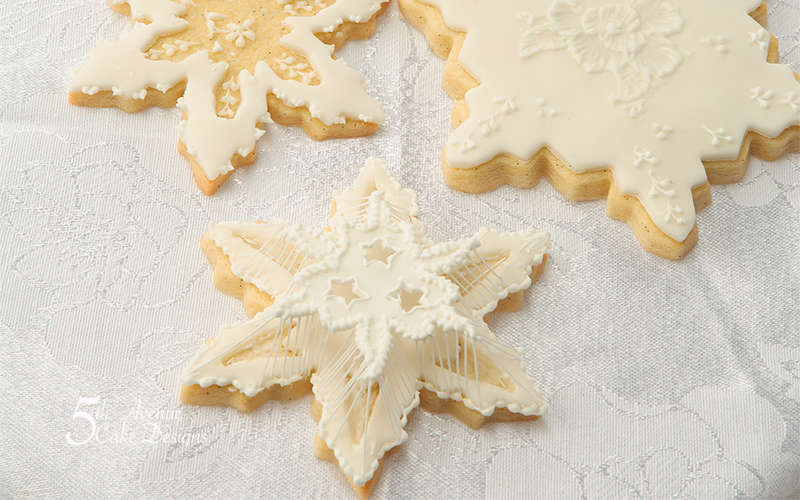
 String-work is favorite go tp cookie decorating technique I love to use at 5th Avenue’s Cookie Art Academy I wanted to push the envelope not only using a cookie for the suspended string-work, but using a difficult shape. It took a few times before I was satisfied.The inspiration originated as I was watching snowflakes during one of our many snow storms lately. For the majority of this cookie I used #00 seamless nozzle, with exception of the borders on the top of the cookie and the bottom.
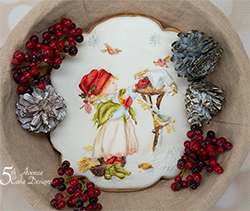
Suspended String-Work Snowflake Cookie
Royal Icing Recipe: http://bit.ly/1KLvDED
GingerBread Cookie Recipe: : http://bit.ly/2yh2x19
Iced and Dried Cookie
Tipless Bags: http://amzn.to/2o68zLW
Scribe Tool: http://bit.ly/2JSJz4g
PlaqueCookie Cutter: https://etsy.me/2YFisFw
Royal Icing Consistencies:
-PPM Consistency
Artist brushes: http://bit.ly/1RWpKHp
#00 PME or Bekenal nozzle
#0 PME or Bekenal nozzle
Artist Brushes
Tipless Bags
Scissors
Spatula
Snowflake cutter or template
Knee-high stocking, or cheese cloth
Small sponge square
4 inch cake dummy or cup
Tilting cake table
Everclear
Fondant
Snowflake Design:
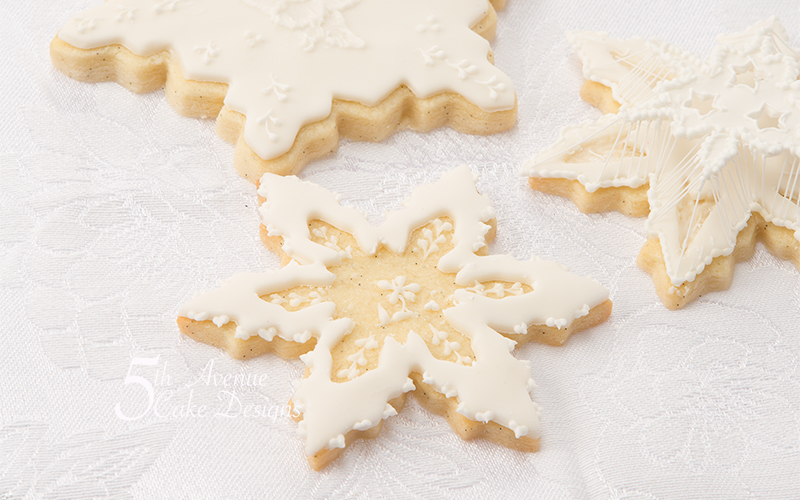 You can use a run out royal icing for your snowflake or a fondant snowflake. I suggest if you’re new at string-work use a fondant/gumpaste snowflake, it is less difficult to work with.
Either material will need to dry completely over night. I mentioned I used #00 nozzle for my strings it is perfectly fine to use #0 or #1 if you are more comfortable with a larger nozzle.If you use anything larger it will look too bulky and you won’t achieve the delicate appearance for your extensions. In order for the cookie to come life I had to adjust the application of how I piped the strings. Normally when piping extensions (string-work) you will want to leave only a string width away from the next string. I find on my first execution the strings look crowded, instead follow the shape of the snowflake.
The Set-Up:
Place a 4-inch cake dummy on top of your tilting turn table. Place the cookie on the cake dummy, now carefully centre your sponge square under the snowflake design. The points of the snow flake design needs to line up with the points of the snowflake cookie.
Tips for Success:
1. Have all supplies ready prior to paddling your icing
2.Once you have strained your icing use a clean spatula to place the icing in your cone
3.Have a damp wash rag handy to keep your work station clean
4.Use spirits to dampen your brush, water will weaken your icing
5. Stay calm and breathe while you pipe your extensions|
6. Be sure to rub down your royal icing each time you fill a new cone
7. The nozzles must be seamless.
Watch the Suspended String-Work Snowflake Cookie Art Lesson below and learn how I created the suspended snowflake cookie
Suspended String-Work is an advanced skill, it will take time, patience, and practice to achieve.
Time and Planing:
The day prior:
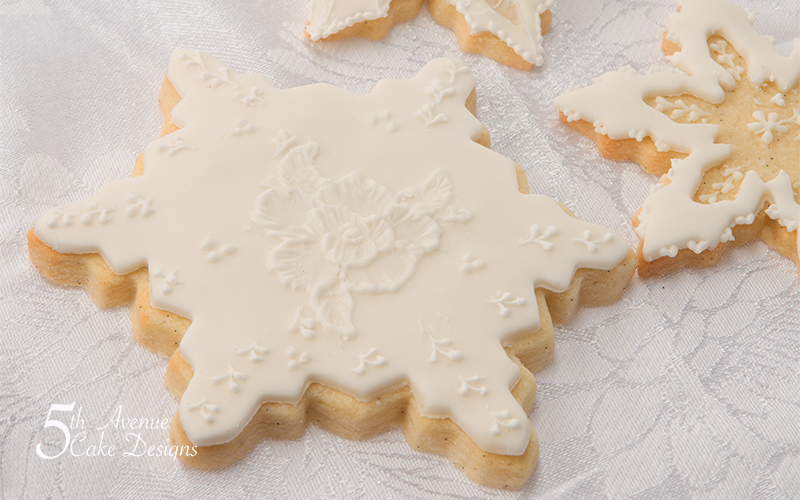
Create your snowflake design
Bake, cool, and cover you cookie
The piping from beginning the first string to piping the border took 45 minutes.
 Happy Cookie Decorating
Bobbie Xoxo
And do follow me on Instagram and TikTok: @bobbiebakes
Click on the images below for more 5ᵗʰ Cookie Art Academy Courses


Again, love this! What is the approximate size of cookie you use. It is hard to tell the scale of your projects on videos. Thank you again. Cindy
Cindy, The The cookie from tip across tip is 3 3/4-iinch, the design snowflake from tip across tip is 2 3/4-inch. Hope that helps
Bobbie, Thanks for the quick response. I have practiced string work from your other videos on a cake(bigger surface) but I think this will take more patience and steady hand. I bet you are really careful when moving or packaging cookie when completed!
It is a little tricky..I am planning on making a video on how to traveling with string-work.
Will look forward to that video…no pressure, but hope it will be soon!!
I will do my best!
OMG.. I am speechless..Your string work is beautiful!
Thank you, Briar
I have watched this video 3 times and I am still in awe!