
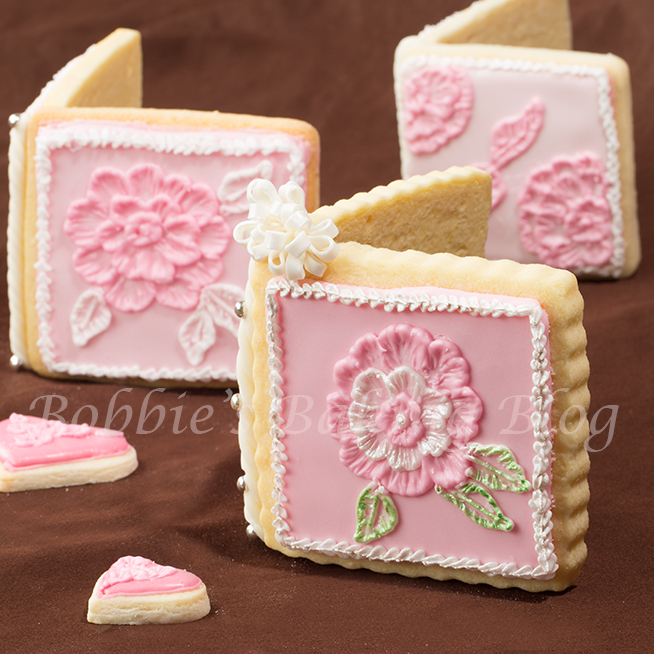
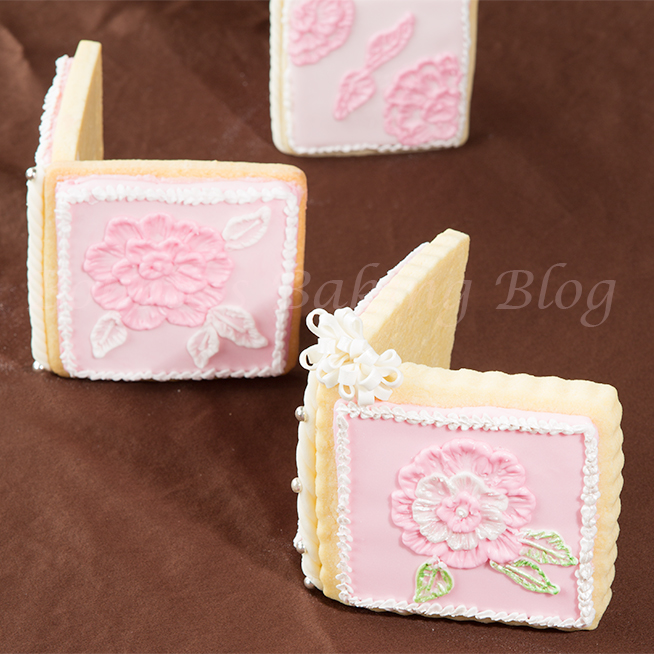
What a wonderful & delicious card to give!
Every year D.F. romantically buys a dozen roses and chooses a card in which he meticulously underlines the words he feels is a representations of his feelings for me. He buys Sydney sweet cards for an daughter and 2 roses as well. This year I thought I would create an edible Valentine’s card for him, and for Sydney (I am sending most of the cookie cards to her & her roommates). While the sugar cookie dough was chilling I began to design the look for the cookie cards; royal icing brush embroidery kept creepy it’s way into my brain. The look is elegant, romantic, and victorian.
Supplies needed
Brush Embroidery:
Equipment:
- Pme #2 or# 3 plain tip/tube
- PME # 50 leaf tip/tube
- Coupler
- Dampened paper towel
- Dry paper towel
- Piping bag, 10 inch
- Piping bag tie, optional a rubber ban works great
- Pme Icing bag stand
- Petal square brush
- Bowls
- Small spatulas
- Utility scissors
- Tape
- Kitchen towels
- Plastic heavy glasses, one per each sugar cookie card
- Rubberbands
- X-acto knife
Materials:
- Royal icing, off peak consistency & stiff consistency
- 1-Recipe Saffron Sugar cookie recipe
- Food paste, I used rose
- Egg white or a bowl of cold water
- Sugar cookies, out lined and flooded
- Dragée, silver
- Piping gel
- Antique white, fondarific or Massa Grischuna Neutral
- Shortening
This an awesome dough to work with!
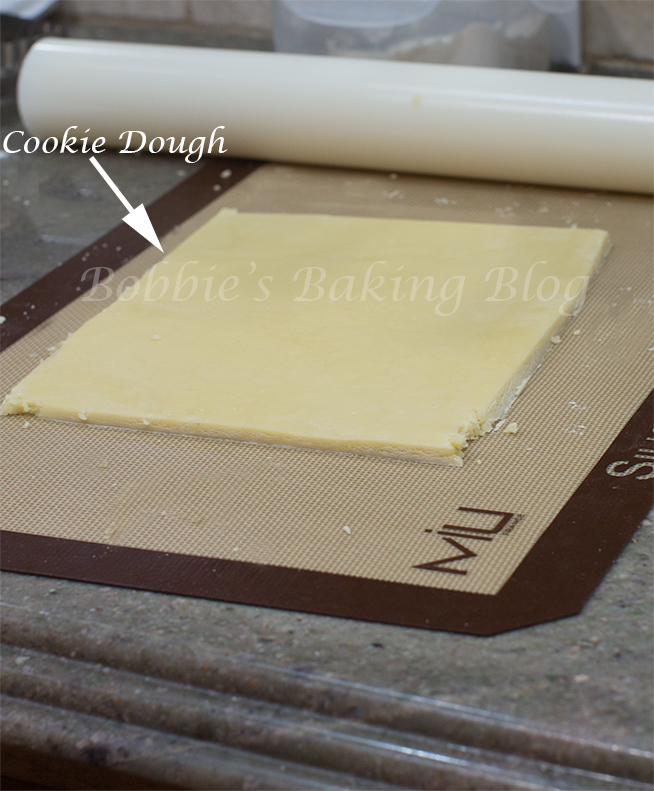
The dough is smooth & velvety!

I chose to free hand the flower, but if you wait two days after flooding you can scribe a template.
Equipment:
- Pme #2 or# 3 plain tip/tube
- PME # 50 leaf tip/tube
- Coupler
- Dampened paper towel
- Dry paper towel
- Piping bag, 10 inch
- Piping bag tie, optional a rubber ban works great
- Pme Icing bag stand
- Petal square brush
- Bowls
- Small spatulas
- Utility scissors
- Tape
- Kitchen towels
- Plastic heavy glasses, one per each sugar cookie card
- Rubberbands
- X-acto knife
Materials:
- Royal icing, off peak consistency & stiff consistency
- Saffron Sugar Cookie Dough
- Food paste, I used rose
- Egg white or a bowl of cold water
- Sugar cookies, out lined and flooded
- Dragée, silver
- Piping gel
- Antique white, fondarific or Massa Grischuna Neutral
- Shortening
Prepare your mise en place.
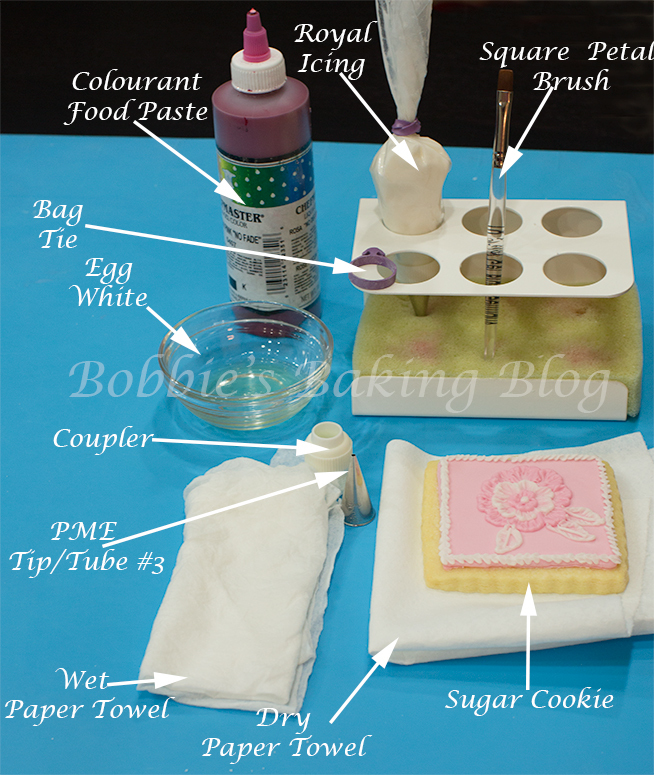
Brush Embroidery mise en place
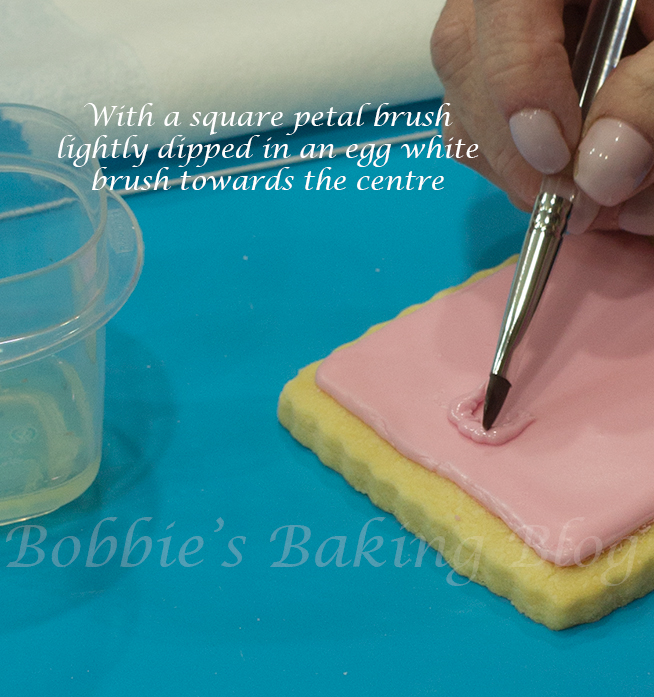
There are three styles of brush embroidery shade brush, tone on tone, and skeletal, I am showing shade. The shade method consists of piping the royal icing and brushing the royal icing down to the center. As the icing becomes thinner towards the center of the flower with a brush dip in a small amount of egg white or cold water, drying off the excess, and brushing some of the icing down to the centre of your flower. Keeping the integrity of the design, the icing becomes thinner as you brush down, and allowing the base of the flooded royal icing to show through the flower. I have adopted using an egg white, because the icing remains shiny. Water works fine too.
Prepare you royal icing, if you plan to color your icing, remove about a half a cup to a grease free bowl, color the icing with a small grease free spatula (fold and press the icing to help from creating air bubbles). Add a few drops of cold water rub the icing down until the royal icing is an off peak consistency and the air bubbles have been expelled.
Prepare your piping bag with a coupler and tip/tube, fill the piping bag about .25 to.50 filled with the rub down icing, and twist closed with a bag tie or rubber band.
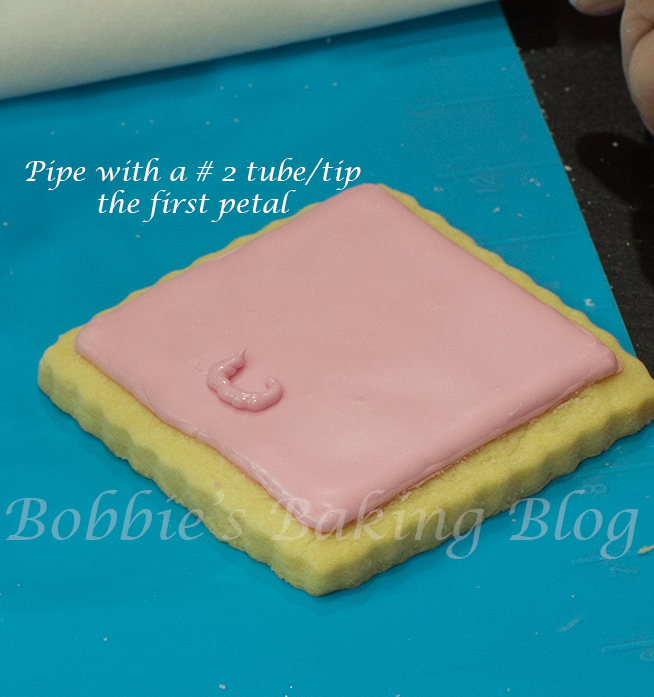
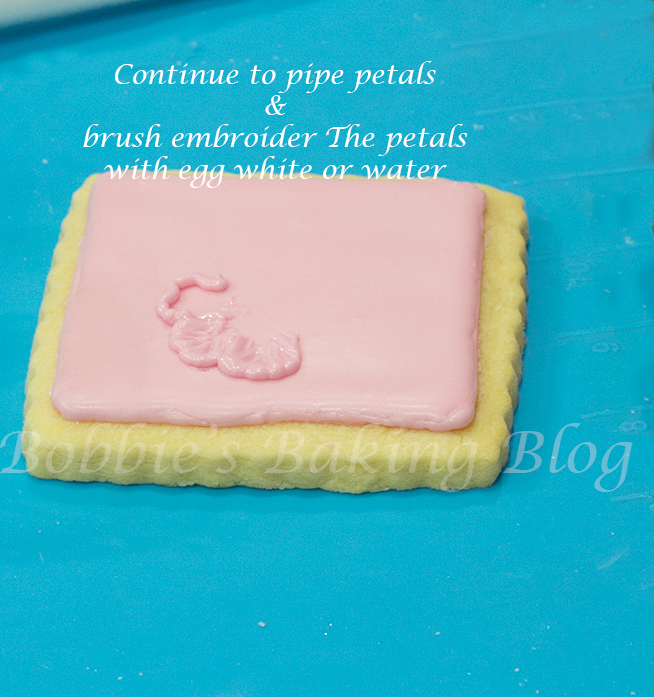
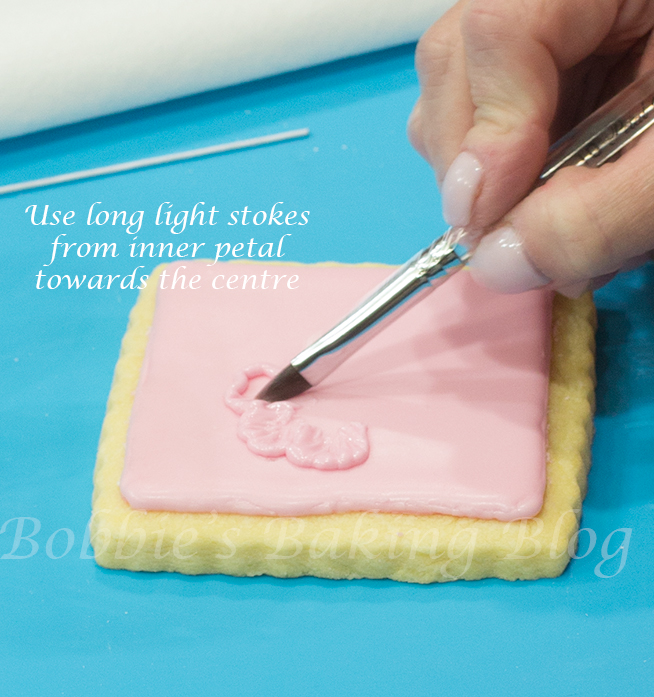
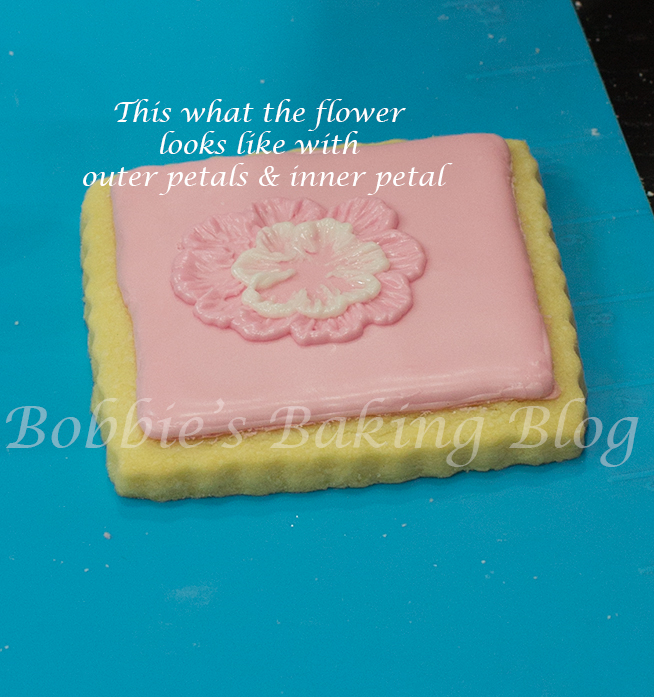
Began to pipe your first petal, I prefer to start with the outer centre petal (only pipe one petal at a time, this will prevent the icing from drying out before you have had the chance to brush it). Your petal should be fairly thickly piped, dip your brush in either an egg white or cold water, wipe off the excess eggy white/water onto the dry piece of paper towel in your mise en place. I prefer a petal square brush, it lasts forever and creates the perfect embroidery effect. Using the side of your square petal brush, without taking your brush through the entire design, lightly drag the icing toward the centre. Now pipe the next petal and brush the icing in the same method as the previous petal, continue this procedure until you have the desired numbers of outer petals. The base coat of the cookie should be visible through the design.
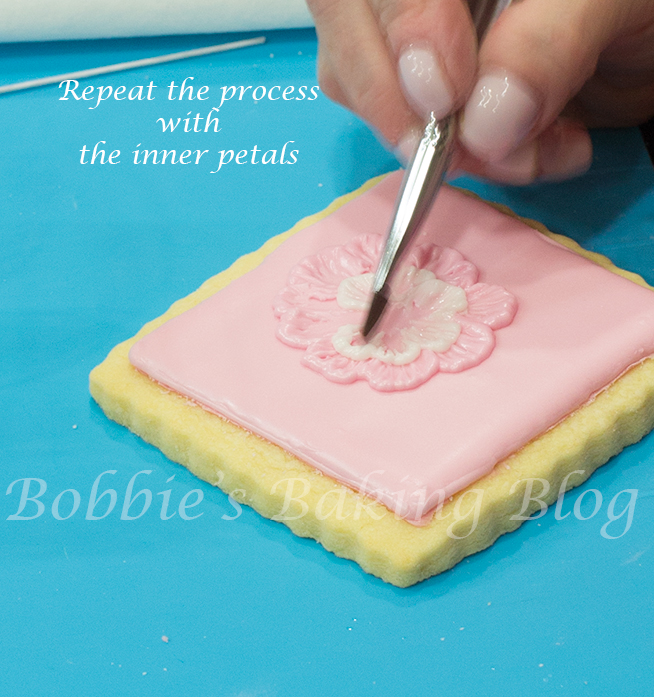
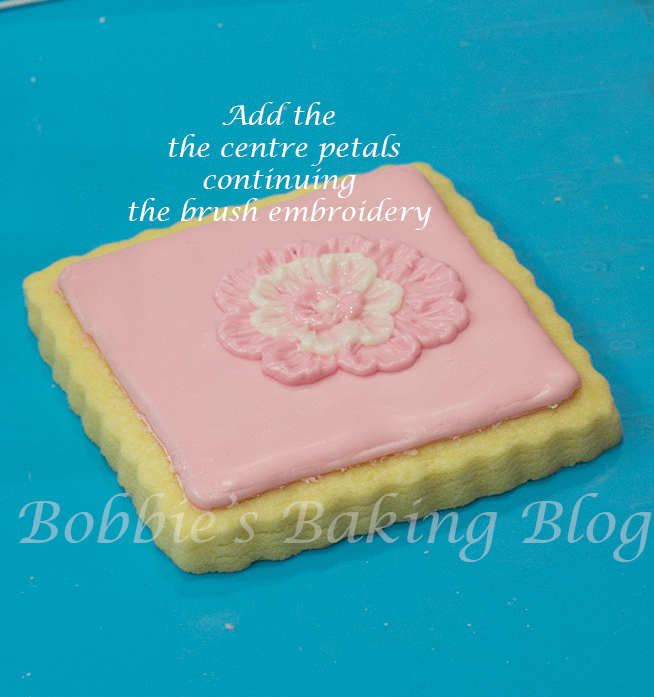
For the second set of inner petals begin with one petal, the centre is my preference, pipe your petal. Dip the brush in egg white/or water, wipe the excess off your brush, and with the side of the brush lightly drag some of the royal icing toward the center. Continue this method for the last petals.
Repeat the same method for the third set of inner petals.
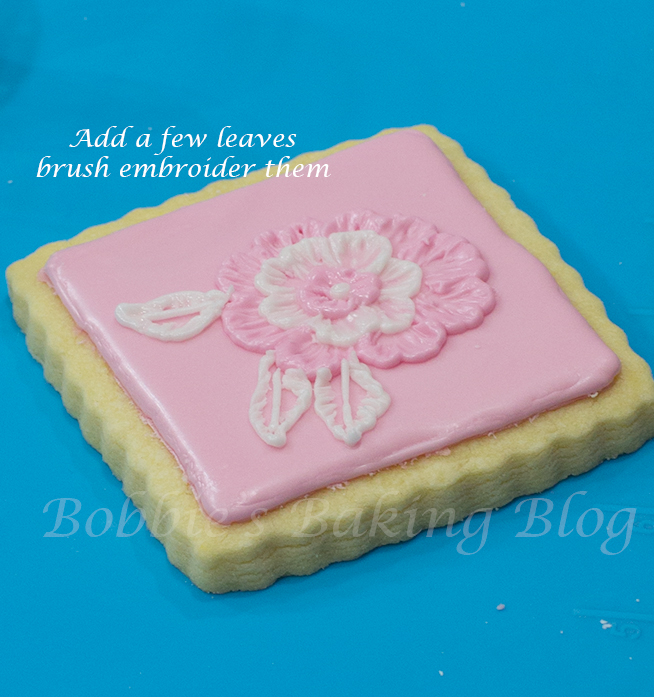
Create a few leaves, brush embroidery the leaves, and once the icing has dried add the stem and centre vein.
If you feel uncomfortable with the brush embroidery, practice on a square of wax paper until you feel confident.
The Border:
Prepare your mise en place.
Border mise en place
Sydney and I were Face Timing each other while I was creating the sugar cookie cards, she as always helped me with the design. Sydney thought a leaf border would be apropos.
However if you prefer ropes, Swiss dots, or shells that would be awesome too.
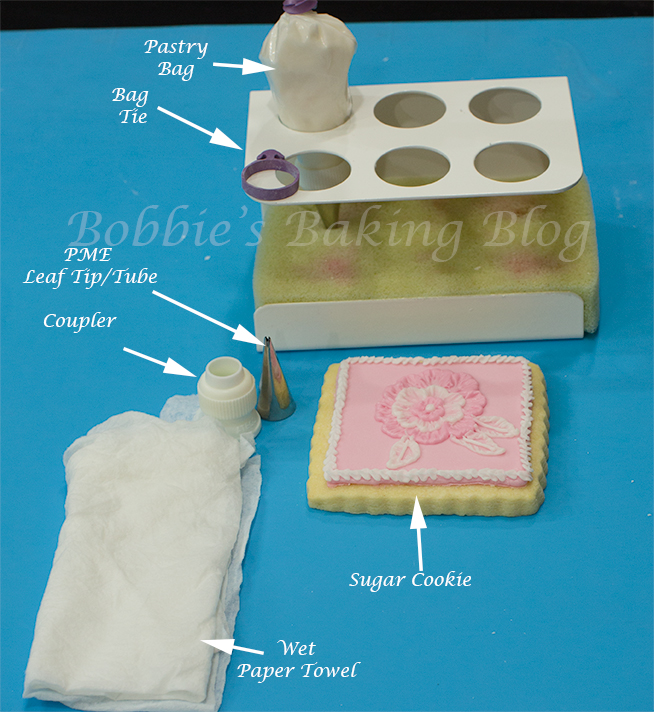
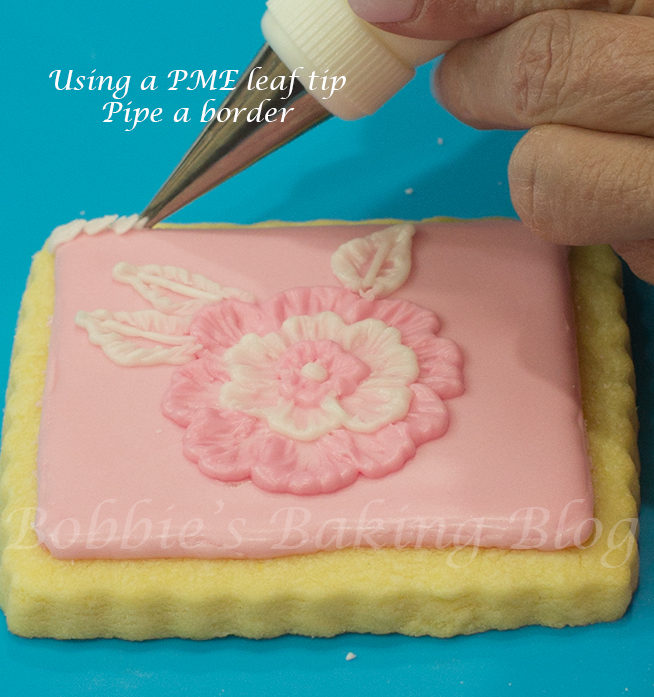
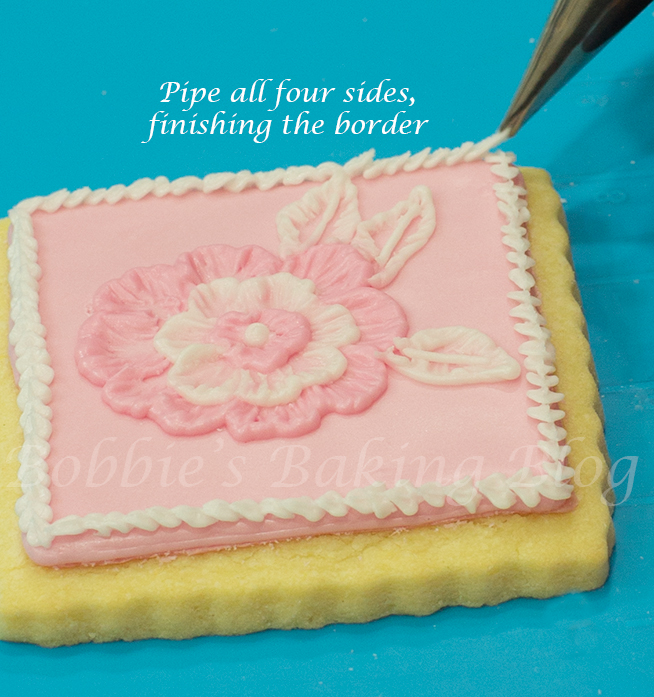
Prepare a piping bag with a coupler and PME tip/tube #50 leaf and some off peak royal icing. Begin in the corner of the flooded cookie with even pressure pipe, at a 45 degree angle, sightly above the cookie until the body of the leaf is formed. Release the pressure, and gentle pull the tip/tube away, and the point of the leaf should fall towards the cookie.
Allow the border to dry for serval hours, to prevent damage when constructing the card.
Sydney thought petal dust painting the flower would be the difference between beautiful and brilliant. Allow the sugar cookies to completely dry before petal dust painting them.
Time to structure the sugar cookie into a Sugar Cookie Card.
Prepare your mise en place.
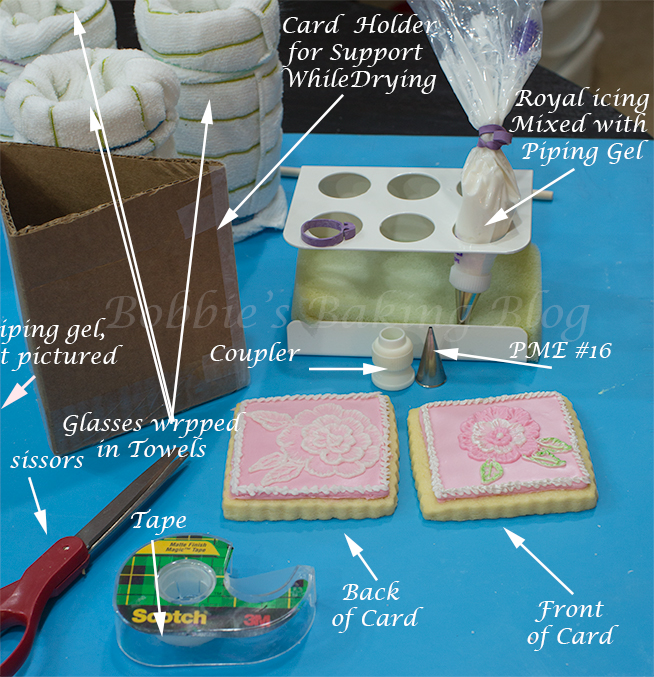
Sugar Cookie Card assembly mise en place
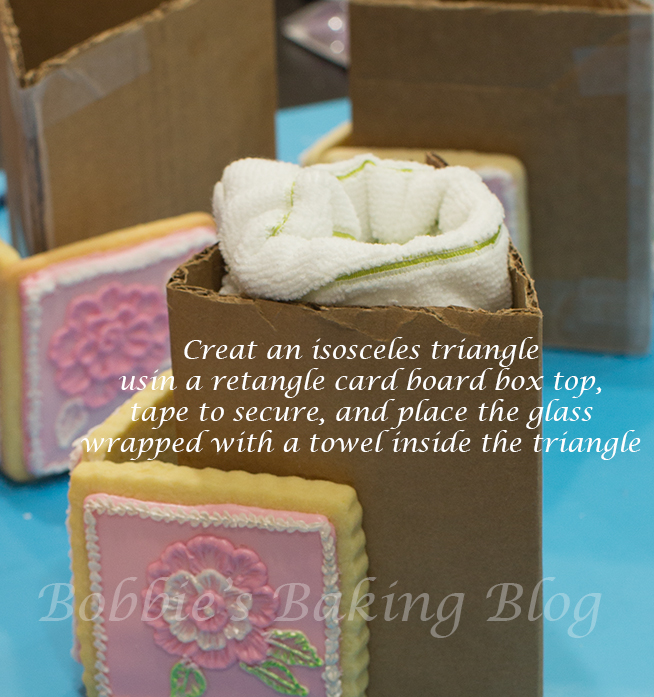
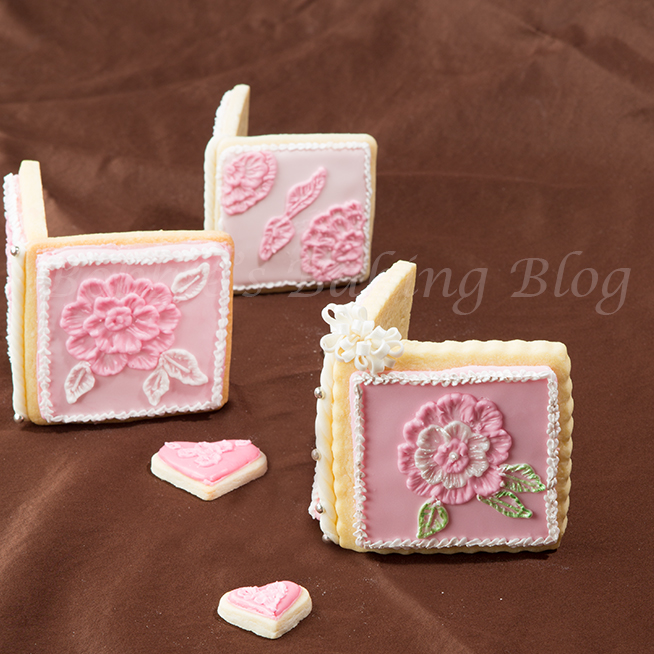
To construct the sugar cookie card cut a rectangle piece of card board (a shipping box top is perfect), fold the card board into an isosceles triangle, and tape closed. Wrap the plastic glasses with a kitchen towel and rubber band, you will need one glass, one isosceles triangle card board, and kitchen towel for each sugar cookie card.
Mix one cup of stiff royal icing with a few drops of cold water until you have an off peak royal icing. Add about 1/2 teaspoon of piping gel to the royal icing, and place in a piping bag fitted with a PME#16 tip/tube.
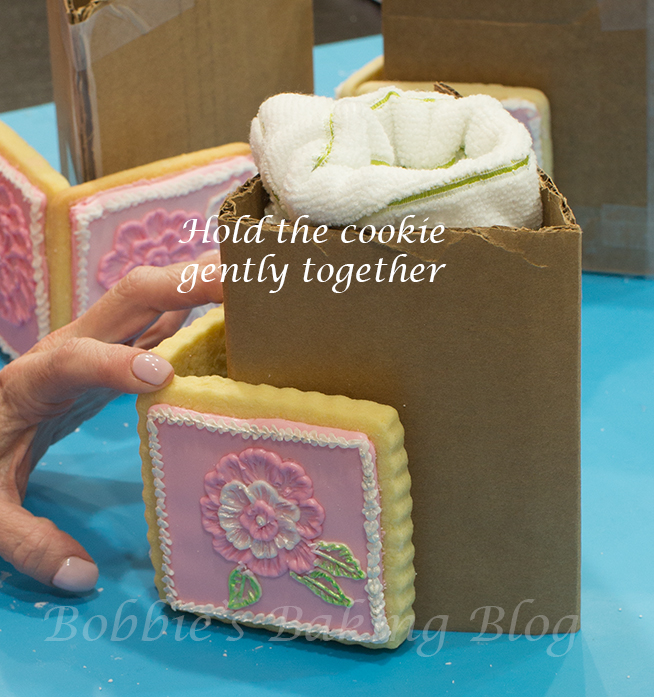
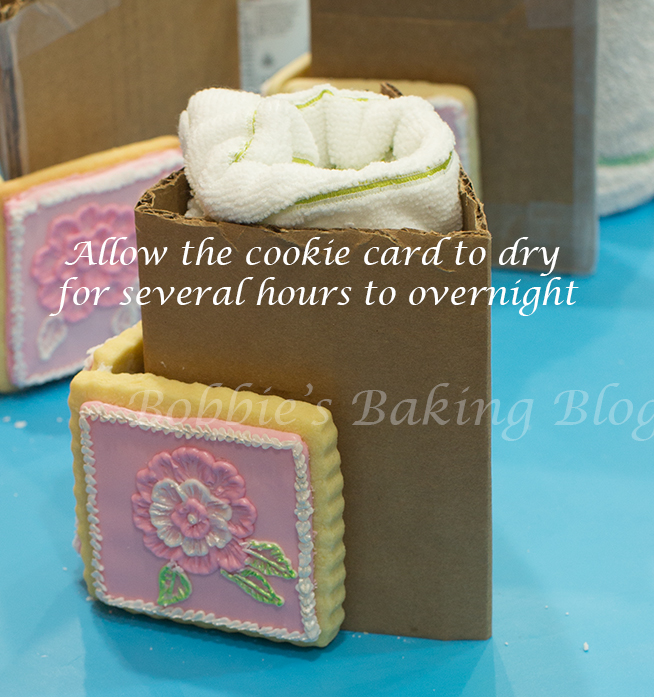
Have your isosceles triangle card board in close proximity to the cookie card. With even pressure pipe a line on the edge of the back of the cookie, align the two cookies’ edges together and attach them together; you will hold the cookies together for a least 6 to 7 minutes. Once the cookies seem to be glued to each other place the isosceles triangle inside the cookie card, and allow to dry for about 45 minutes.
Creating the spine
Prepare your mise en place.
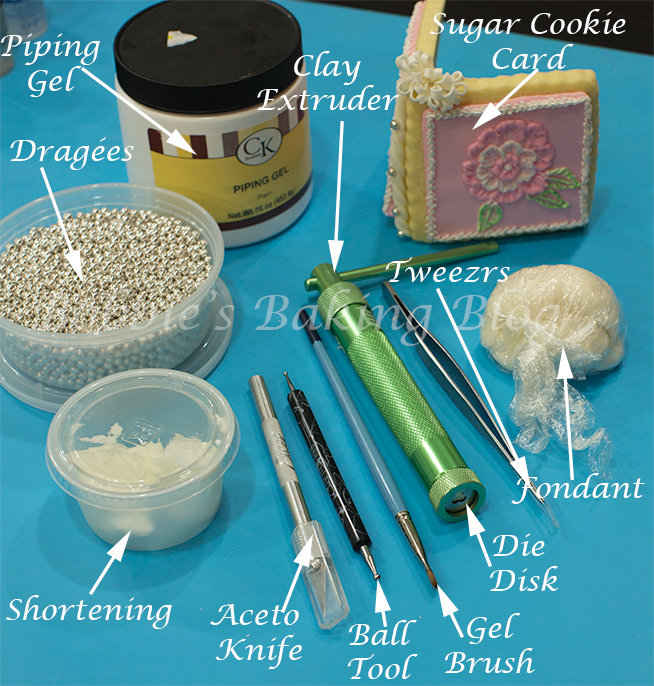
The Sugar Cookie Card spine mise en place
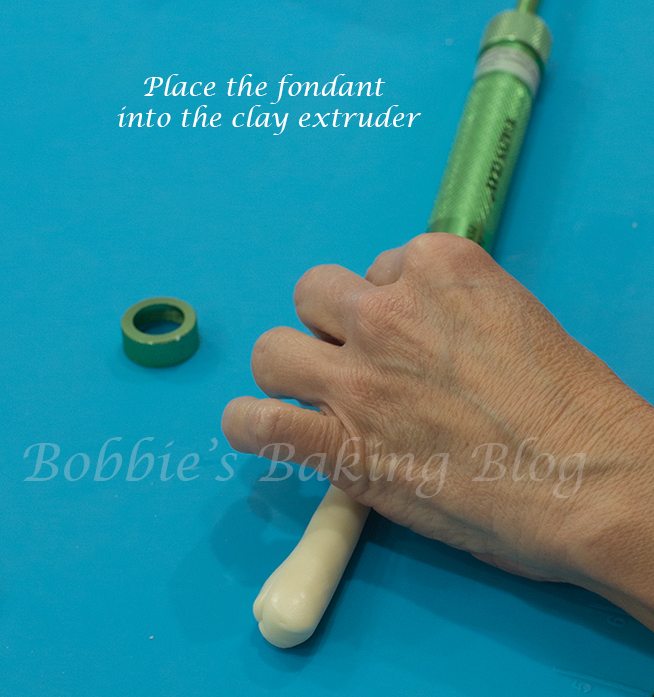
Sydney and I wanted a rope for the spine of the card, we wanted the fondant to match the sugar cookie, and antique white was perfect.
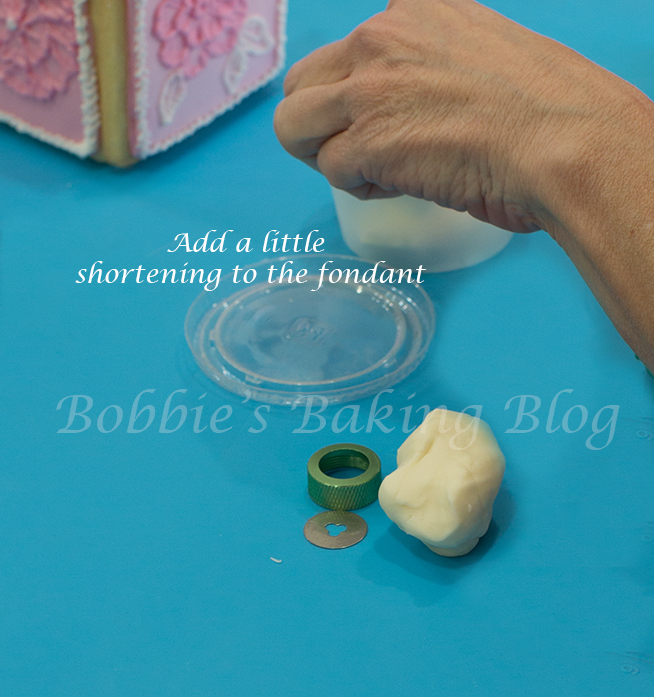
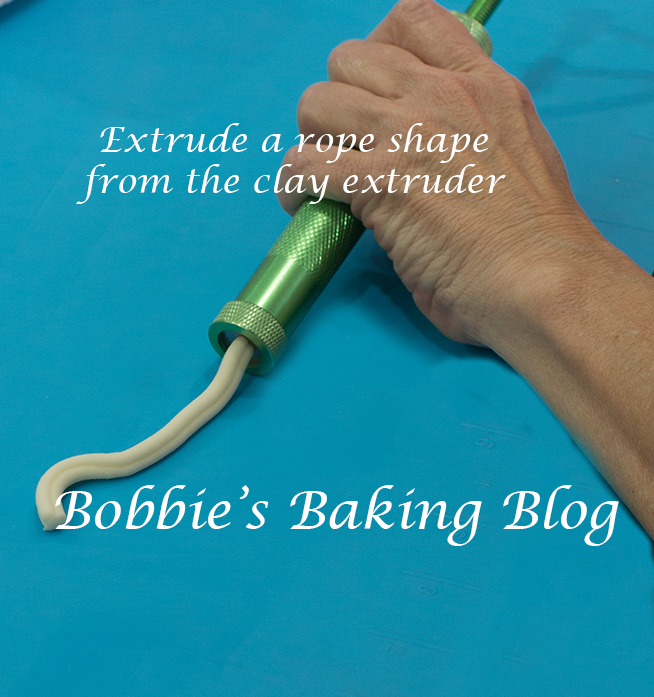
Mix the fondant with a small, amount of shortening, this will ease the fondant in the clay extruder. Once your fondant is soft and amalgamated with shortening roll the fondant into a log smaller than the opening of the clay extruder, place the fondant into the clay extruder with the 3 hole die cut, turn the handle to the desired rope length, and starting extruding the fondant.
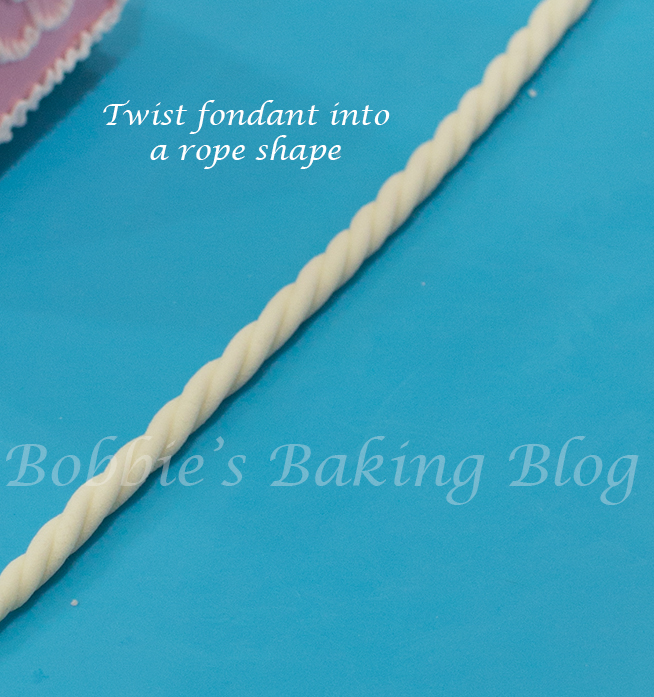
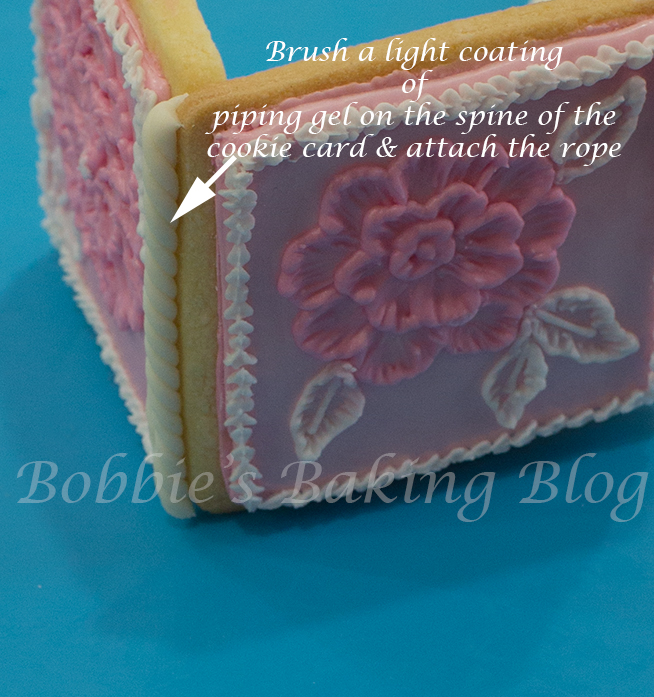
Take an x-acto knife, and gently twist the two ends. With a brush, paint a fine line of piping gel to the spine (where the two cookies meet), gingerly place the rope on the spine.
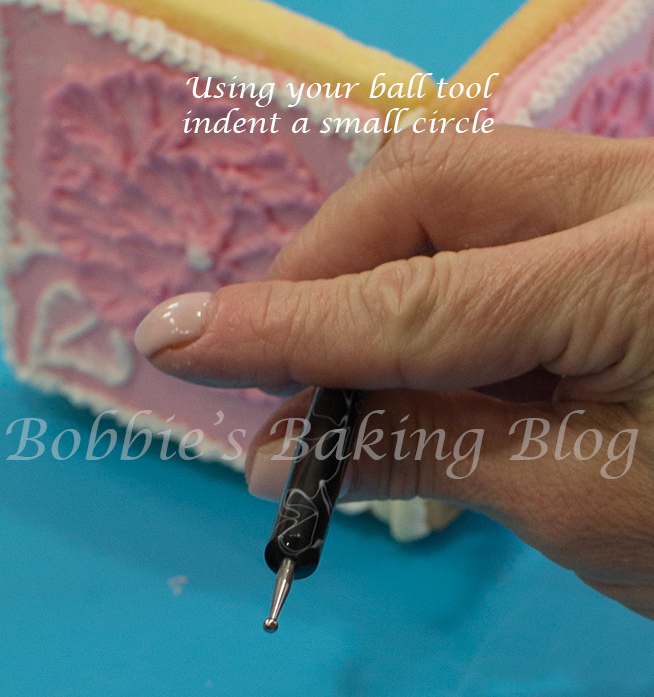
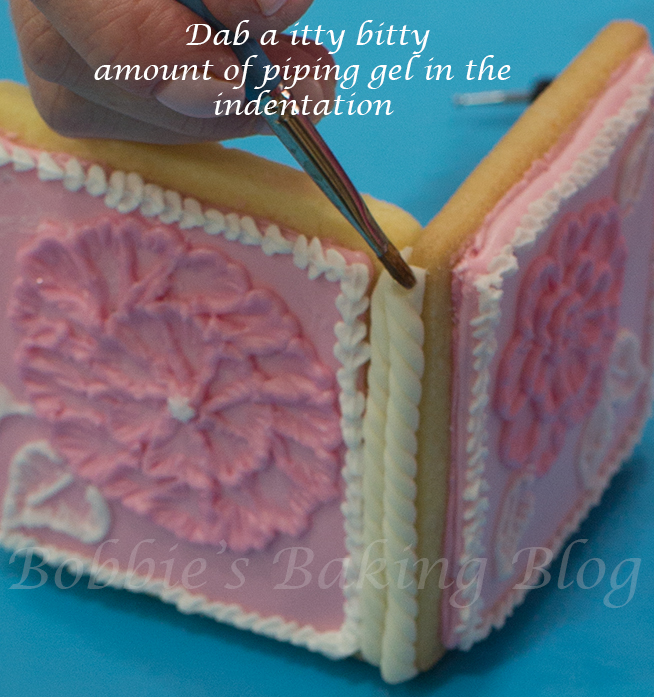
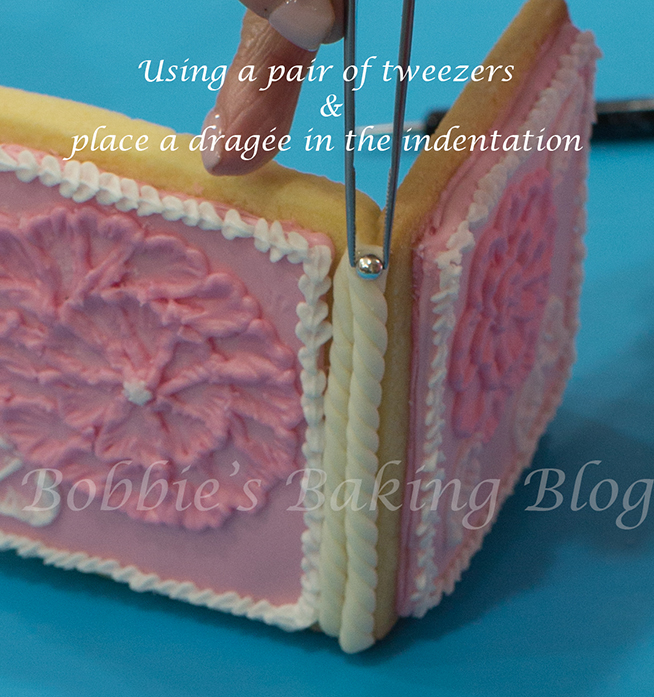
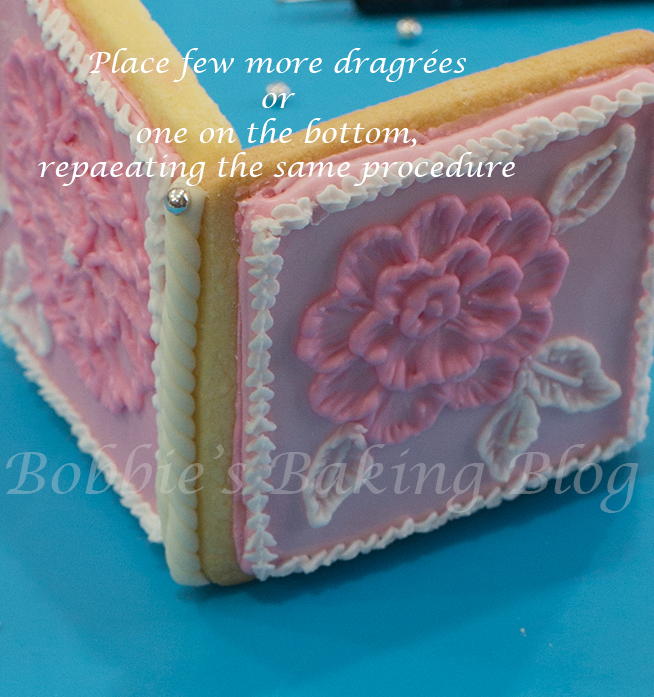
While the fondant is still soft use your ball tool and indent little circles, brush a itty bitty amount of piping gel, and with a tweezer place a dragée. I added a pom pom bow to one of the cards for a special effect.
Sydney and I had a brillant time creating the brushed embroidery sugar cookie card together via Face Time, it is nice to still be able work together.
I cannot wait to see the reaction of our friends and family when they receive their edible sugar cookie card!
The edible cards are fun to watch as they come to life
Enjoy!
Voila!
SaveSave
SaveSave


These are just incredible. So clever and beautiful.
Lora, thank you!
OMG! an amazing article man. Thank you for sharing it.
Look into my web page; fitness zeal (Shoshana)
Thank you and will look at your page!