

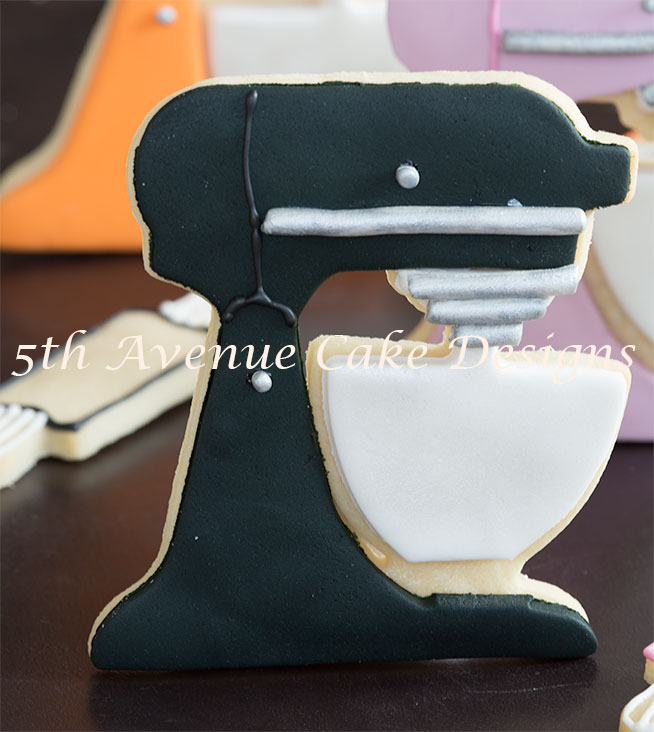
The kitcheaid helps create goodies; so why not create an edible kitchenaid cookie?
With Thanksgiving and Christmas quickly approaching Sydney and I thought it would be adorable to create some treats of baking essentials. Over the summer I had found an awareness ribbon cookie cutter for pinktober, and I just happened to come across a kitchenaid cutter with inset and a matching rollin pin cutter. Bonus they are all handmade copper cookie cutters, and will last a life time, (you can find the cutters here!) Sydney’s palate is addicted to fondant so we decided the mixer cookies would be completely decorated with fondant. I used my kitchenaid professional 600 series and Sydney’s Artisan for inspiration, so the finished product is a fusion of both mixers. As I was preparing this post I came across another blog that decorated the kitchen mixer in royal icing and thought you might want to have a look, Sweetopia.
Sydney claims there is nothing like a fondant sugar cookies, the soft texture as you bite into the fondant and then the delectable crunch of the sugar cookie with almond extract is a wonderful combination!
The Fondant Kitchen Mixer Cookie:
olling pins and kitchen mixers, think of all the dessert you can bake for the holidays?
Materials:
- 1-recipe sugar cookie dough
- White fondant, colored in your choice
- Color paste of choice
- 1-royal icing, we substituted with almond extract (optional)
- Piping gel
- Piping sparkles silver
- Silver lustre dust
- Vodka
- Shortening
Equipment:
- Kitchen mixer with inset cookie cutter
- Rolling pin
- Fondant rolling pin
- Fondant smoother
- Fondant mat
- Air brush,optional
- Silver sheen air brush color, for food Americolor
- Clay extruder with disks
- Artistic brushes
- Aceto kinfe
- Triangle spatula
- Parchment paper
- Piping bag, paper piping cone
- PME #2 tip/Tube
Prepare your cookie dough mise en place.

Mise en place
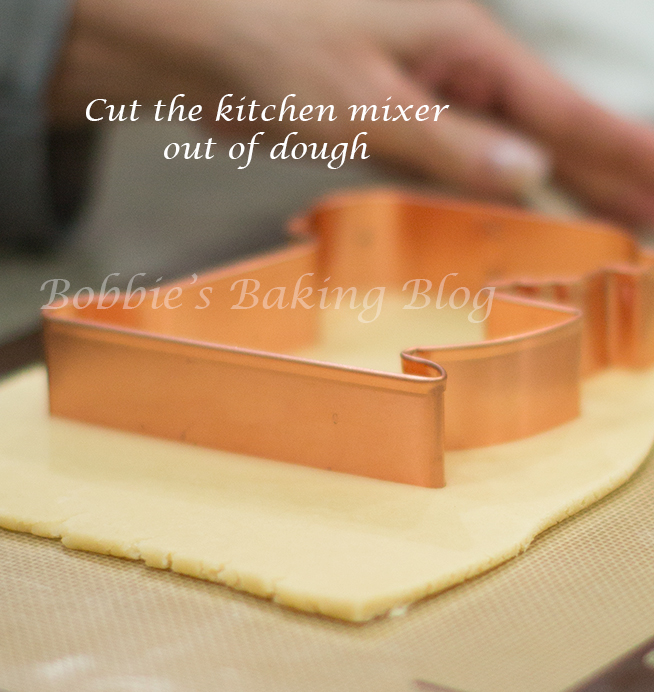
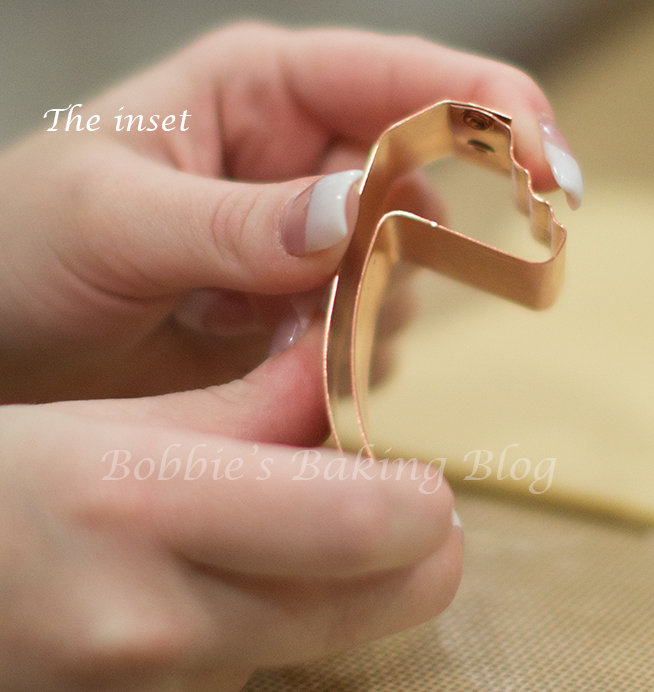
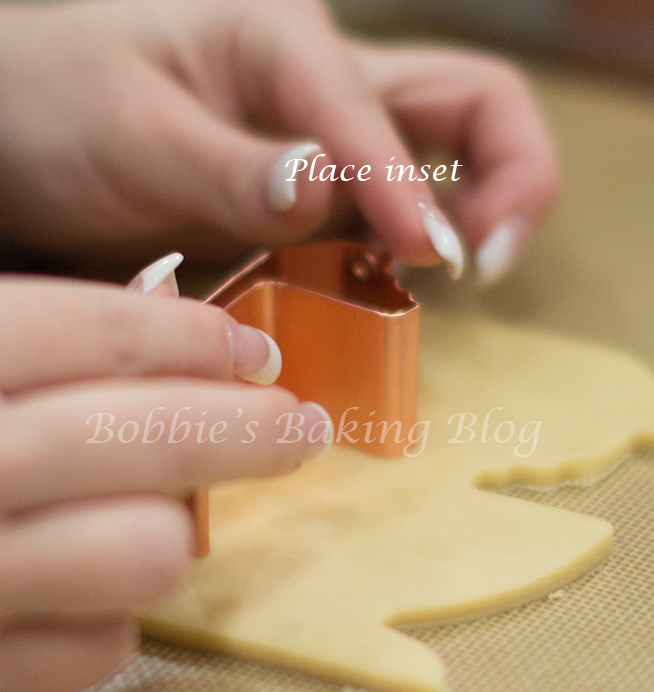
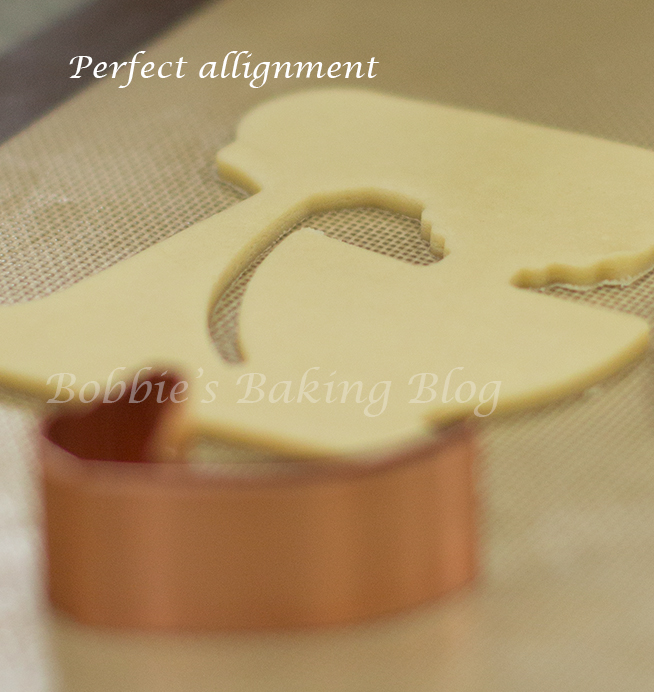
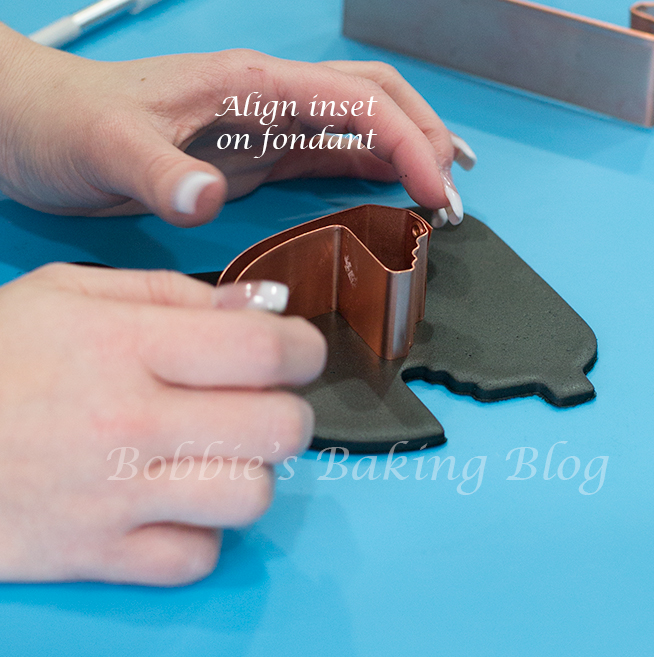
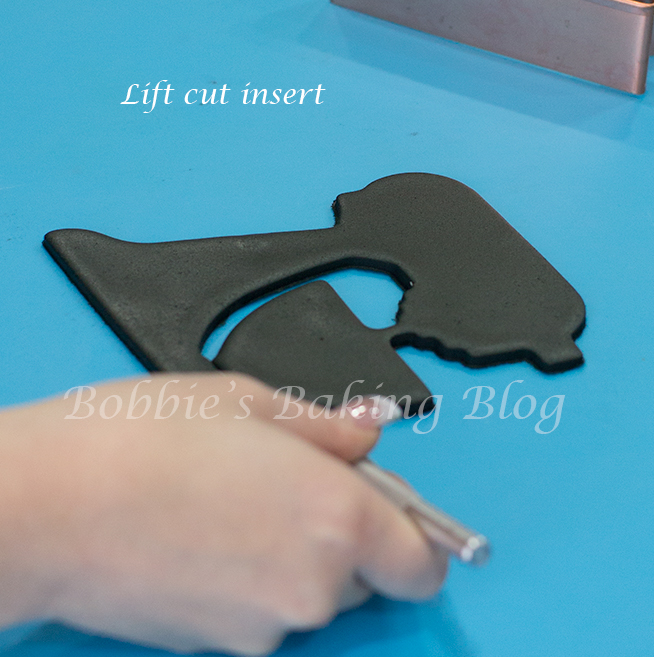
Roll out your cookie dough, using the kitchen mixer cutter cut out the design in the dough. Place your inset so the bottom of the top of the inset is aligned with the bowl, remove the inset piece (we baked the insets and used them as the dough hook), and carefully lift the kitchen mixer cut out to a jellyroll pan. Cook and allow the cookies to cool completely.
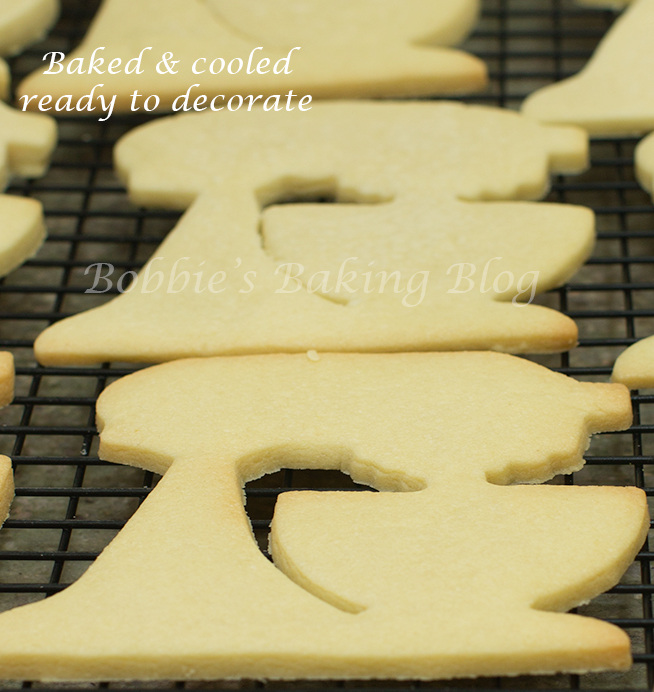
Once the cookies have cooled we can decorate!
Prepare your mise en place.

Fondant mise en place
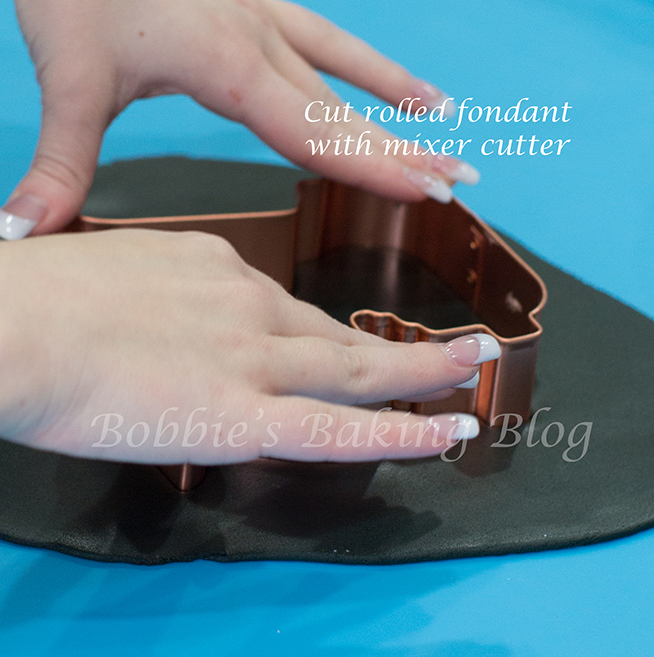
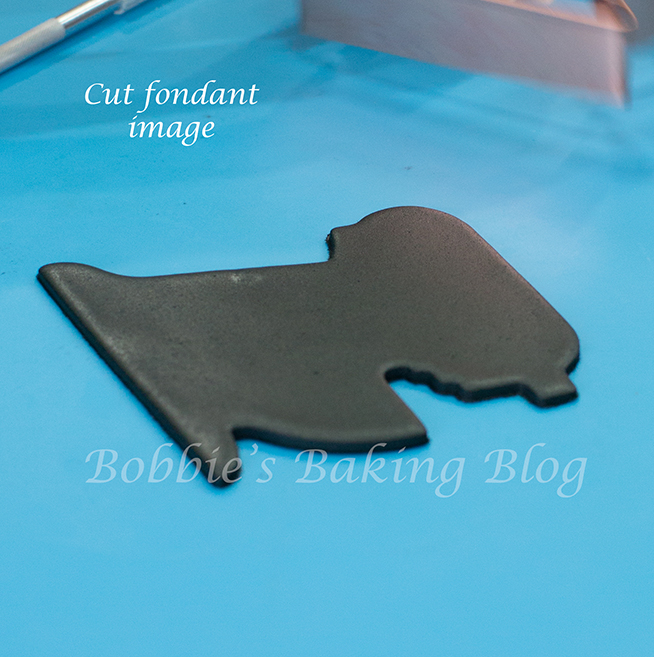
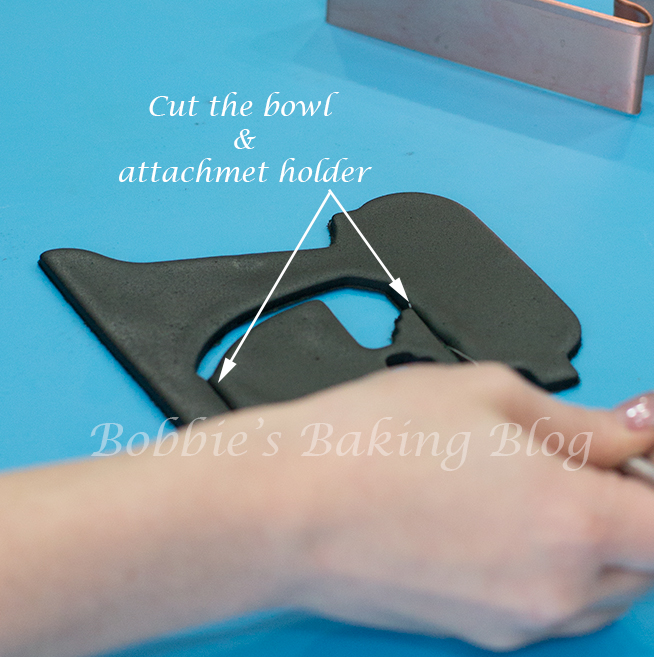
Knead your white fondant, add the food color paste, and knead the color until amalgamated. Roll the fondant to 5/8mm/ 14-inch thick, and cut your fondant the same as you did for your cookie except cut out the bowl (refer to slider). The excess fondant (the bowl portion) can be lightly kneaded into a ball, and wrapped tightly in plastic film for later use or for more mixers.
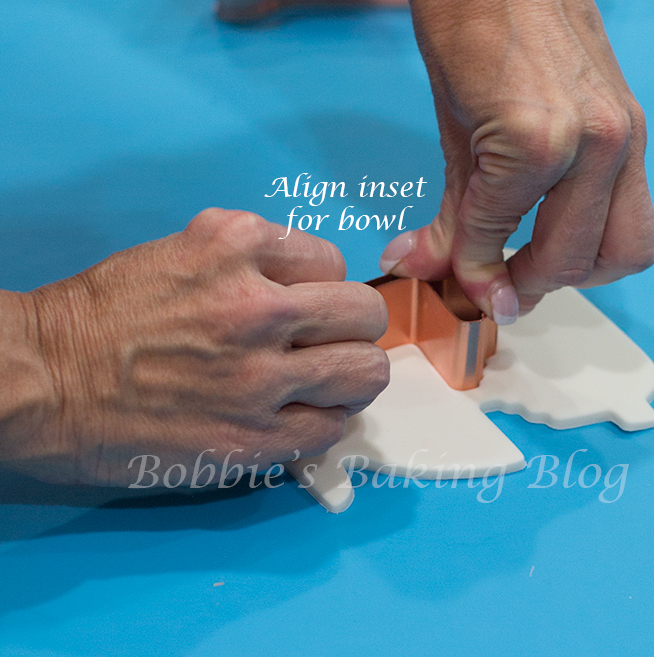
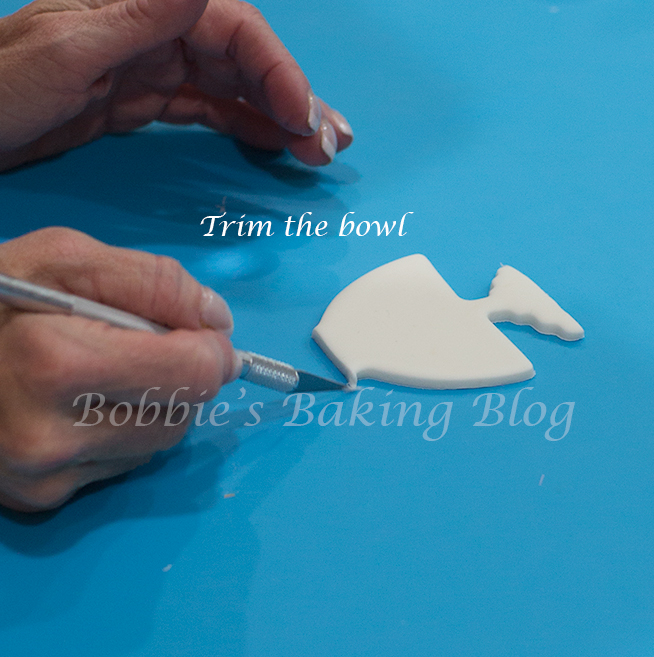
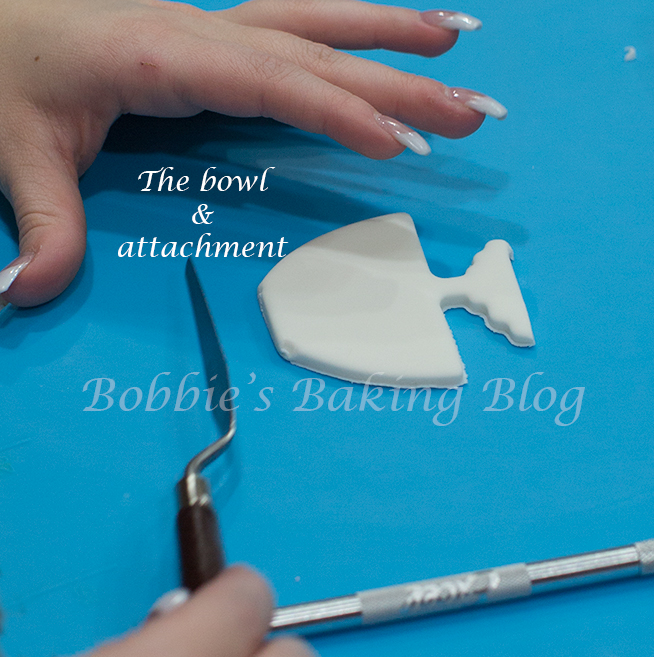
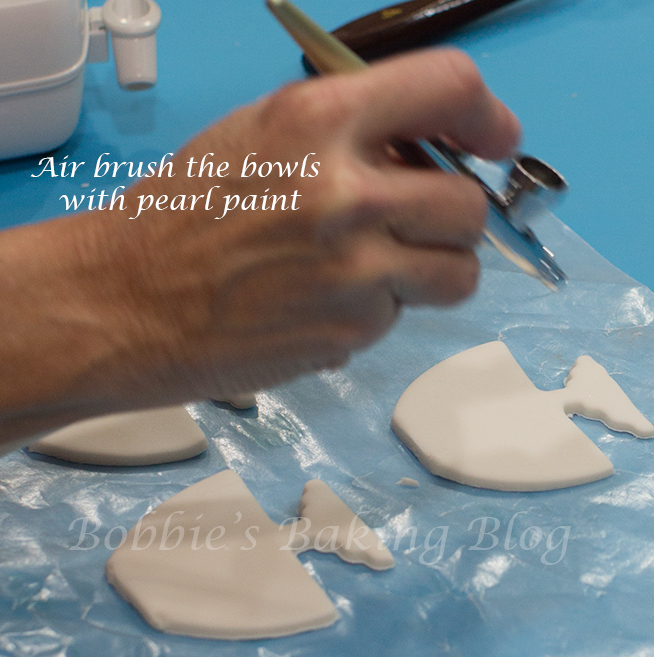
I bet you are wondering/ thinking Sydney and I have forgotten the cookie needs a bowl; well we are are not going to leave the kitchen mixer cookie with a naked bowl. For the bowl knead white fondant until the fondant is soft, slightly stretchy, and pliable. Roll the white fondant 5/8mm/ 1/4-inch thick, using the kitchen mixer cutter cut out the kitchen mixer image, align the inset just as you did for the mixer part, and cut out the bowl. Remove the mixer section, cover the excess to keep from becoming dry and save for preparing for more bowls. Once you have all the bowls you need, we designed 9 kitchen mixers, lay out a 1/2 sheet of parchment paper, place the bowls on the parchment paper and air brush the bowl with silver sheen food safe air brush color, allow to dry completely. I will be doing a post on airbrushing later, this step is optional you can color the bowl silver to match the accent pieces we will be doing later.

Assemble the kitchen mixer cookie:
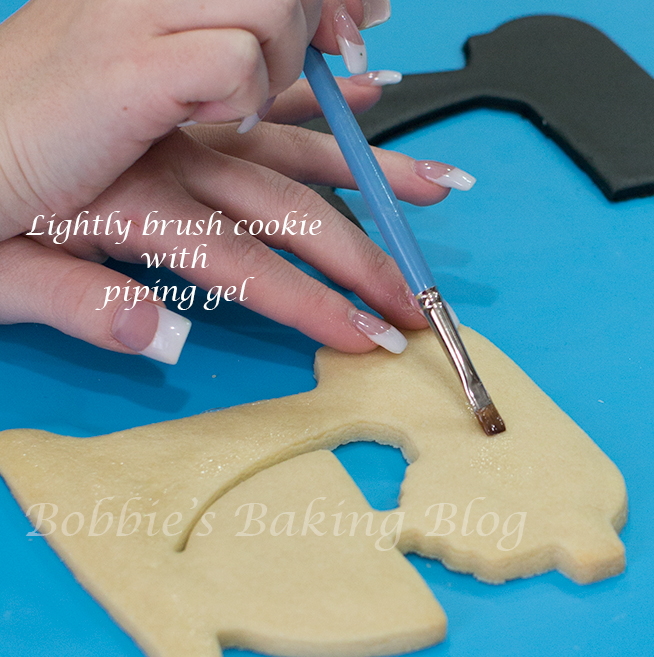
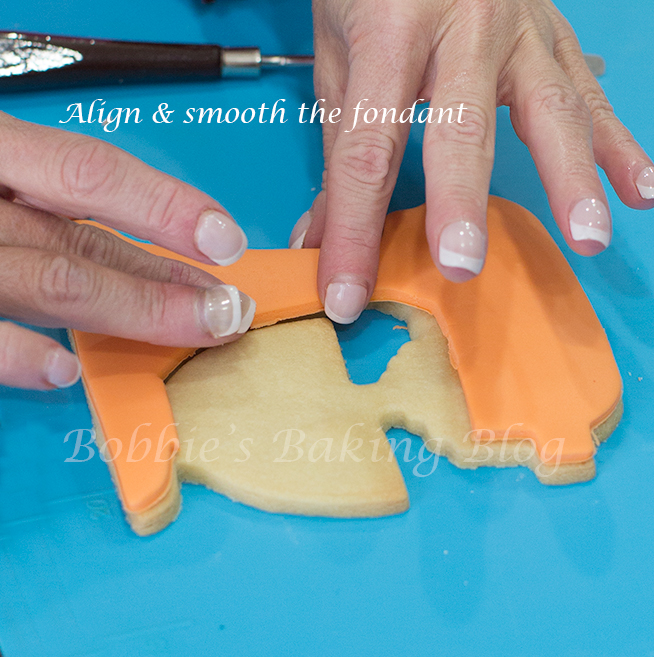
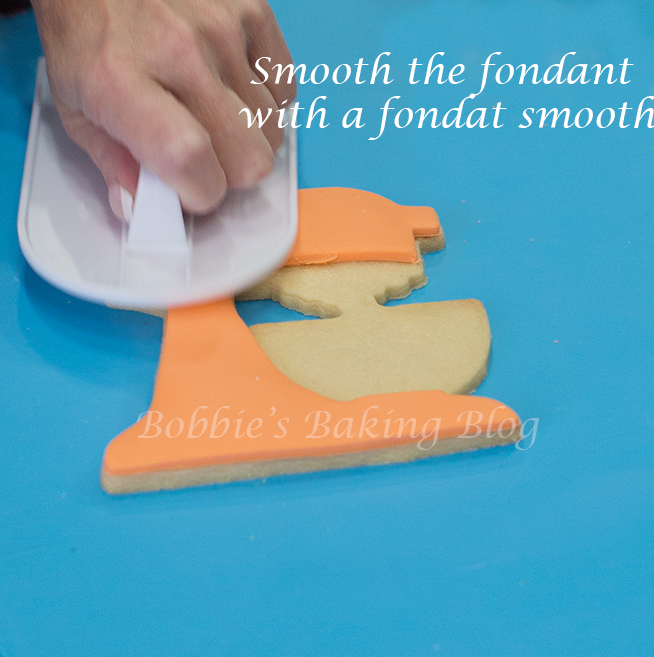
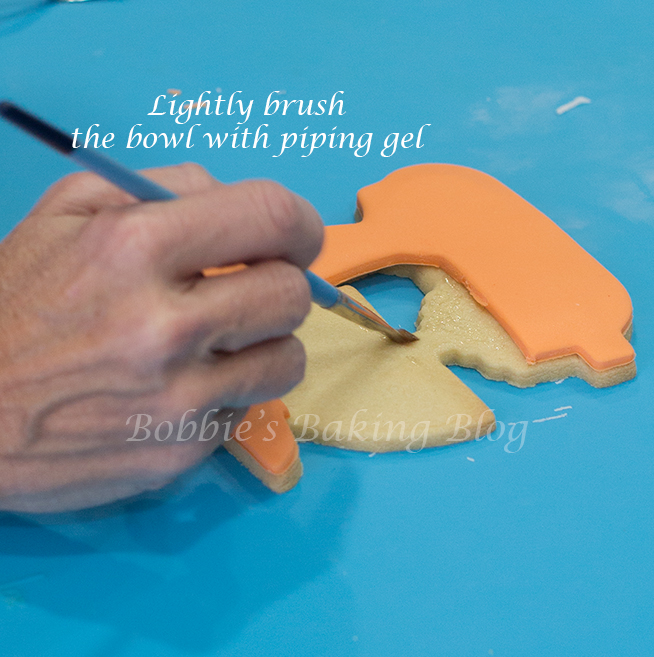
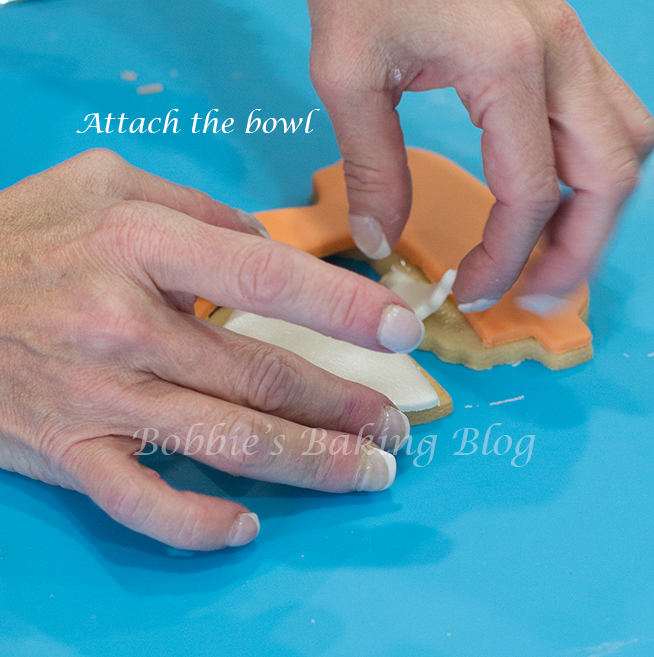
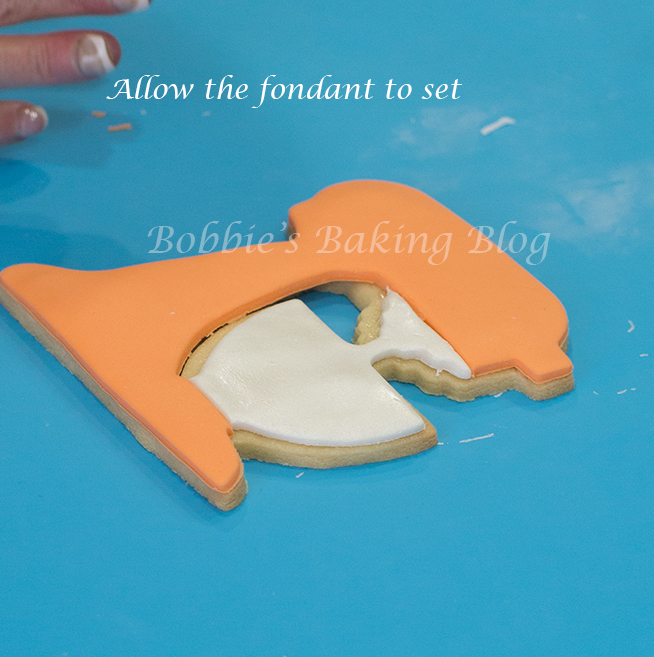
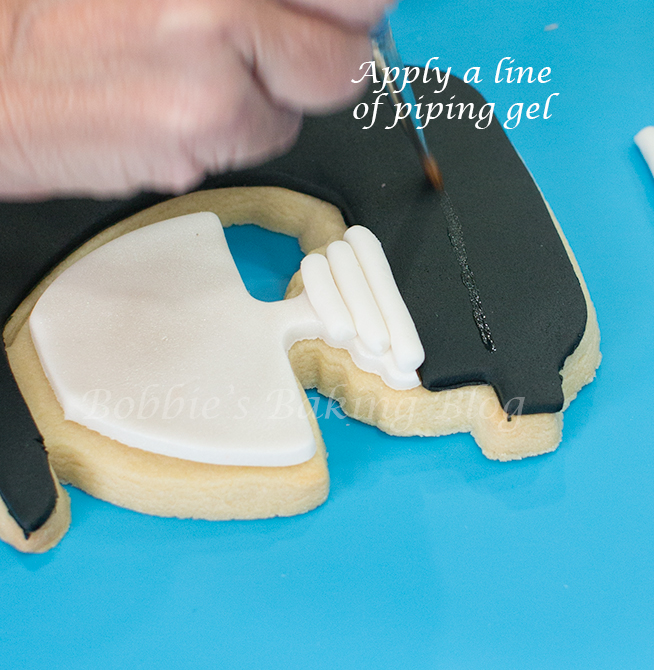
Begin with the colored mixer section, lightly brush piping gel onto the sugar cookie, except for the bowl section, with the aide of a triangle spatula lift the fondant shape you cut out earlier, align the fondant to the cookies, lightly smooth with your hands and a fondant smoother. When you are satisfied with the mixer section, attach your bowl. Brush piping gel over the bowl portion, lift the dried airbrushed fondant cut bowl and attach to the bowl part of the cookie, and smooth gingerly with the side of you hand. Do not use the smoother it can damage your wonderful air brushing. Allow the fondant to dry.
It is time to bring your kitchen mixer to life:
Prepare your accent mise en place.

Accent mise en place
The final accent touches turns your kitchen mixer cookie into a show piece.
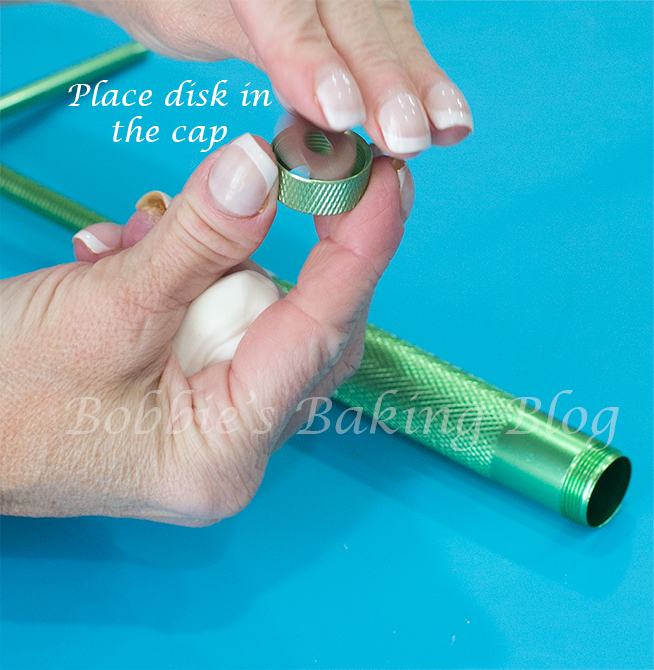
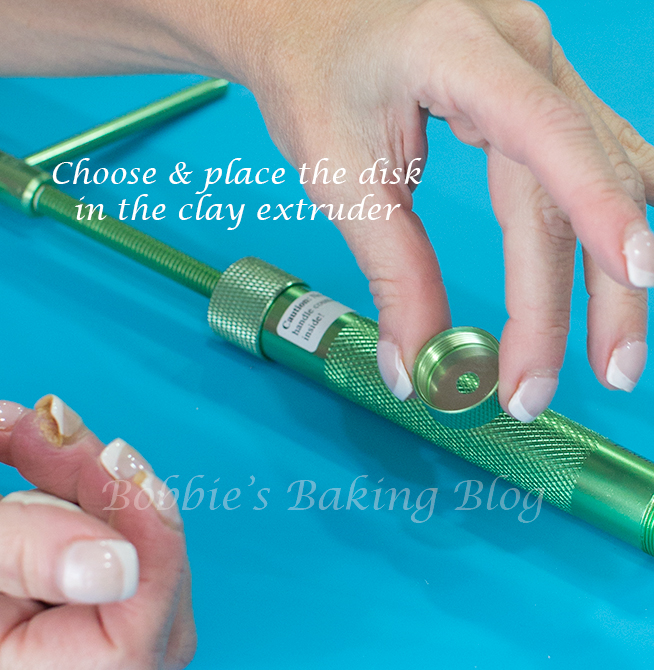
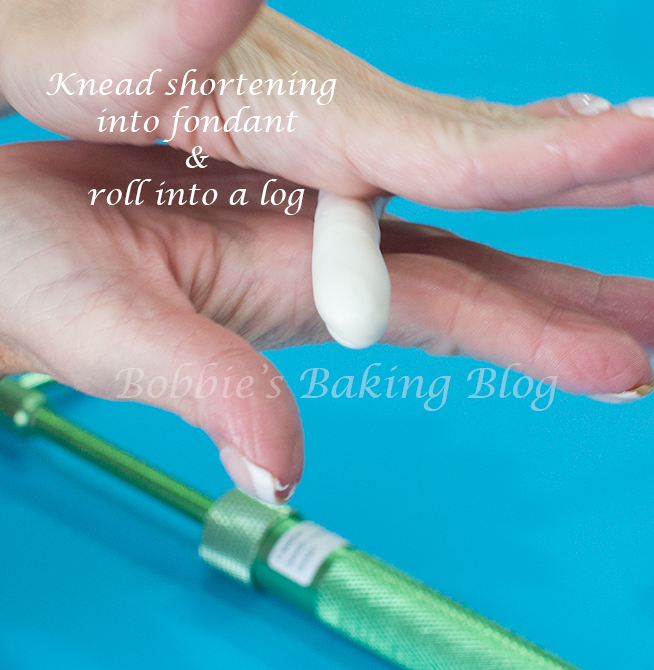
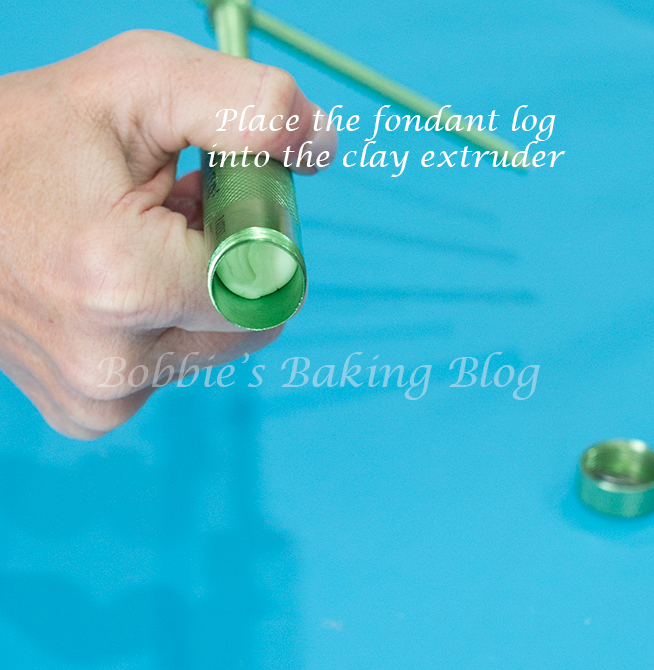
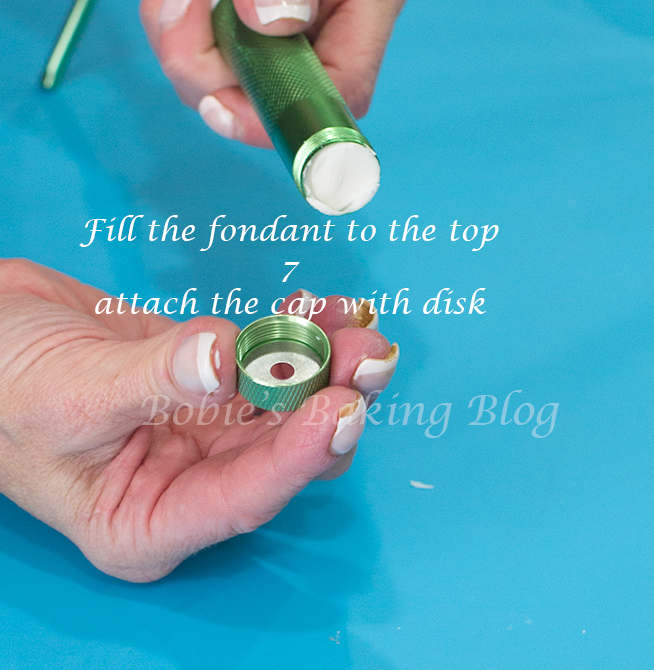
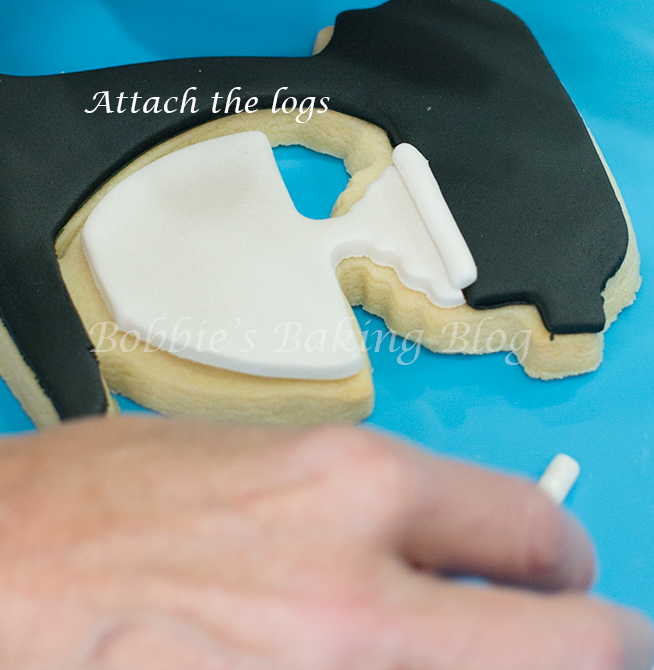
For the accent line on the top of the mixer and the three lines above the bowl we used a clay extruder with a round shape disk. How to use the clay extruder; take a piece of white fondant and about 1/2-teaspoon of shortening knead the elements together (it is very important to add shortening to the fondant prior to loading the clay extruder), roll the fondant into a cigarette shape smaller than the opening of the clay extruder. Twist the cap off the extruder, turn the handle counter clockwise and insert the fondant, if the fondant does not reach the top add little pieces until it does, place the disk into the cap, and twist shut. Turn the handle clockwise and extrude the fondant until you see the gold section. If you do not own a clay extruder or do not want to invest in one, roll the fondant into a long, skinny stick, keeping the diameter the same form top to bottom.

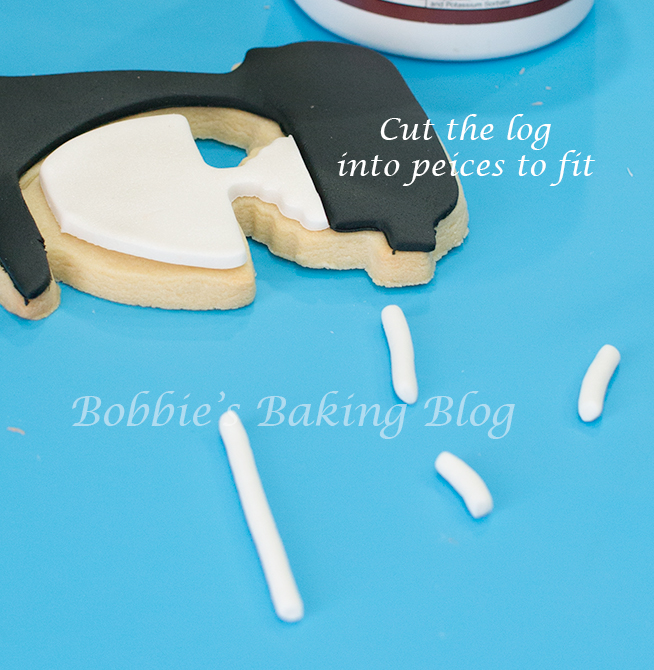
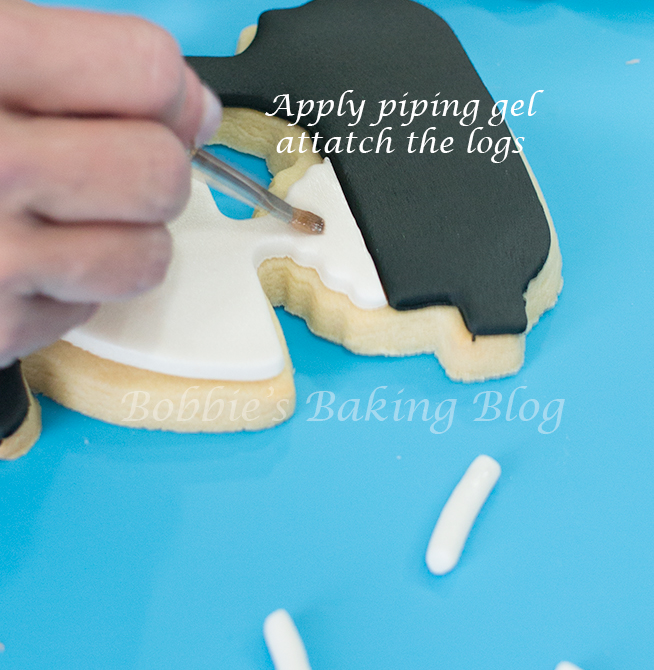
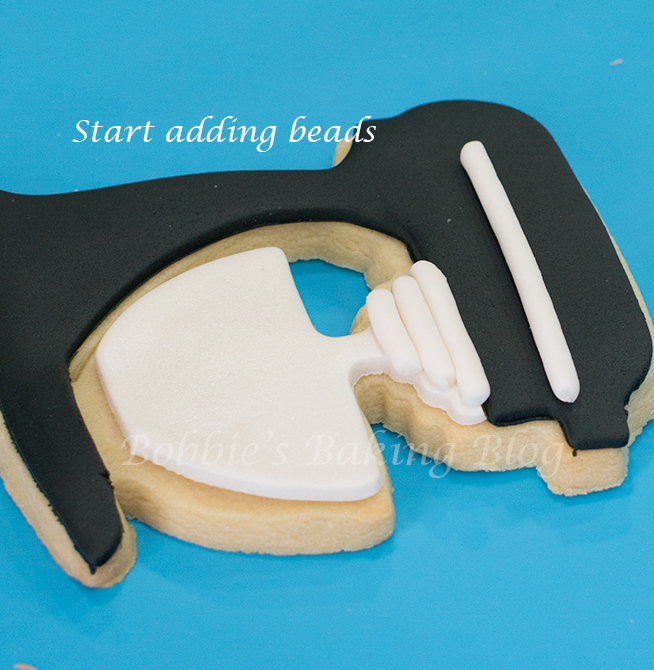
After you have extruded the fondant measure the three line above the bowl and cut accordingly, brush piping gel sparingly, and lay the lines carefully down. The accent on the top part of mixer is measured 1/4 in from the front of mixer to the curve. Brush a small line of piping gel and attach. For the knobs on the mixer roll little round fondant balls about 1/4 the size of a pea and attach with piping gel you need two of these.

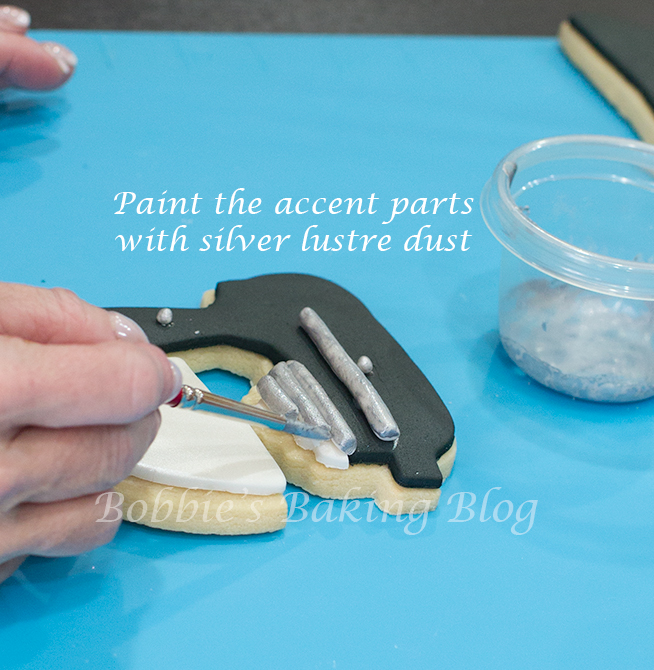
For the bright silver color, mix silver lustre dust and vodka, for a complete detail of painting fondant Marina Sousa has a video on craftsy. When the silver lustre dust has been properly mixed with vodka brush the lines and knobs silver.
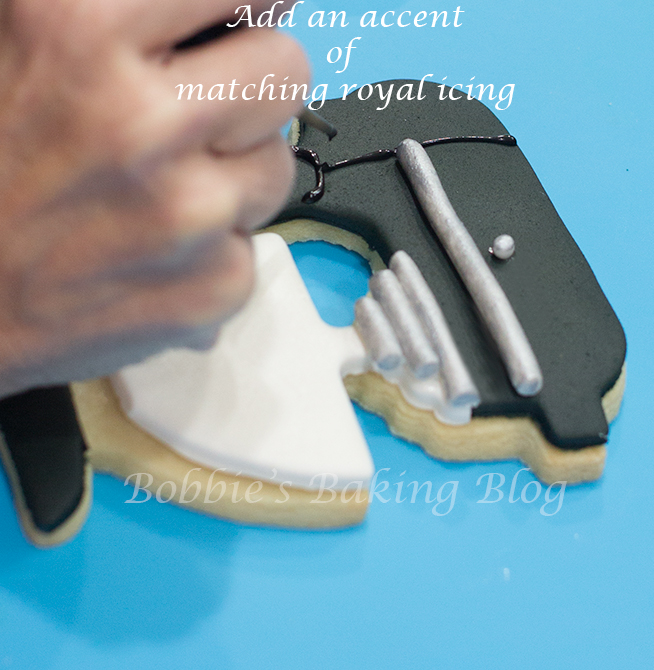
For an extra WOW factor pipe few lines on the kitchen mixer with royal icing matching the fondant color, and allow to dry.
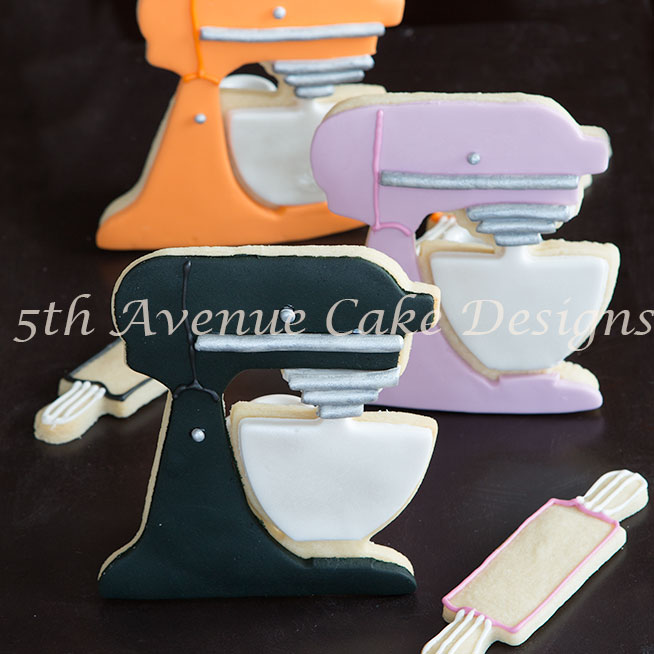
Can’t you just image the look on grandma’s face when your child/children hand her a kitchen mixer sugar cookie at Thanksgiving dinner.

Aren’t they to cute?
Enjoy!
Happy Holiday Decorating!


Oh these are brilliant
and delicious and I think
the other half should be sent to me 🙂
you can also pass to my blog 🙂
oh yesss !! I love the quality of your pictures !
good night 🙂 kisses from Belguim..
Thank you, I would be happy to send you a few Kitchen Mixer Cookies, but alas I don’t have your mailing address! All the best from snowy Colorado! 🙂
This are amazingly great! How intricate! And, maaaan, what patience a d concentration mist have gone into them! I envy your skills. 🙂 have been googling for pictures of sriracha bottle shaped sugar cookies. You should make them!! 🙂 thanks for the treat of looking at your delicious art work. 🙂
Abbie, Sydney (my daughter) and I put a lot of love into creating the Kitchen Mixer Sugar Cookies! My husband favorite condiment is Sriracha; I bet he would get a kick out of a sugar cookie look a like! Thank you for the idea 🙂
Thanks for this great tutorial. I am going to make these soon! Kathy
Kathy, Thank you…if you have any question please don’t hesitate to send me a message
Wow! These look fab! Please please can you send me a link as to where to get the cookie cutter from.
Thank you,
Kerry
Kerry, you may find the cookie cutter @ ecrandal! Thank you! 🙂
Where Can I Buy That Cookie Cutter, Is For My Best Friend Who Loves All KitchenAid Stuff And She Also Is A Baker. Please Help!
Silena, you may find the cookie cutter @ ecrandal! Thank you!