

This is my kind of bundt cake!
This time of year pumpkins and gourds are everywhere; we plan trips to arboretums to find that perfect pumpkin worthy of carving and placing on or near the front porch. I vividly remember carpooling a car of excited three and four year olds for their first arboretum. Sydney and her friend’s energetic excitement became contagious and exhilarating; we began going each year as a family. Sydney and I were reminiscing our Autumn arboretum ritual and thought creating mini pumpkin shaped bundt cakes, orange flavored, would be a great way to honor a sweet memory and have a delicious snack/dessert.
We used a Nordic mini bundt cake pan, Nordicware has a mini pumpkin bundt pan, but the plain one works great and you can use the mini bundt cake pan all year round. With just a few key pointers your bundts will look like Autumn mini pumpkin cakes. The designing of each mini bundt also becomes a wonderful family baking project!
Orange Mini Bundt Cake:

Aren’t they just scrumptious looking!
Ingredients:
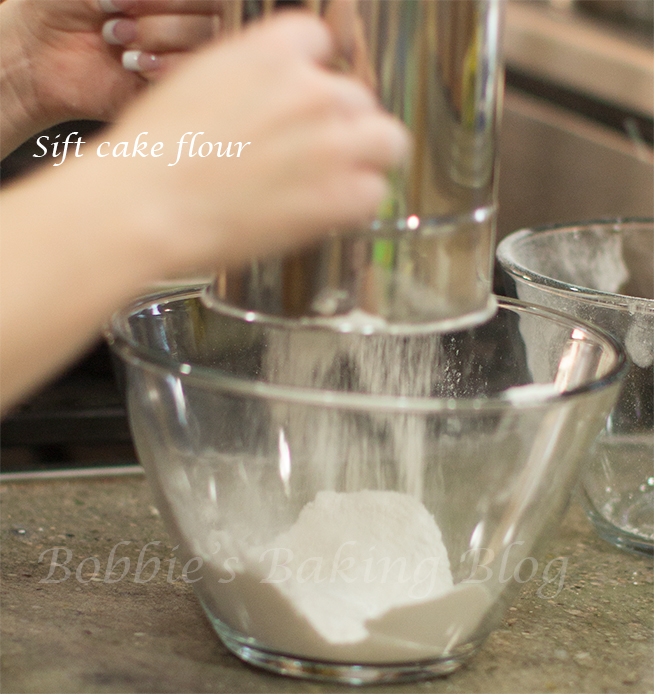
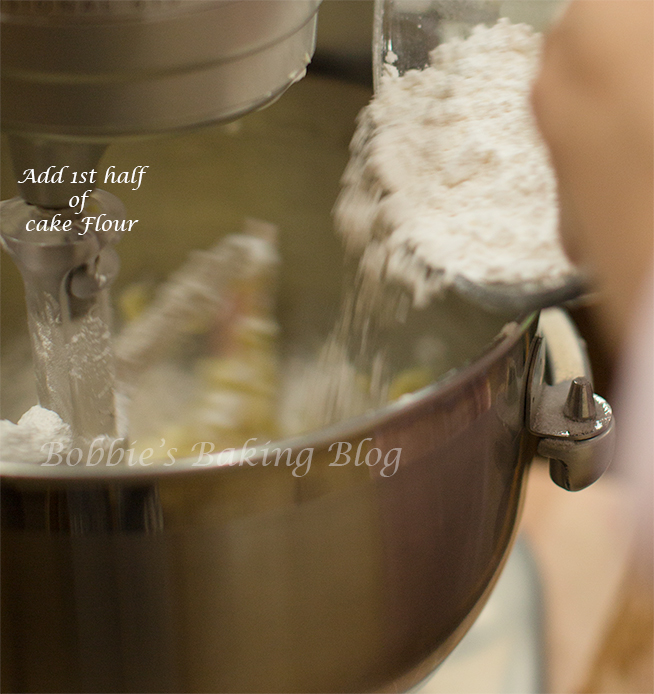
- 187 grams, 1½ cups plus 3 Tablespoons cake flour, sifted
- 2 grams/½ teaspoons baking powder
- Pinch of salt
- 113 grams, ½ cup unsalted butter, room temperature
- 300 grams, 1½ cups sugar
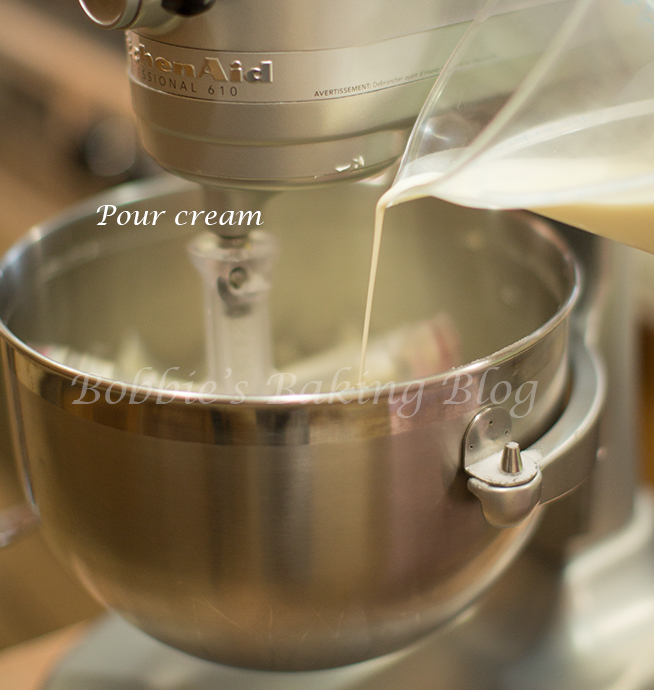
- 57 grams grams, ½ cup heavy cream
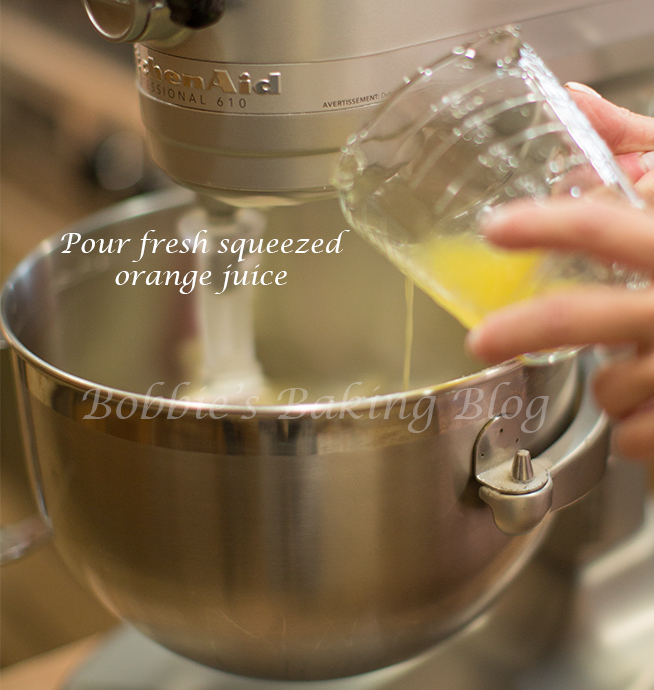
- 62 grams orange juice fresh
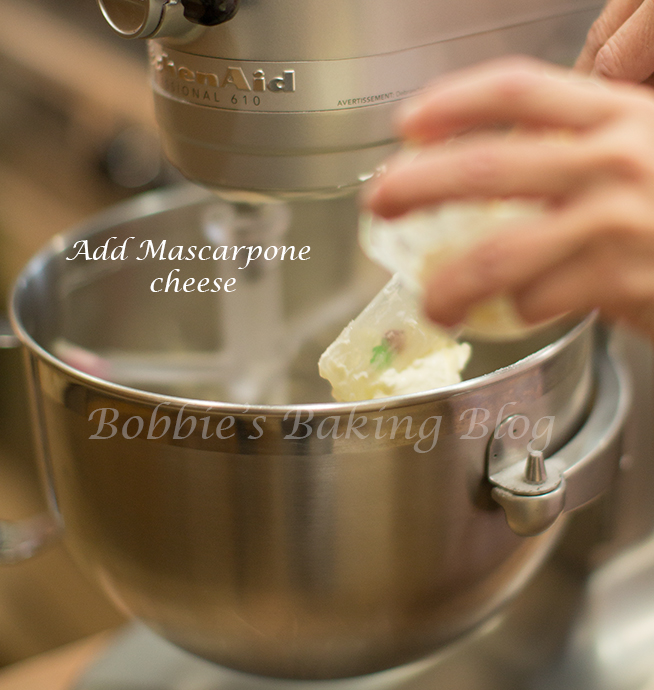
- 116grams, ½–cup mascarpone cheese
- 3 large eggs, about 165 grams
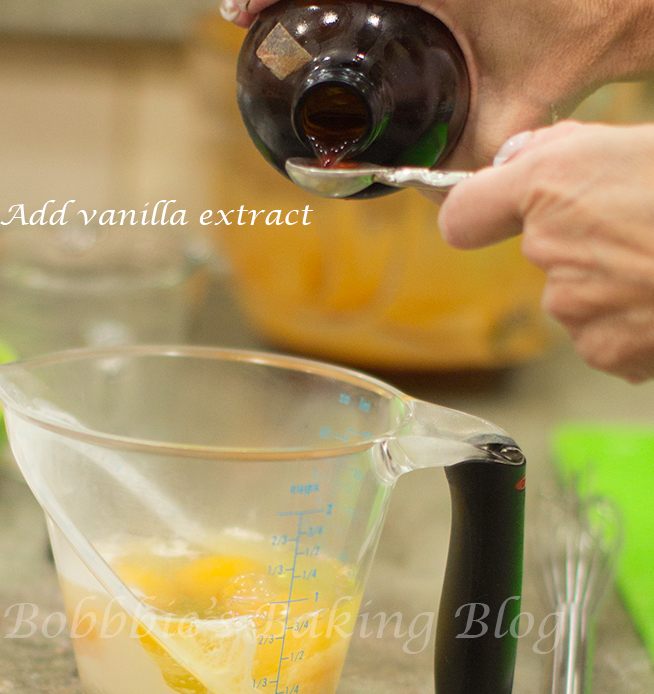
- ½ teaspoon vanilla extract
- 2 teaspoons orange zest zest
- 31 grams/ 2- tablespoons beurre noisette
- Mini bundt cake pan
- Whisk
- Measuring jug
- Standing or hand mixer
- Orange food paste
Orange Glaze:
- 4 Tablespoons Cointreau (orange liqueur)
- 120 grams, 1-cup powder sugar
- 2½ Tablespoons fresh sqeezed orange juice juice
- ½ teaspoon vanilla extract
Prepare your mise en place.

Mise en place
Preheat the oven to 325 degrees F/163°C.
Butter and flour the mini bundt pans, 6 bundts. Sift together, 3 times, cake flour and baking powder. Set aside.
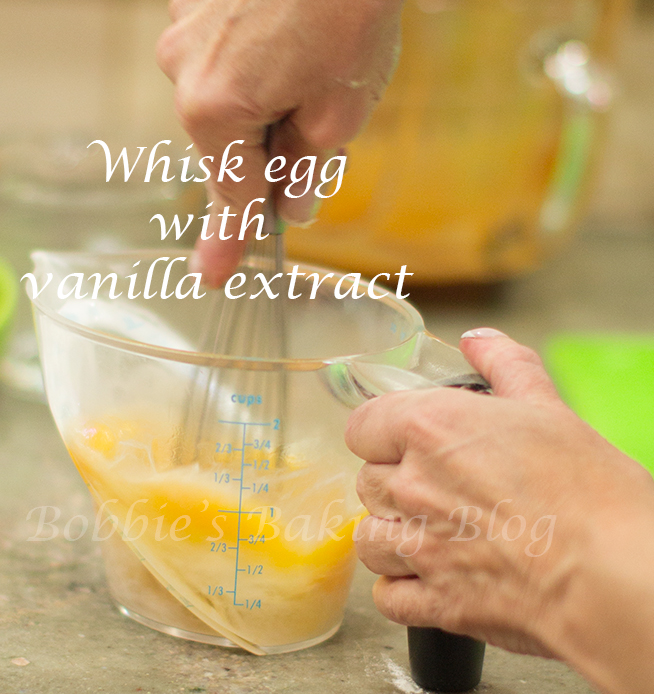
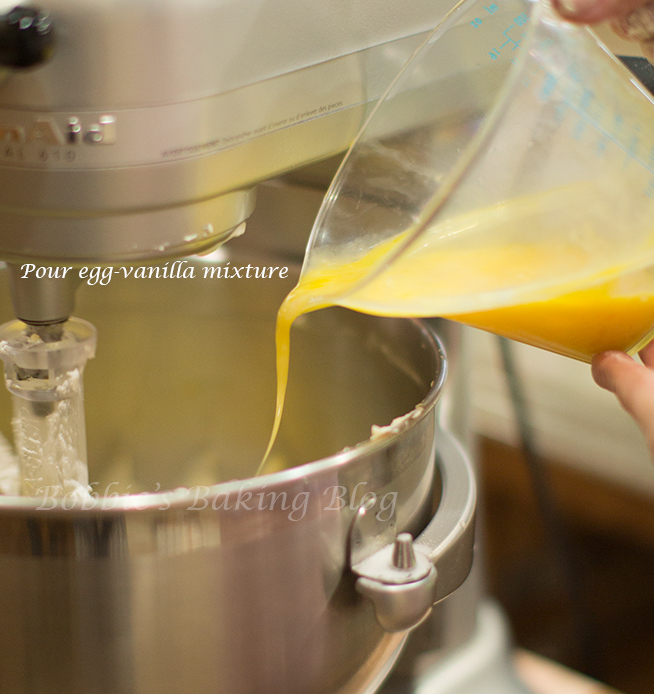
In a measuring jug add eggs and vanilla extract, whisk until completely combined, and set aside near the sifted flour mixture.
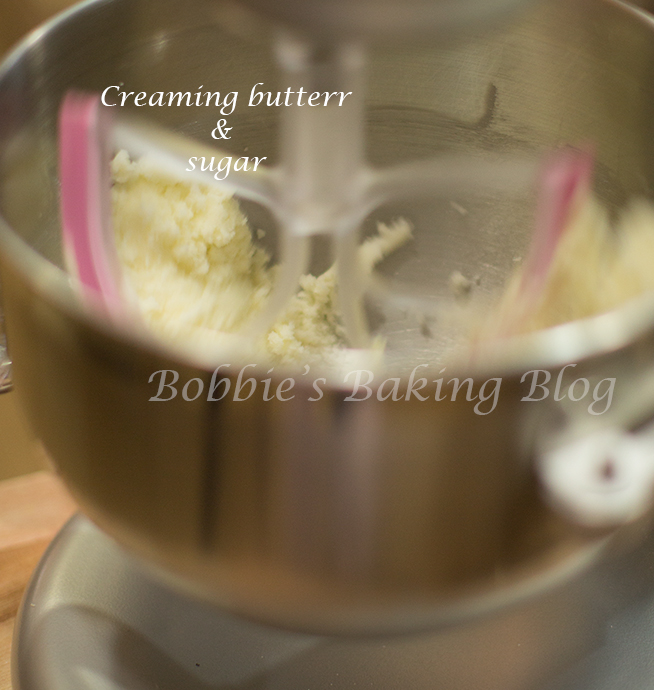
In a standing mixer with the fitted paddle attachment, beat butter and sugar on medium speed until blended, about 4 minutes. Add orange zest. Add the mascarpone cheese, cream, and orange juice and continue to beat on medium speed until the mixture is amalgamate. Do not be alarmed if the mixture looks curled, once you add the flour and eggs to the mixture the cake batter will be silky smooth.
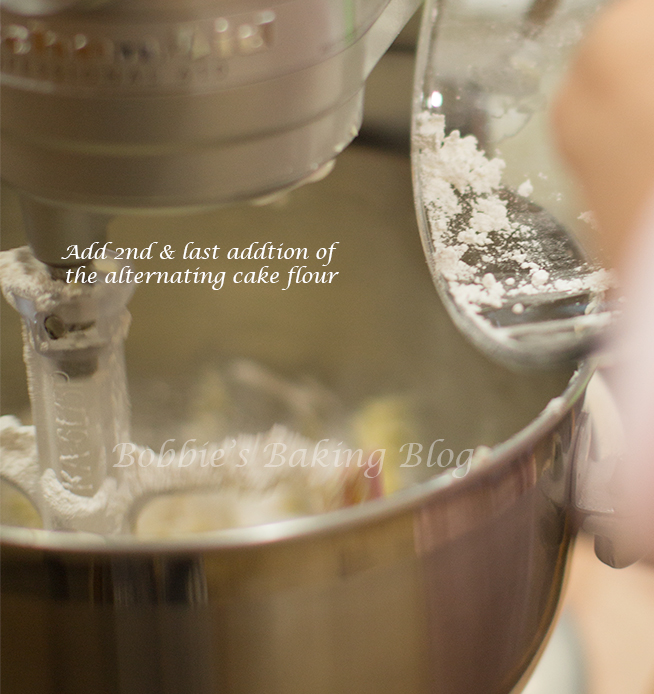
Add the sifted dry ingredients, on low speed, and alternating with the eggs mixture, and ending with the dry ingredients.
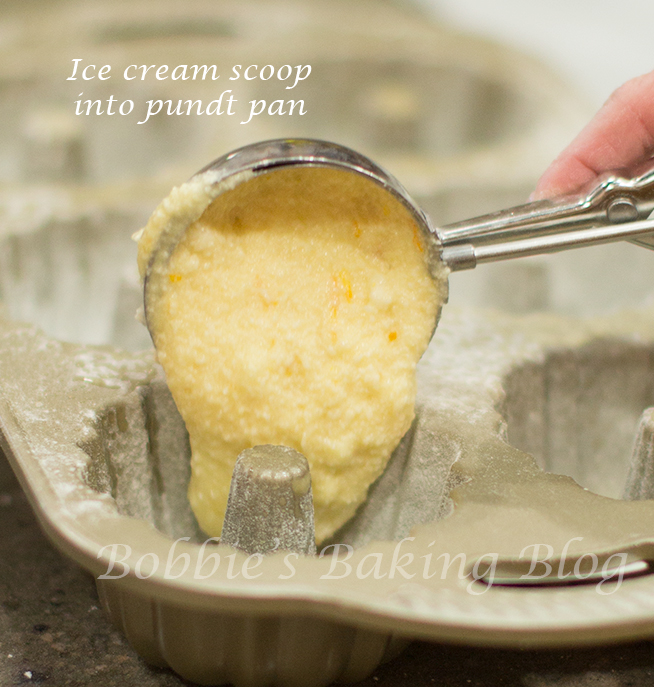
Pour the batter into prepared the mini bundt pan, smoothing the top, gently tap the pan against the counter top, (to remove air bubbles.) Brush the tops with beurre noisette for an extra layer of flavor.
Bake for about 50 to 55 minutes, until the top of the cakes are golden brown and a toothpick inserted comes out clean. Cool the cakes in the pan on a cooling rack for 15 minutes. Remove the mini bundt cakes from the pan and cool on the rack. After the mini bundts have cooled completely, cut the bottoms off and use the extra cake from the bottoms to crumble into pieces and place in the middle hole. We had some caramel left over from the carmel mousse, and mixed the crumbs with caramel (heavenly!). However the crumbs work just fine alone.
Orange Glaze:

This mini pumpkin cakes are perfect for a Halloween or Autumn party!
4 Tablespoons Cointreau ( orange ligueur)
120/ 1-cup icing sugar
2 1/2 Tablespoons fresh squeezed orange juice
1/2- Teaspoon vanilla extract
4-drops sunset orange food paste
Prepare your mise en place.
Place sugar in a bowl; add Cointreau, orange juice, food paste, whisk until bright orange and add vanilla. Whisk the ingredients together. Drizzle the glaze, starting in the center, on the cooled mini bundts, and allow the glaze to set. * If you prefer to not use alcohol substitute with more fresh orange juice.
Leaves and Stems:
Equipment:
- Leaf cutter
- Leaf veiner
- Fondant mat
- Fondant rolling pin
- Fondant rolling pin
- Foam pad
- PME leaf vein tool
- Celstick small
- Metal ball tool
- Rolling pin
Materials:
- Gumpaste colored light green
- Gumpaste, colored light brown
- Fondant rolling pin
- Moss green petal dust
- Kiwi petal dust
- Cinnamon petal dust
- Gold luster dust
- Brown petal dust
- Artistic brushes
- Leaf green food paste
- Chocolate brown food paste
- Cornstarch
- Toothpick
- Floral foam
- Edible glue

Leaves and stem mise en place
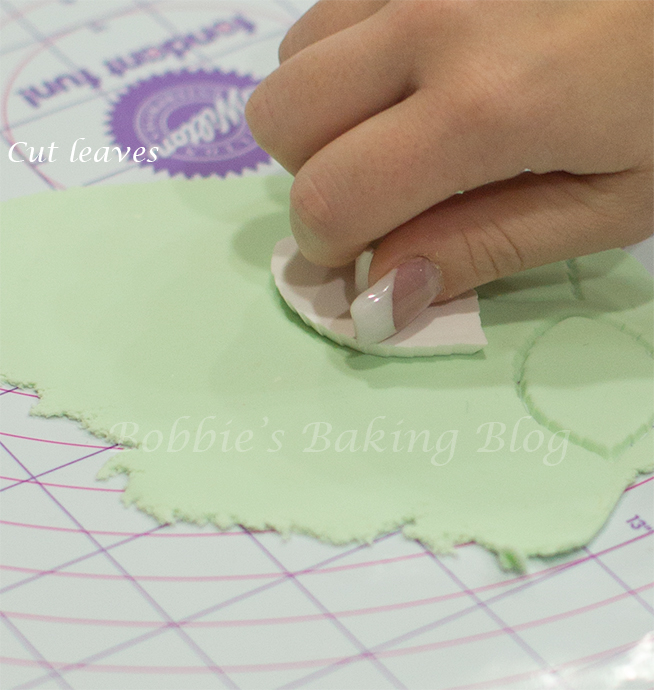
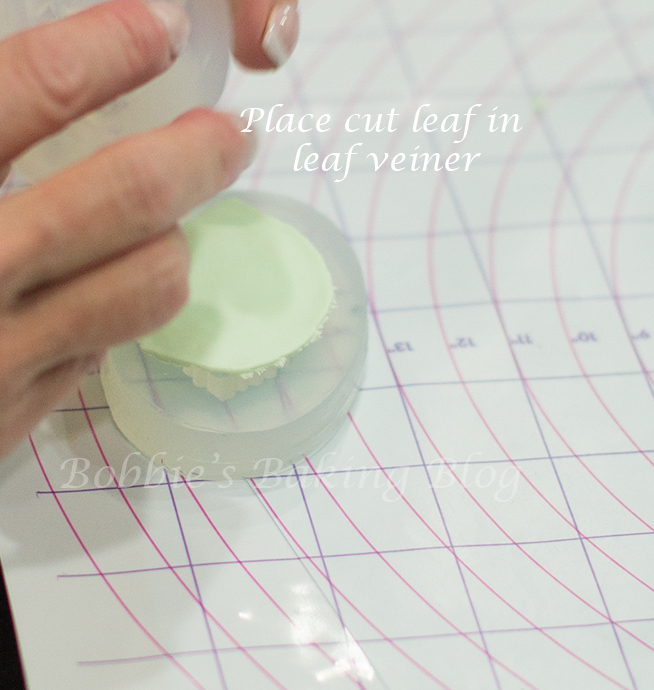
Now that your gumpaste is colored wrap the brown tightly in plastic wrap, roll out the green colored gumpaste paper thin, cut out 18 leaves, leave 17 covered in either a prepared sandwich bag or keep the leaves under heavy plastic.
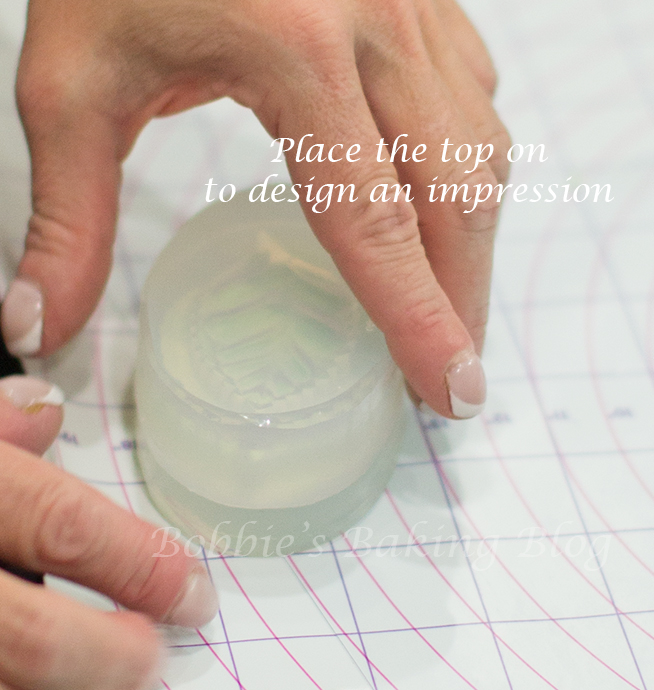
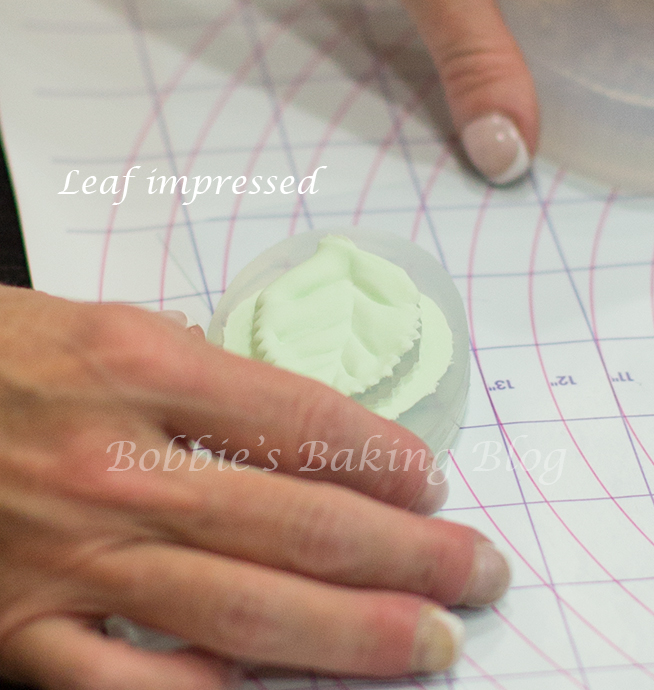
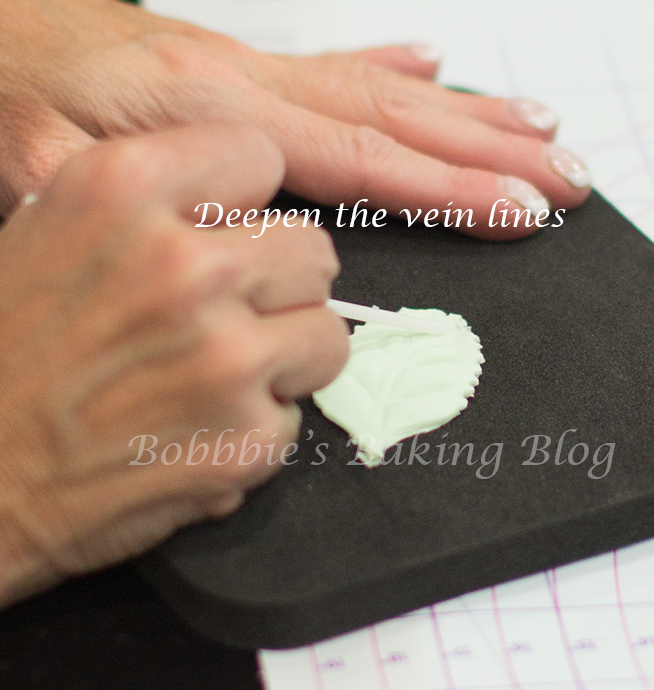
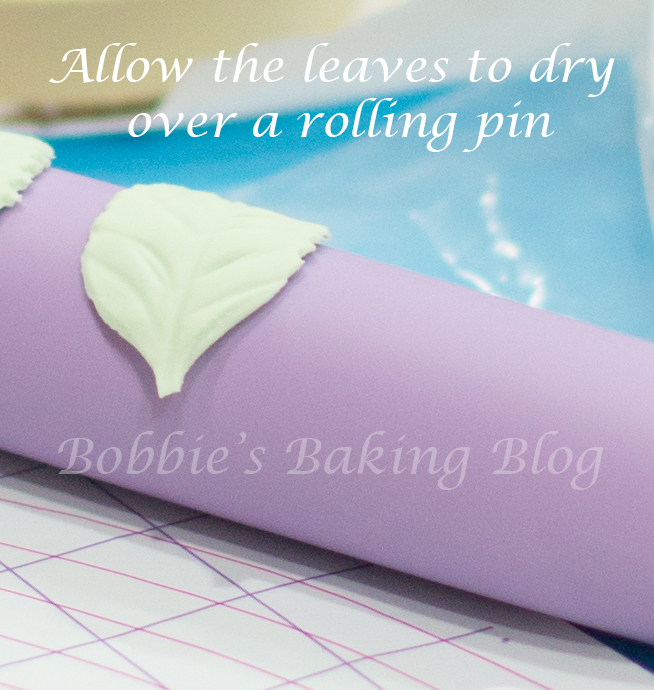
Take the eighteenth leaf place in the leaf veiner, careful lift the veined leaf to a foam pad, deepen the vein down the center, using either the Celstick or leaf veining tool. Gingerly lay over a rolling pin, and allow to dry. Continue the same procedure for the next seventeen leaves.
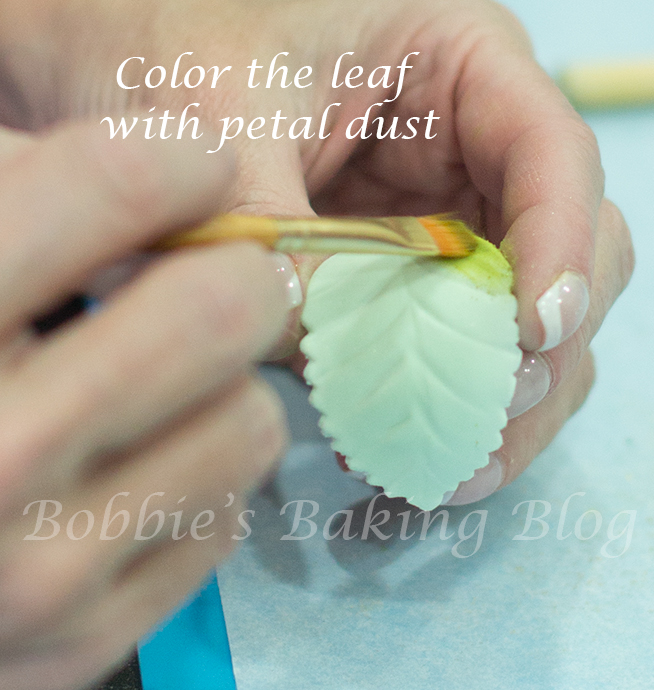
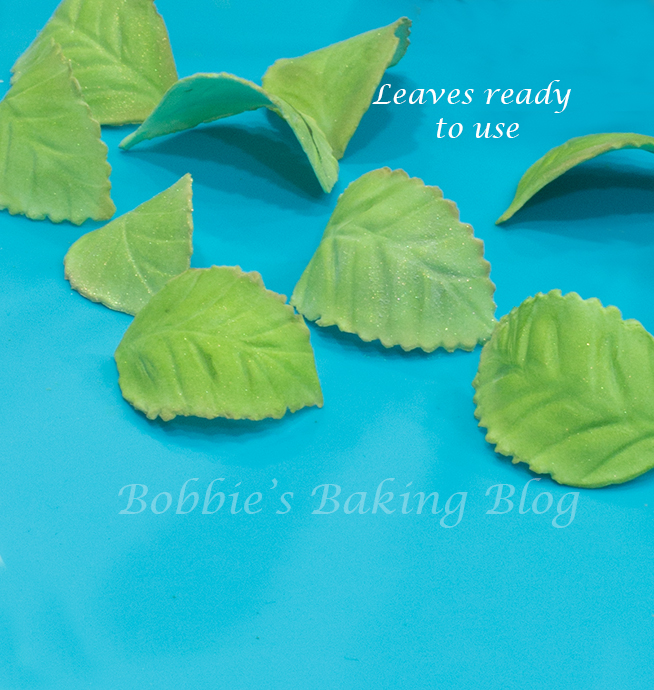
Color the leaves, the fun and artistic section!
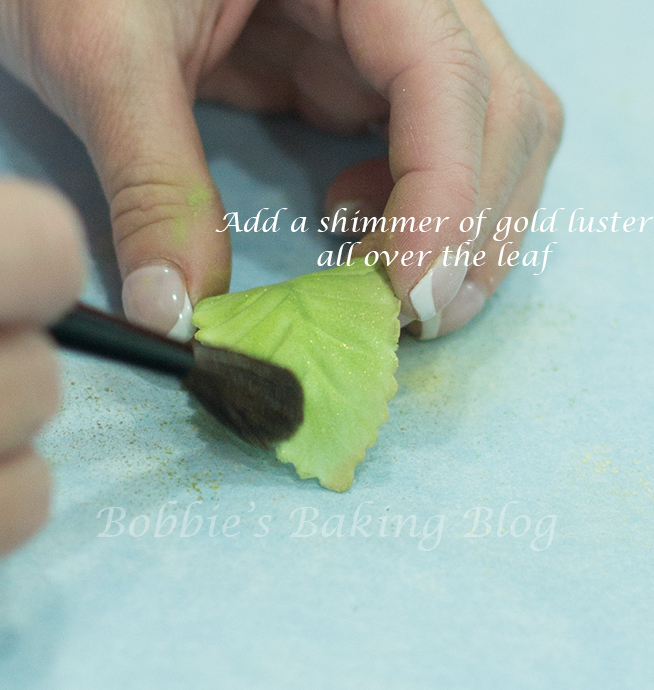
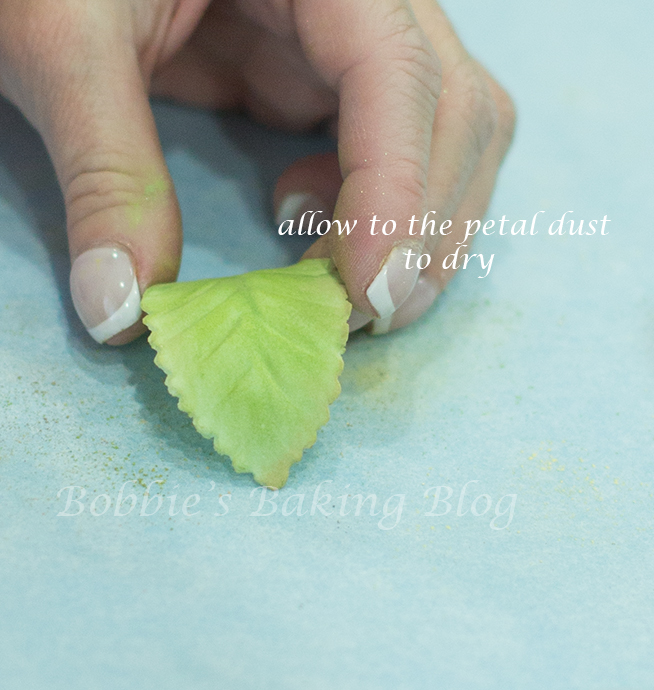
Once your leaves are dried prepare a piece of parchment paper, Sydney and I like to tape the corners down, using a disposable plastic spatula sprinkle the moss green, kiwi green and gold luster, cinnamon petal dust along with cornstarch by each color, mix the some of the moss green and kiwi green with cornstarch ( also mix each color alone with cornstarch). Mix the cinnamon with cornstarch and the gold.
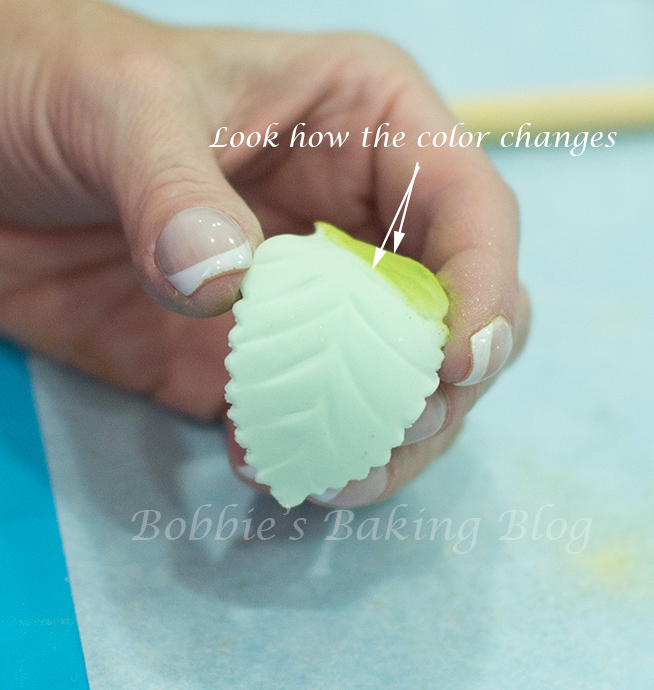
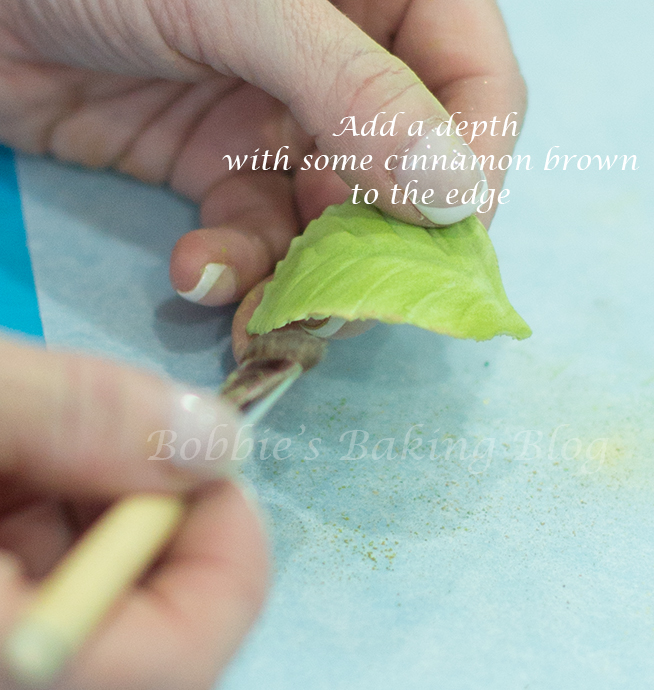
When you are satisfied with your colors begin coloring the leaves with the kiwi green, layer over with moss/kiwi mixture, and after looking at countless pumpkins Sydney noticed the edges have a hue of a light brown color, the cinnamon. We decided to add simmer so we dusted gold over the entire leaf. Have fun with the coloring, remember no two leaves are exactly alike!
The Stem and Assemble:
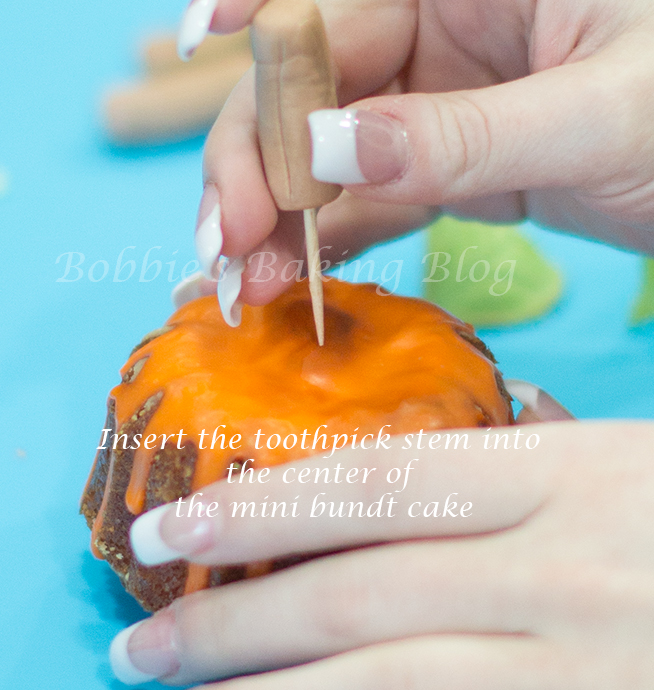
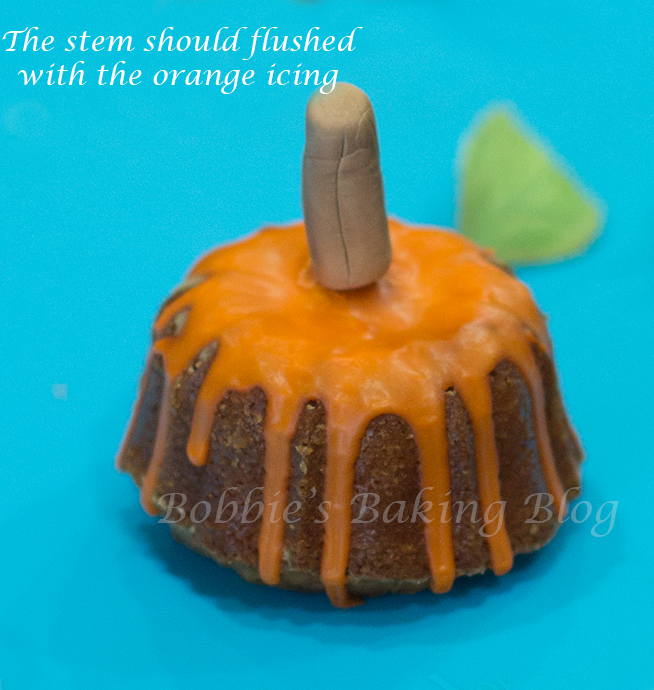
For the stem, knead the light brown gumpaste, roll a log, with your PME leaf veining tool add lines to the stem, place the log over your forefinger, slightly bend, gently insert a toothpick, and stick the toothpick into a floral foam to dry, you will need six stems. Allow to dry and color with the cinnamon and brown petal dust.
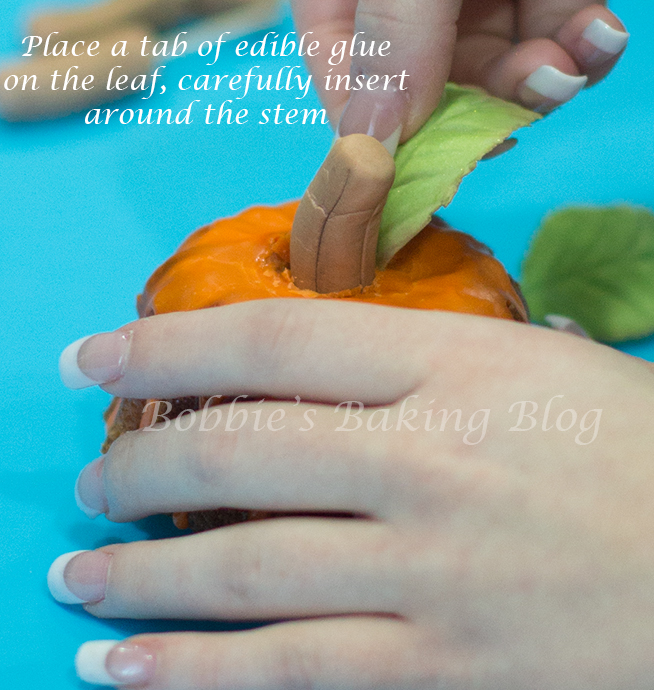
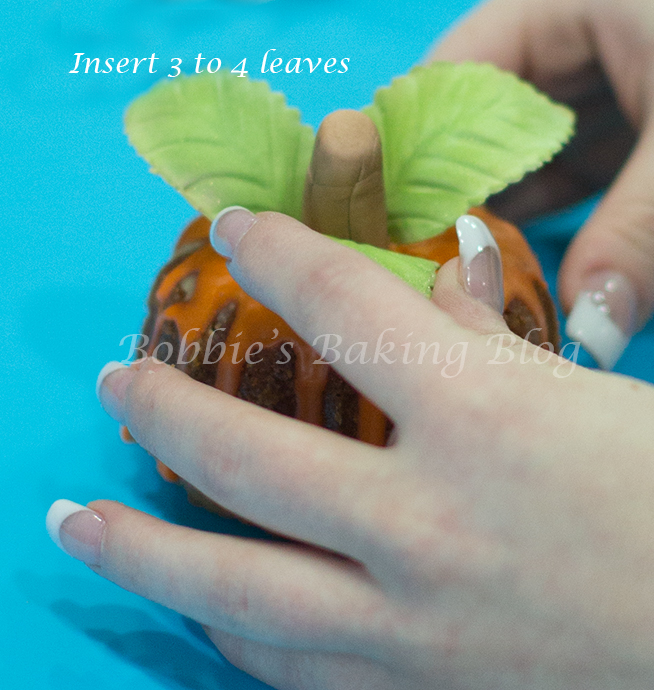
Once the stems and leaves are ready, insert the log toothpick side down into the glazed mini bundt cakes, brush a smidgen of edible glue on the bottom of the leaves, and arrange around the stem. Now your delicious mini cakes are mini pumpkins, watch your child/children’s’ eyes widen with excitement!
I hope you and your family and/or friends have fun entertaining and have an enchanting time creating Autumn Mini Bundt Cakes!

Cute and yummy!
Enjoy!

Voila!


These festive cakes look both stunning and delicious!
Thank you, Jessica