

Pure elegance
Cakes come in all sizes and designs, some are elegant for a christening, engagement, or wedding. Some are wacky for birthday parties or celebrations. Others are designed to look like flowers in a vase; I could go on and on, but that might bore you. Sydney and I thought it might be helpful if we showed the basic way to tier a cake, there is nothing more aggravating than to put a wonderful cake together only to see one of the upper tiers sink into the base. Regardless of the flavor option, all tiered cakes need structure. Think of the base and the dowels of a tiered cake as the main structure, like your home, if the builder forgot the walls your house would collapse. Following a few basic rules will keep you and your cake happy!
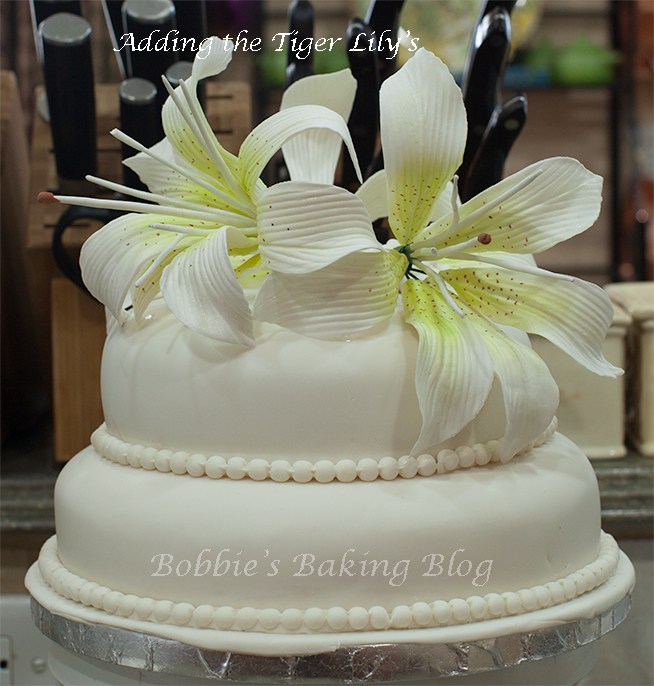
This particular cake was designed for a 21st wedding anniversary, the wife wanted the cake to resemble her original cake from her wedding. Tiger Lilies are her favorite flower and from the photographs of the wedding there were a plethora of Tiger Lilies from the bouquet to the wedding cake.
Assemble and Tiering a Cake:

We had a blast designing this cake together!
For the cake above:
Tiering a Cake:
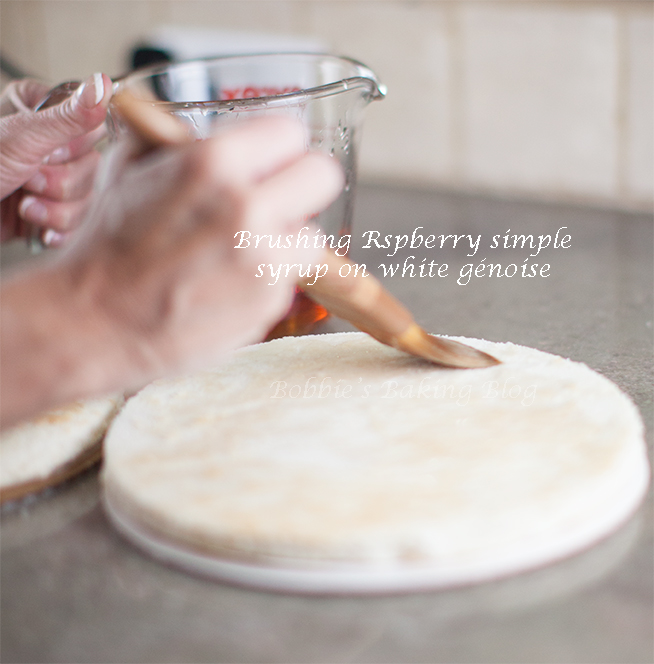
- 2-recipes White Génoise Cake
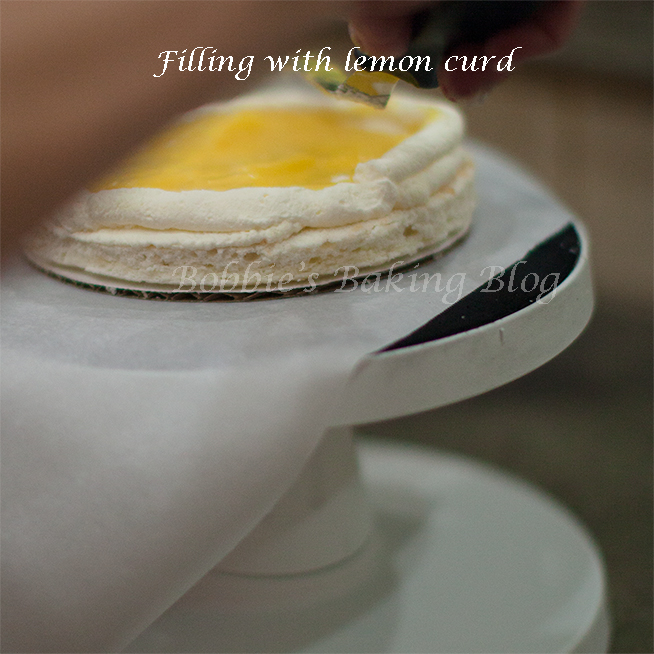
- 1-recipe Lemon Curd
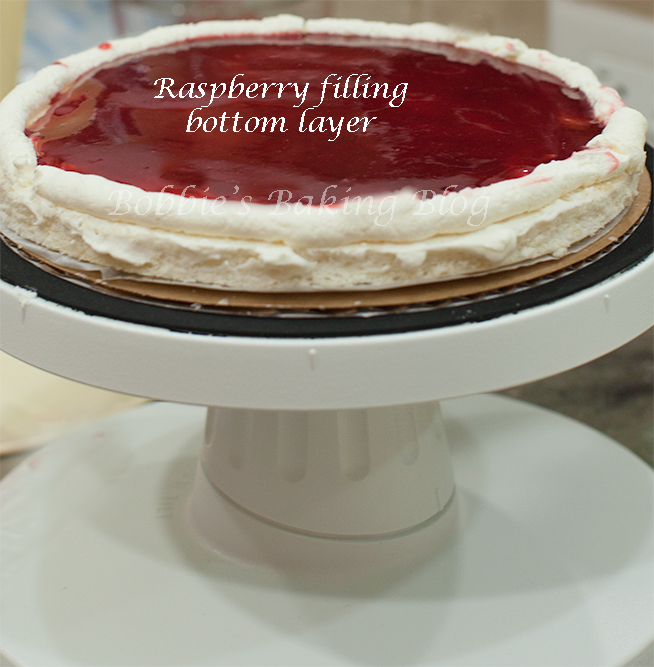
- 1-recipe Raspberry curd
- 1- recipe Framboise simple syrup
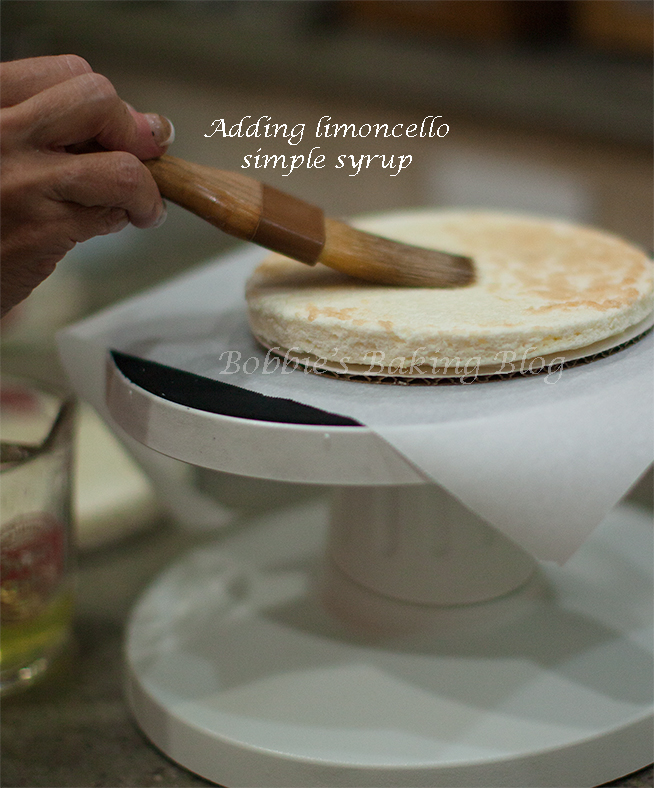
- 1-recipe Limencello simple syrup (you can follow the above link for the Framboise simple syrup, just substitute the limencello for the framboise)
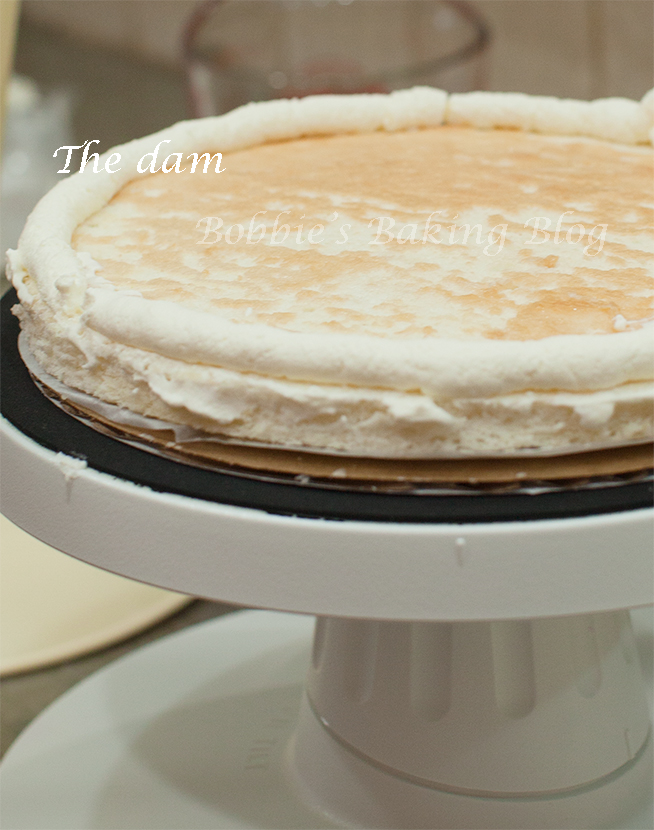
- 1- recipe Creme frâiche whipped frosting
- 4-#2 piping tubes
- 4 piping bags
- Marzipan
- Fondant, white
- Bead cast
- Petal dust/ lime green & antique silk
- Food safe marker
- 1-smart marker
- Scribber tool
- Tiger Lily clusters
- Corn starch
- Fondant smoothers
- Fondant mats
- Fondant rolling pin, non stick
- Sharp knife
- Fondant wheel cutter
- Cake turn table
- Wax or parchment paper
- Mini saw
- X-acto knife
- 2-15.2 cm/ 6-inch round cardboard cake rounds
- 2-22.3 cm/ 8-inch cardboard cake rounds
- 1-25.4 cm/ 10-inch cake drum, foiled covered
- Graphite pencil
- 6- lollypop sticks/or dowels
- Off set metal spatula, large
- Offset metal spatula, small
- Small amount of buttercream, (to adhere the cakes)

Mise en place
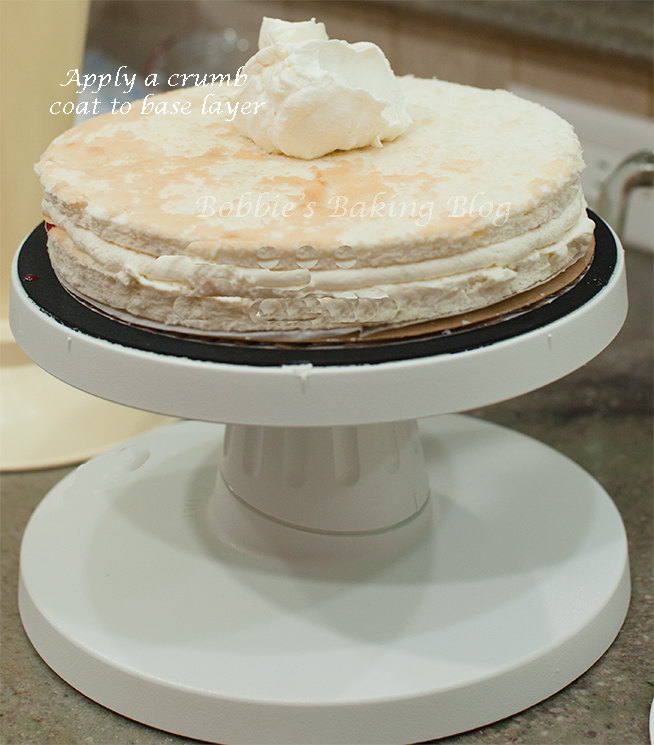
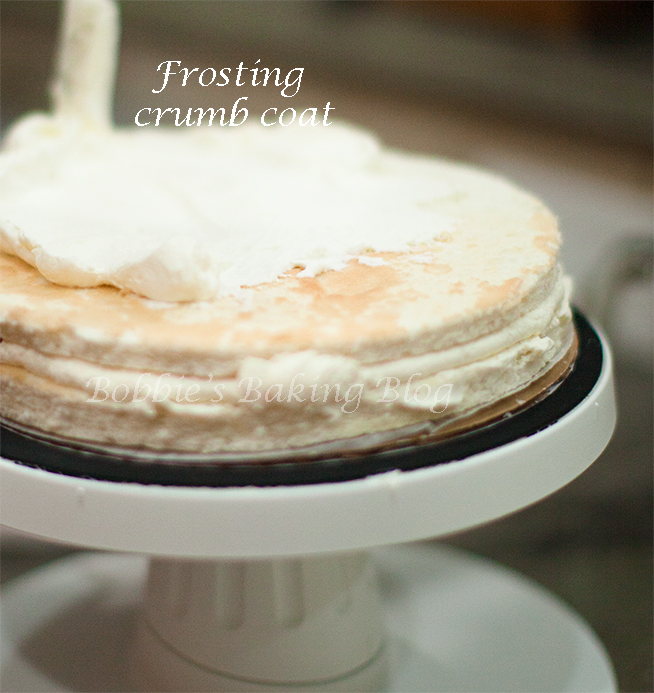
Assemble and prepare the bottom tier. For recipes for the cakes and sauces please click the links above.
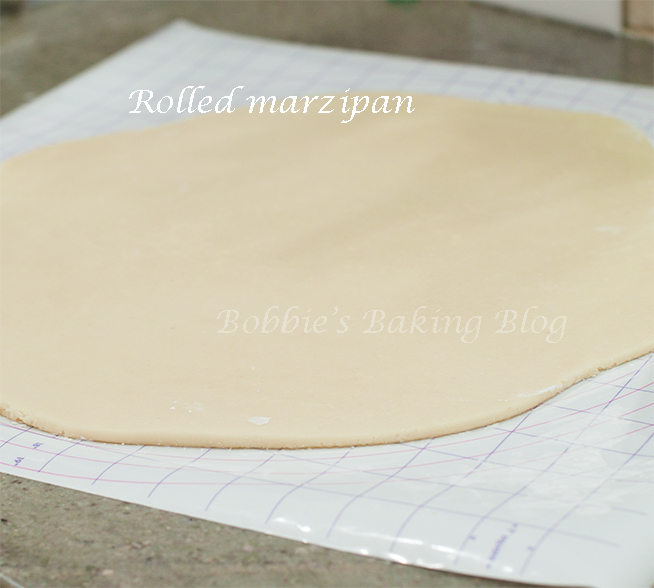
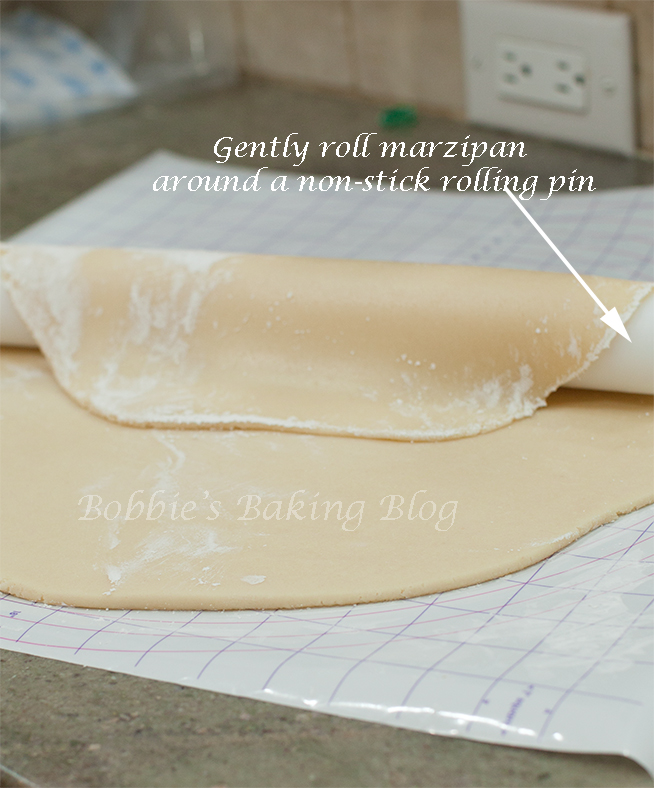
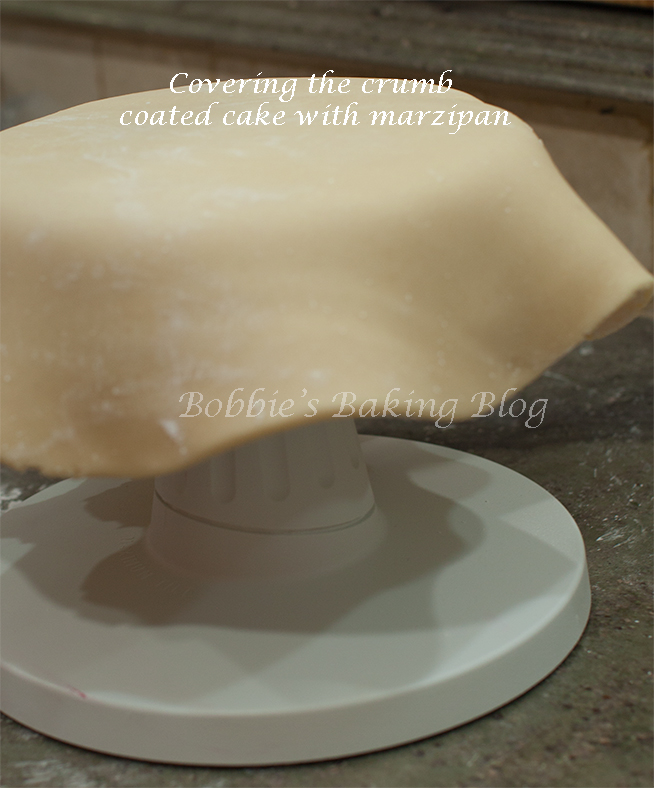
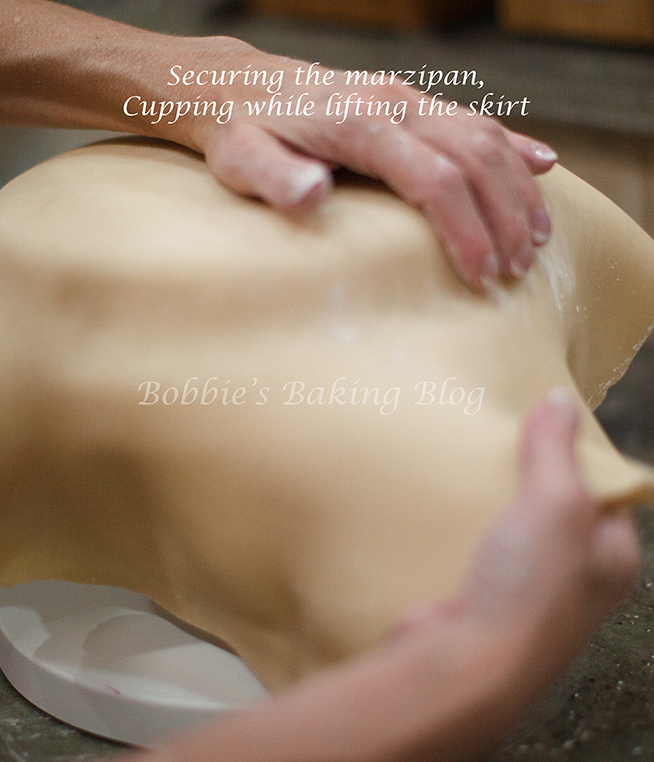
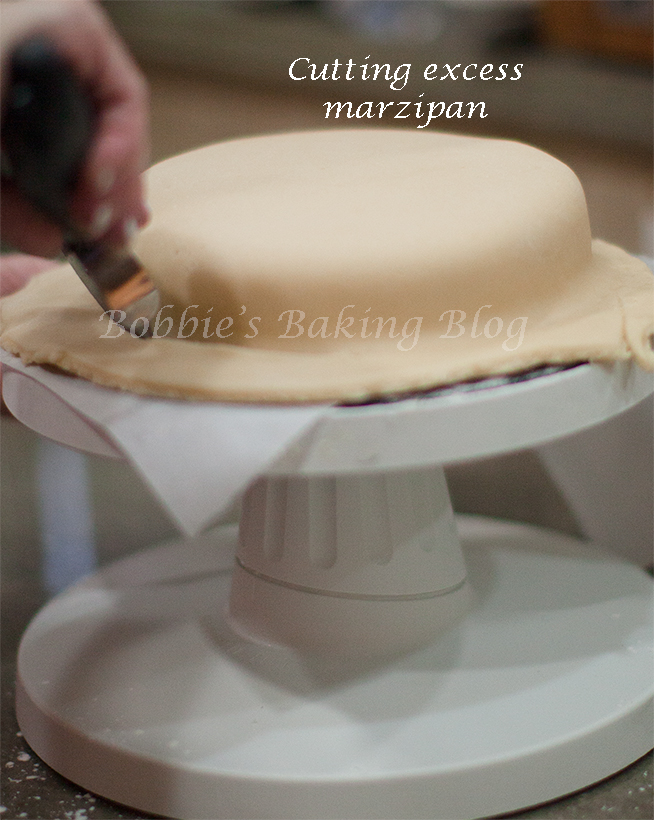
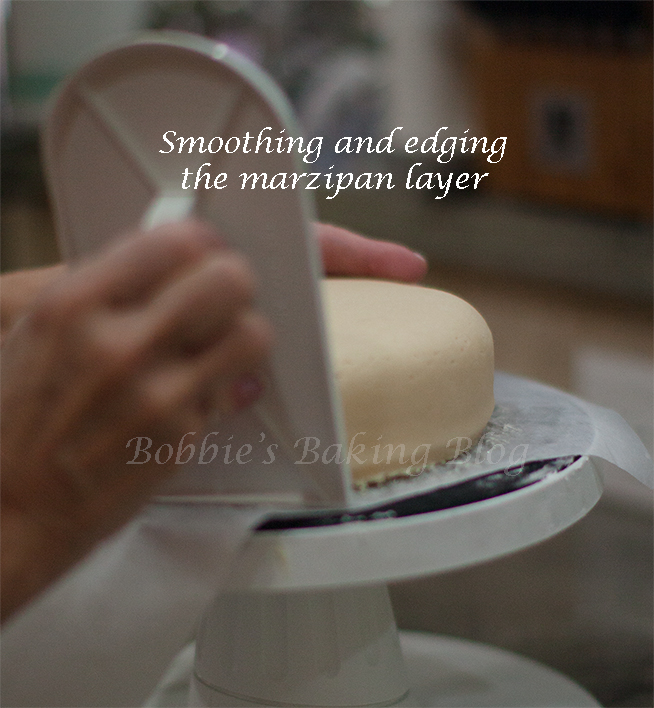
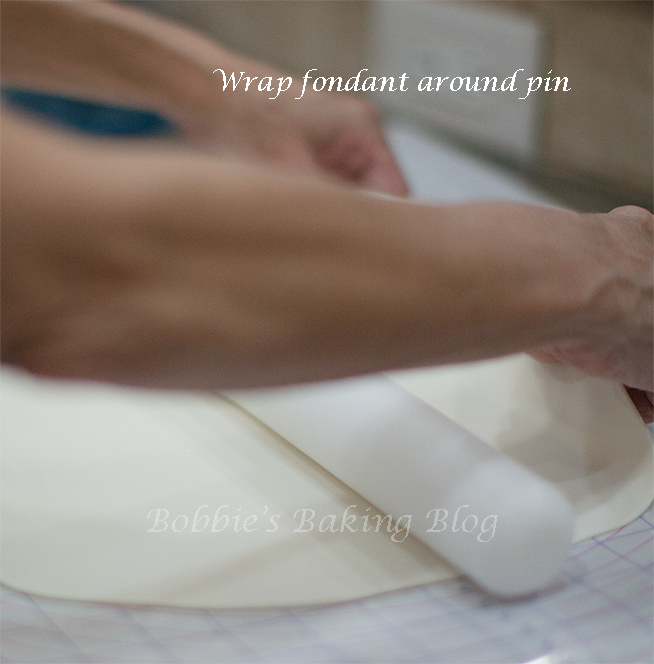
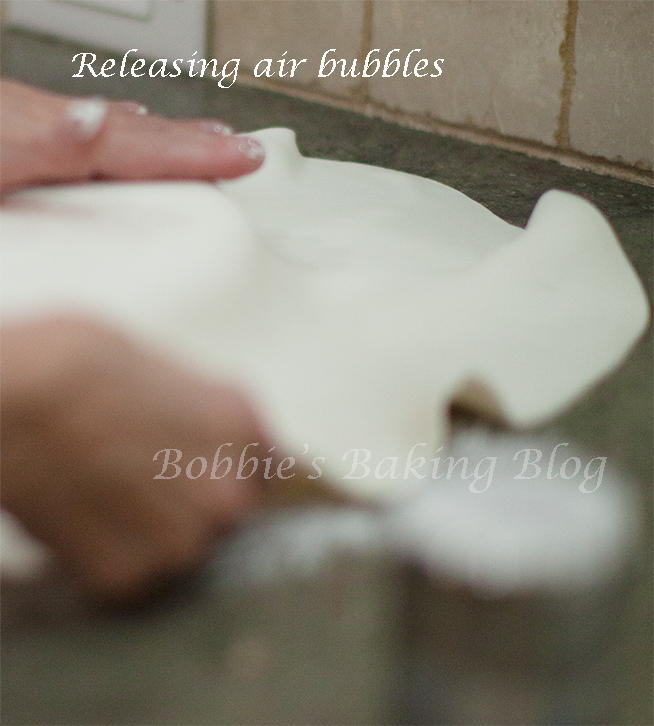
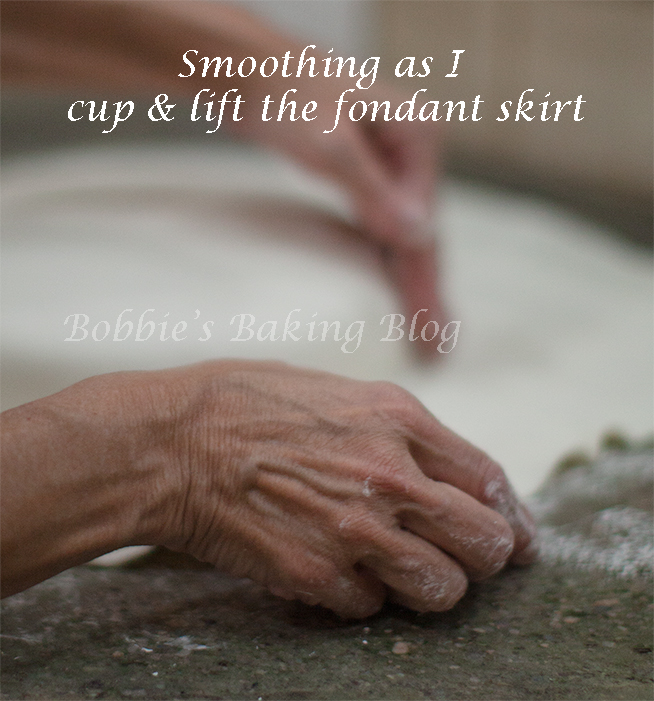
Fold and soften your marzipan. Roll the marzipan, using a little cornstarch, to prevent sticking to a 16 inch circle (.64 cm/1/4-inch thick) for the 8×3-inch cake filled. Wrap the marzipan around the nonstick fondant rolling pin, gently lift the rolling pin up and drape the circle of marzipan equally around the cake. Smooth the top with your hands to release any air pockets, and carefully cup the marzipan around the cake while lifting the skirt. Cut the marzipan leaving a .64 cm/ 1/4-inch edge, smooth the marzipan with a fondant smoother, and create a snug bottom fit. Allow the marzipan to dry for 24 hours, at least.
Now prepare and assemble the second tier.
Follow the tutorial slider and directions for putting marzipan on the second tier, except roll the marzipan to 14-inches.
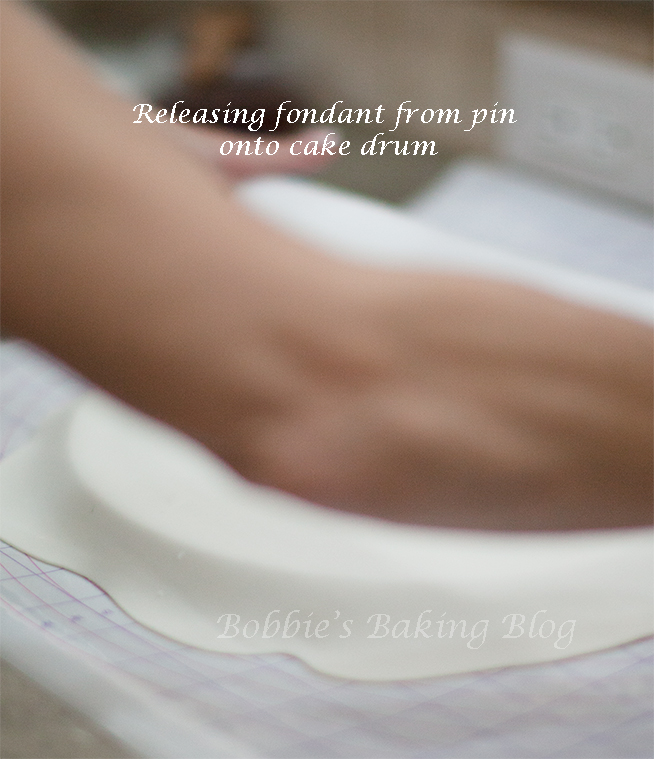
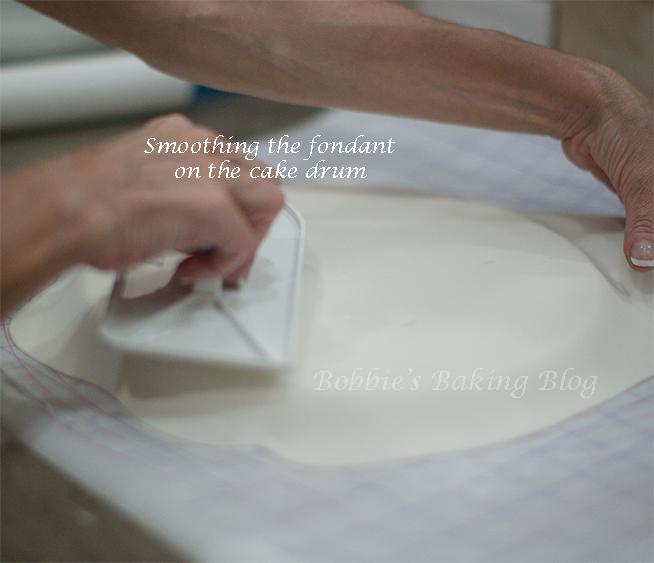
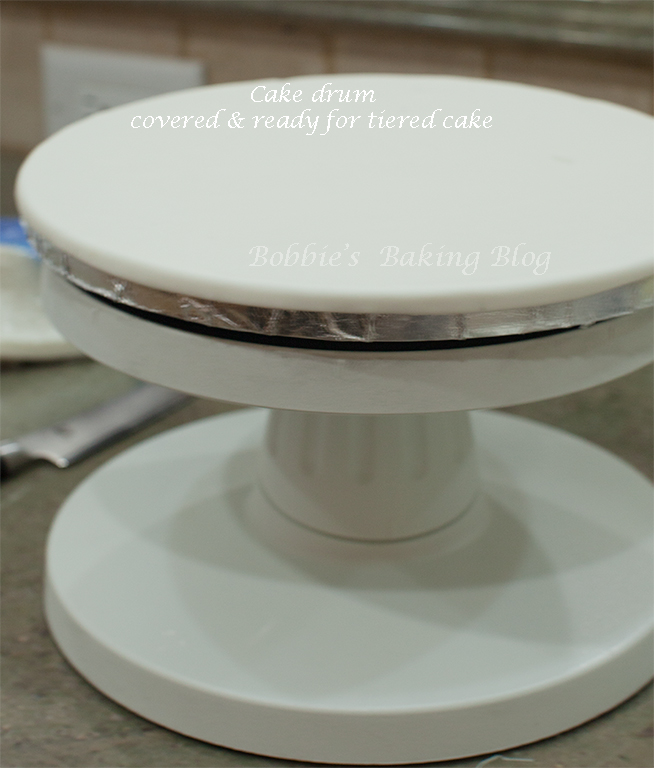
To create an aesthetically beautiful look to the whole cake fondant the 20.40 cm/10-inch cake board. Roll prepared softened fondant to 35.50/ 14-inch round disk, dust the foil round with cornstarch and lightly brush with either simple syrup or alcohol (this will ensure your fondant will adhere to the cake drum). Lift the rolled fondant around the rolling pin lay gently over the cake drum, smooth the fondant with a fondant smoother, and cut excess fondant.

Tiger Lilies and summer go hand in hand
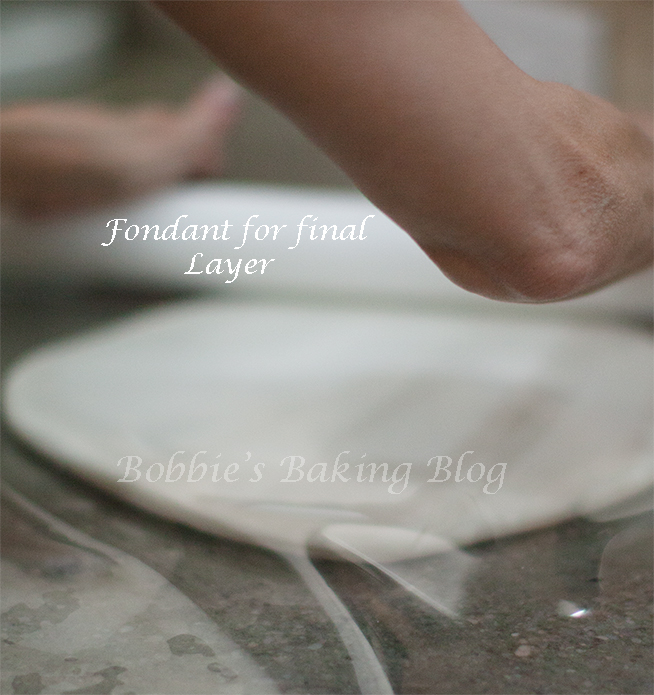
Finally we have the chance to fondant the cakes, the directions are the same except for the diameters, 16-inches for the bottom tier and 14-inches for the top tier.
Prepare your fondant mise en place.

Fondant mise en place
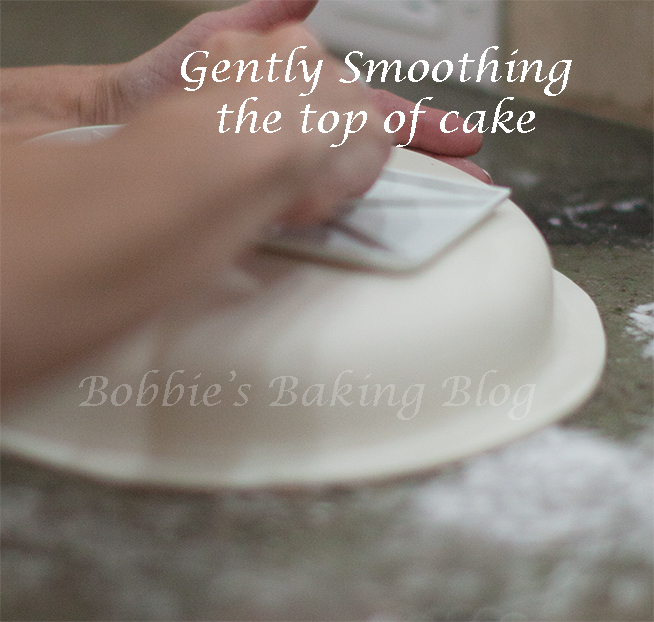
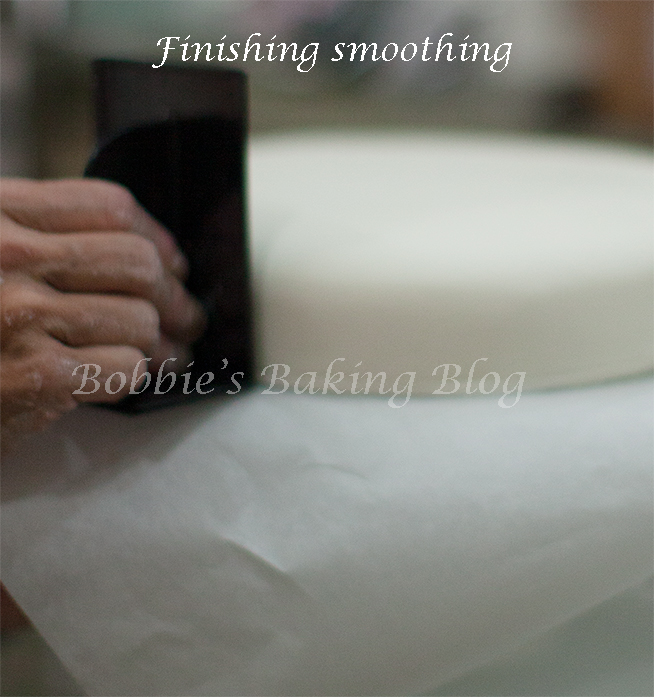
Using a large fondant mat of choice, roll the fondant out to the appropriate size for the tier you’re working with, lift fondant either attached to the mat or around a rolling pin, Sydney and I prefer using a very short cake turn table or just working on the counter, this way we limit the chance to have the fondant stretch, (please do what your are comfortable with). With your fondant on the mat or around the rolling pin drape the fondant, centering, over the cake, smooth the top with your hands to release any air pockets, working an inch at a time cup the sides of the fondant covered cake, while lifting the skirt (make sure you start at the top and work your way to the bottom of the cake). Once the fondant has been smoothed with your hands begin smoothing the fondant with a fondant smoother, starting with the top of the cake. Edge the sides and with a small cutting wheel cut sightly in front of edge line, gently remove excess fondant and smooth the cake, without over working the fondant.

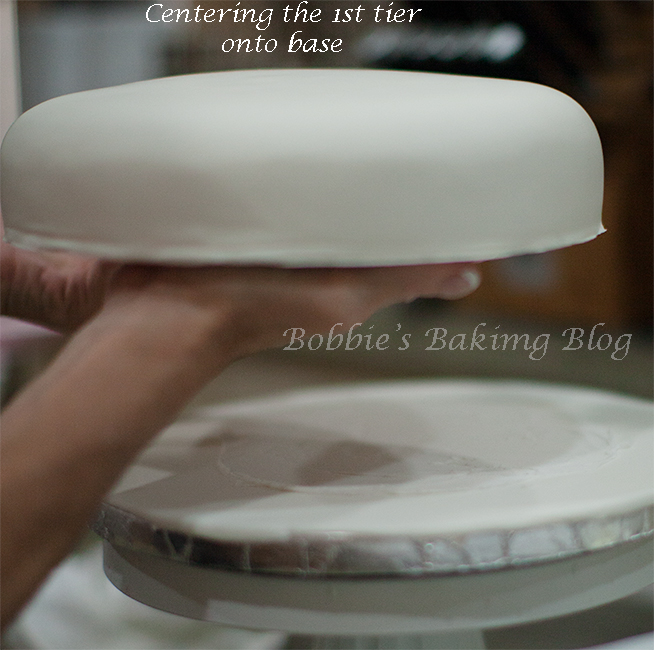
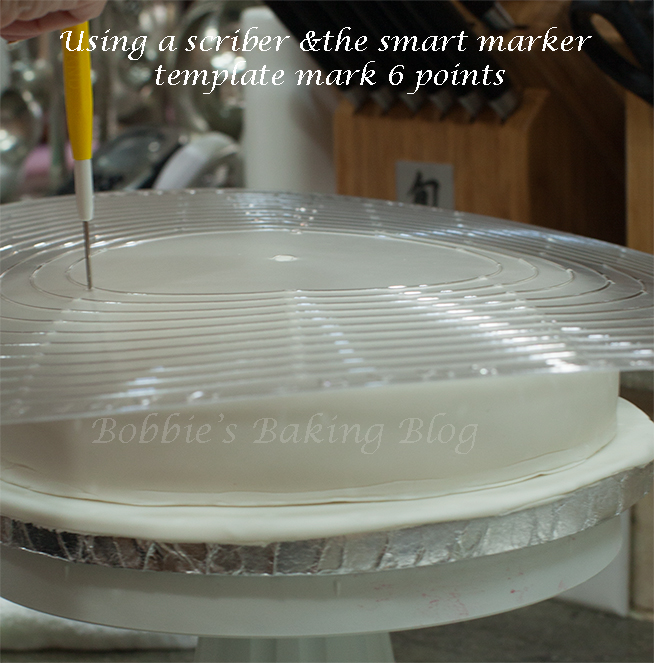
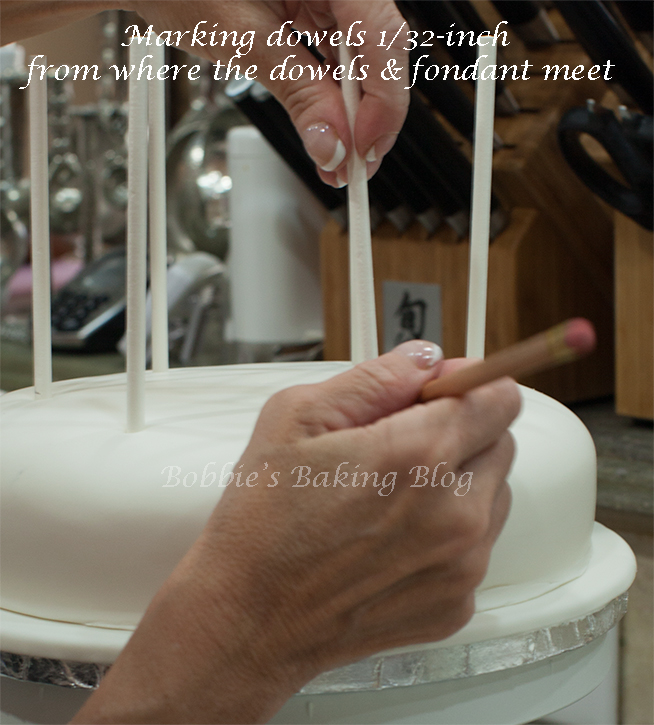
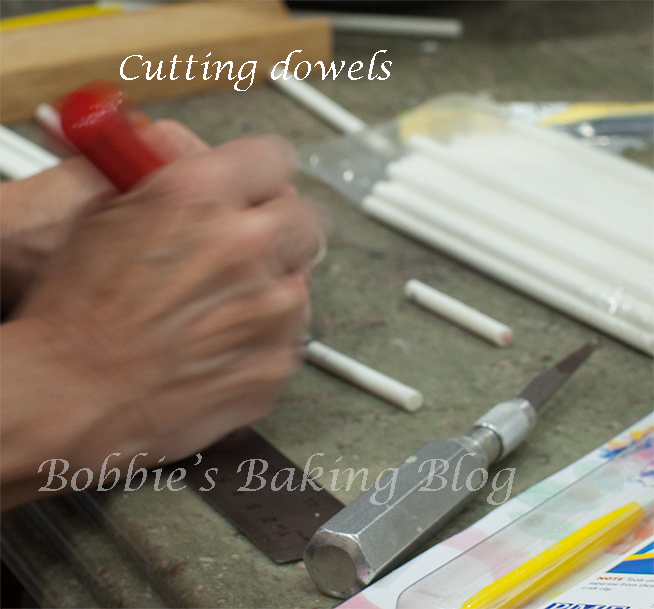
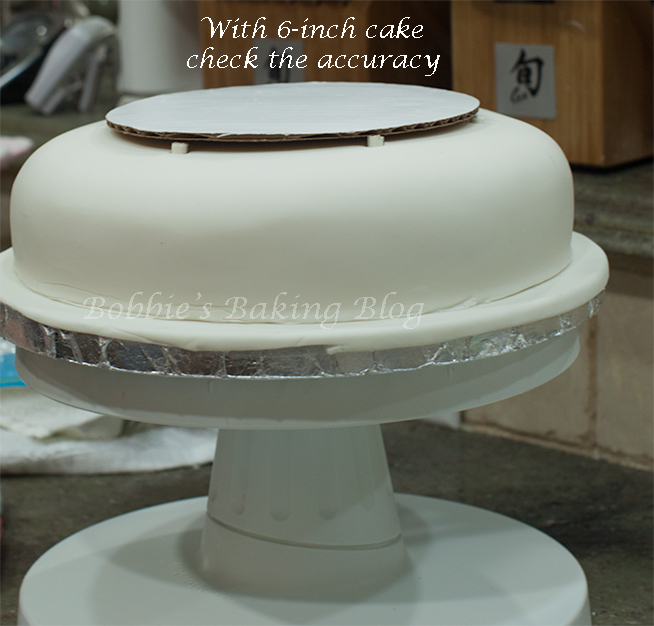
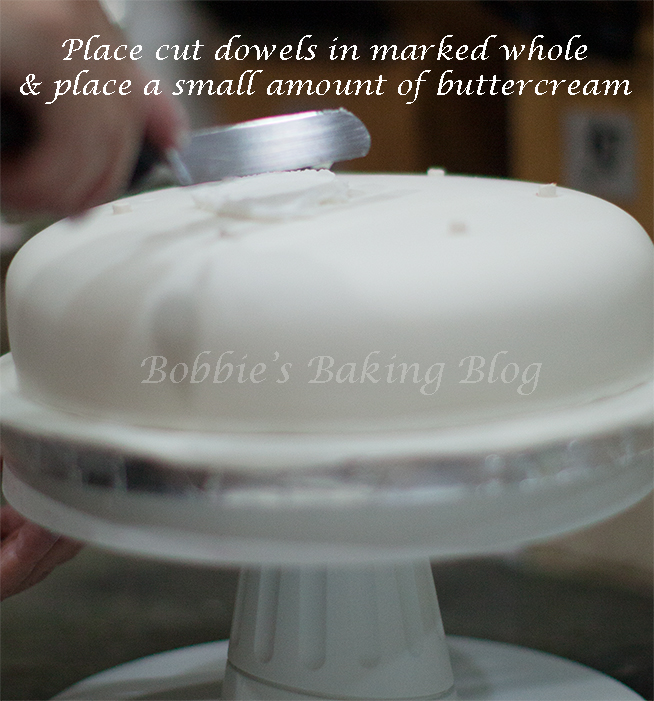
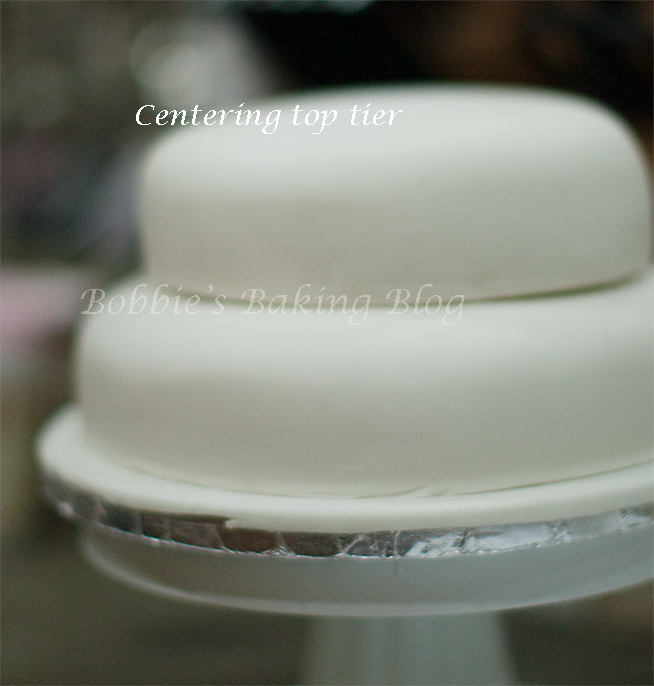
Now, we have reached the time when we can stack and tier the cake! Add 1 1/2-Tablespoons of buttercream in the middle of the 10-inch cake board, adhere the bottom tier directly centered on the fondant covered cake board. Adding the next tier you may either use the cake 15.2/ 6-inch cake board or a smart marker, Sydney and I used the smart marker. With either a scriber tool or toothpick mark 6 equally separated marks to the 8 inch cake, remove the smart marker or the cake board, gentle push the lollypop sticks/dowels in the marked points, making sure to go all the way down to the cake board, mark your dowels 1/32-inches above the cake. Remove the dowels, line them up to check the lines are even, using either a doll house mini saw or x-aceto knife cut the dowels on the mark, place them back inside the corresponding holes (check with the cake board for evenness. Once the dowels are ready buttercream the middle section surround by the dowels, center, and lay the next tier on top of the dowels.
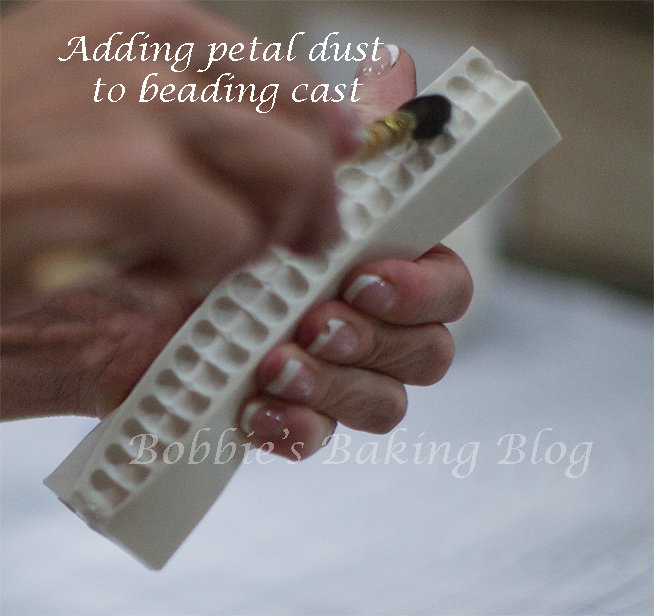
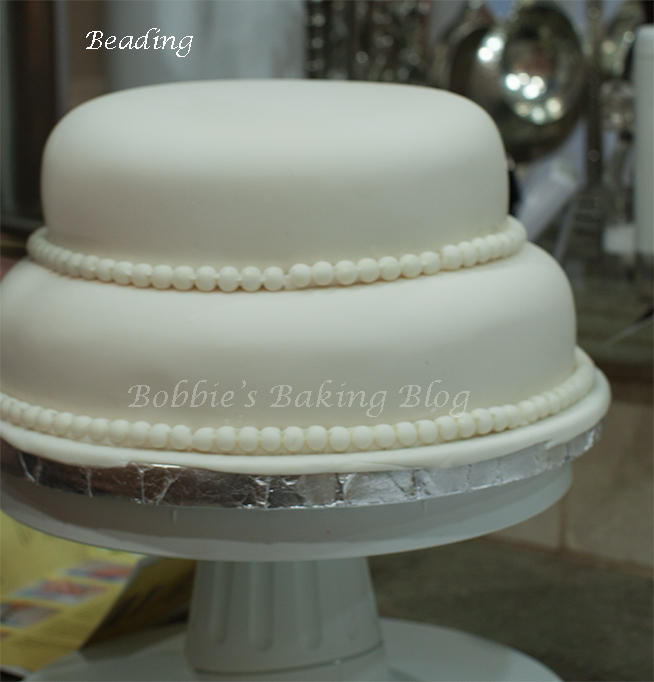
Now your cake is stacked and properly tiered but you probably have noticed there is a small space between the cakes. You may pipe a design in royal icing such as a shell boarder, beads or an “S” shape. Sydney and I decided pearl beads would be perfect for this cake. We use a bead cast, dusted the inside with antique silk petal dust, rolled a log a little longer than the cast and covered the log with the cast. The string of pearls where attached with piping gel. Lastly, we added our Tiger Lilies to the top of the cake with piping gel.
We hope this tutorial helps you design a lovely/ fun tiered cakes!

Sydney and I would love to see any of your cake decorating pictures!
Enjoy!

Viola!


Wow this looks great, lovely detailing on the cake
Thank you!