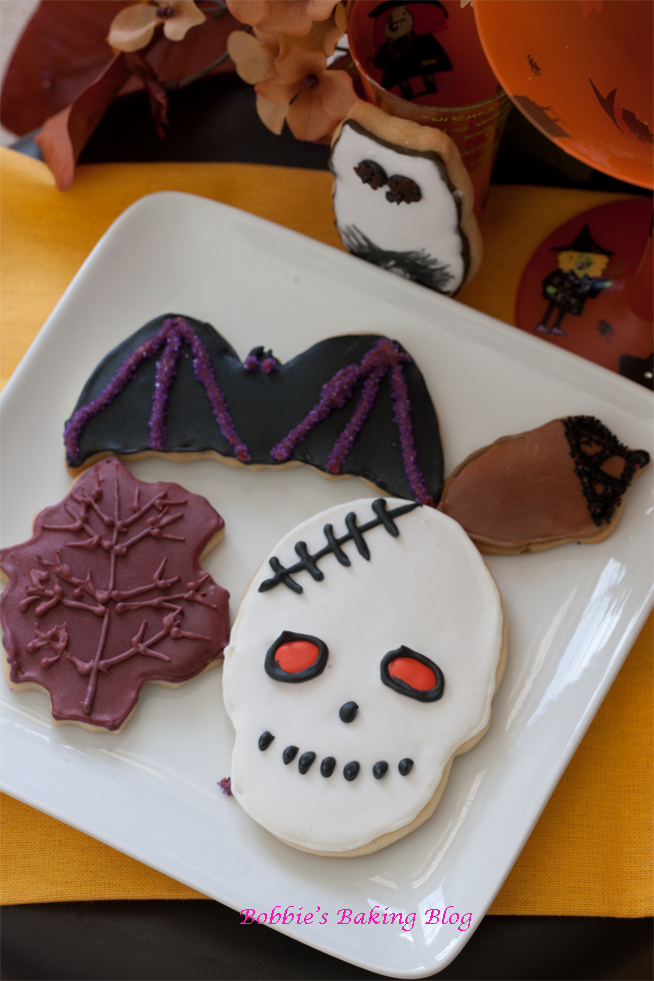
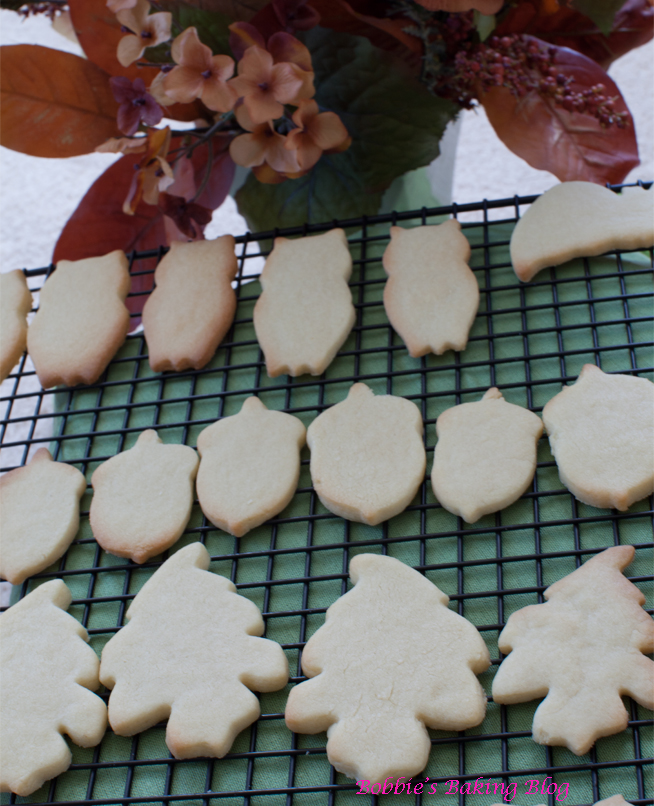
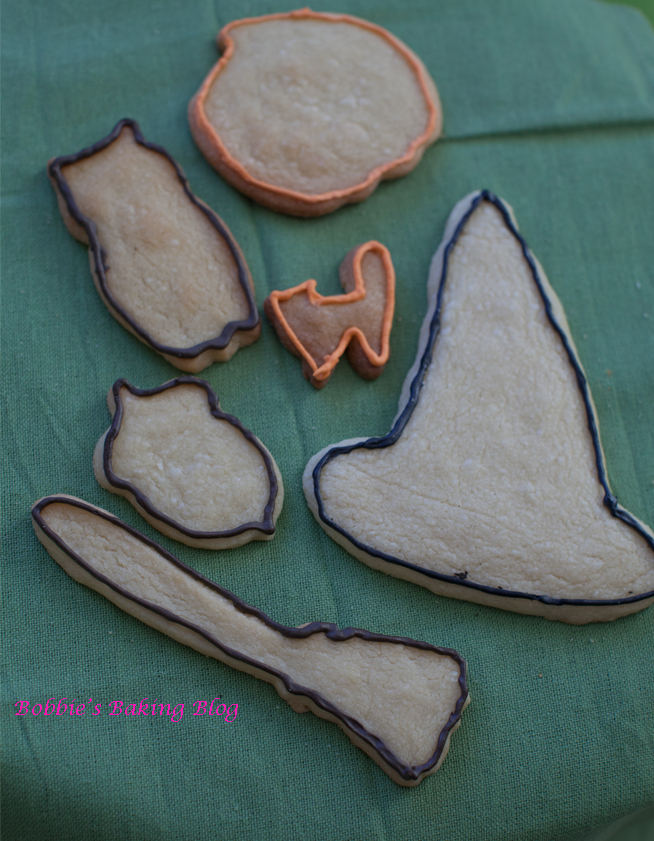
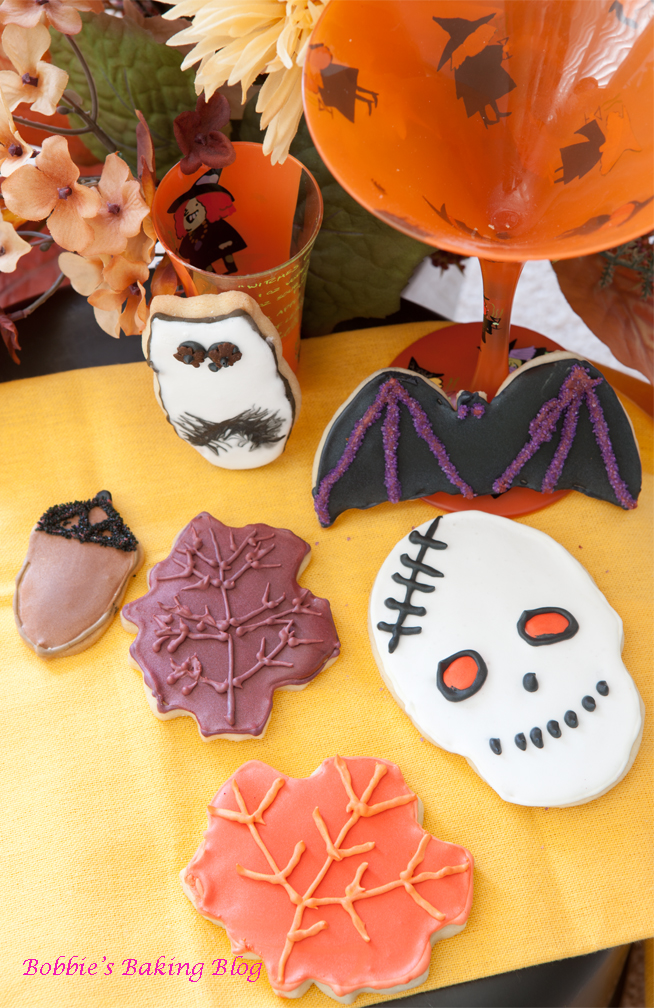
When we left off Sydney and I had created a satire for the baking sugar cookies; I promise my singing is finished. Time to talk about the processes of decorating sugar cookies. Once the cookies have completely cooled, we can begin to to outline the cookie. The outline has two purposes, first is to define the shape (in this case Halloween cookies) and secondly to hold the flooding color from dripping all over the cookie.
There are a few steps to prepare for outlining, decide what product will be used for the cookies, sprinkles (which could be added prior to baking) fondant or icing sugar. I prefer to use one method at a time, both icing sugar and fondant are time consuming, fun, and create beautiful cookies. For our Halloween cookies we chose icing sugar.
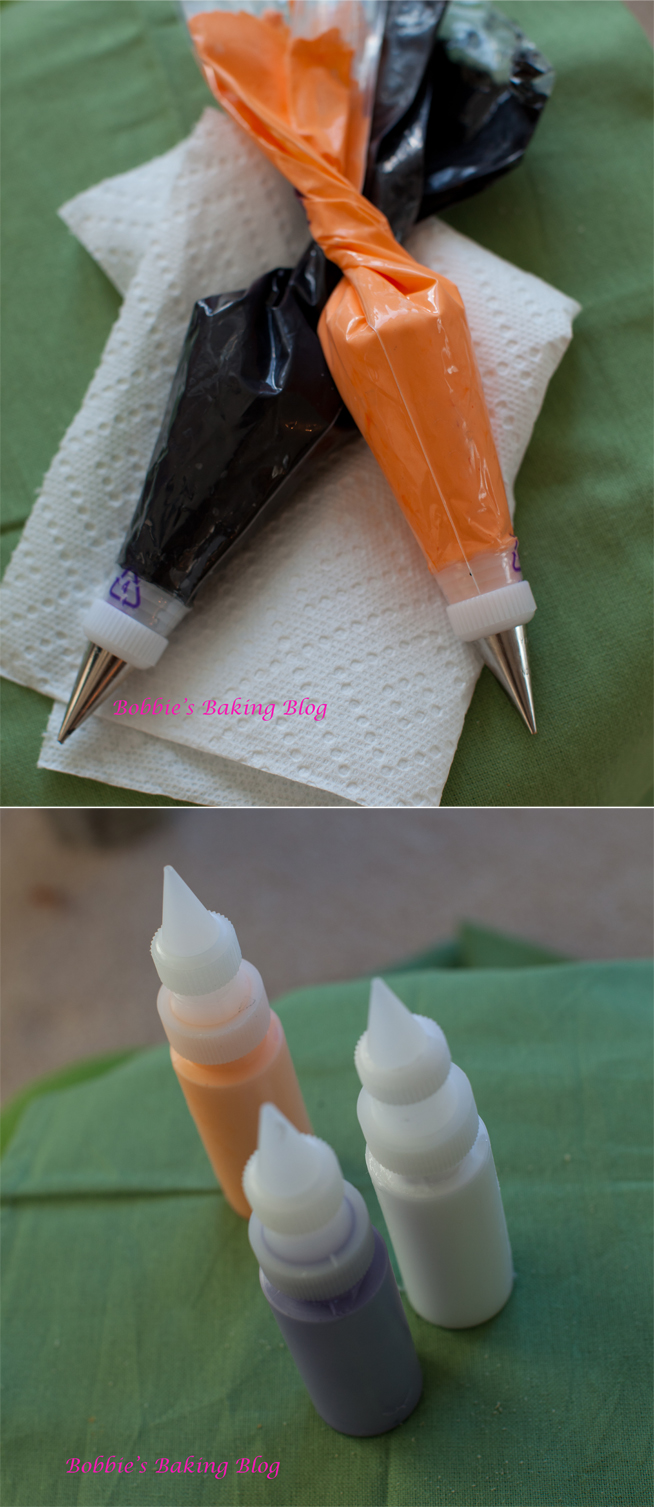
The recipe is almost the same for both; with the addition of more water or lemon juice. Sydney and I prefer to outline with a bag and a #1 or #2 tip; then flood the cookies with a bottle and plastic tip #3. This is only a personal preference.
To outline a cookie is pretty easy if you remember not to think about it; what that means don’t worry about a prefect line. Begin with the cookie on a flat work surface with parchment paper lining the area where the cookie will be lined. (I dab a little royal icing sugar in the corners to hold the parchment paper in place). Color your outline Royal icing sugar, prepare a piping bag with a #2 tip and coupler, turn the bag down, with a small spatula fill the bag, bring the bag back up, and twist the top. Squeeze a little icing from the bag onto the counter to achieve the correct flow, choose a point of the cookie to begin, gently squeeze and outline with a thin line, allow the icing to do the work and lift the tip away from the cookie and let the line fall around the cookie. (Squeeze again only if you need to define a point i.e. the top and bottom of the acorn).
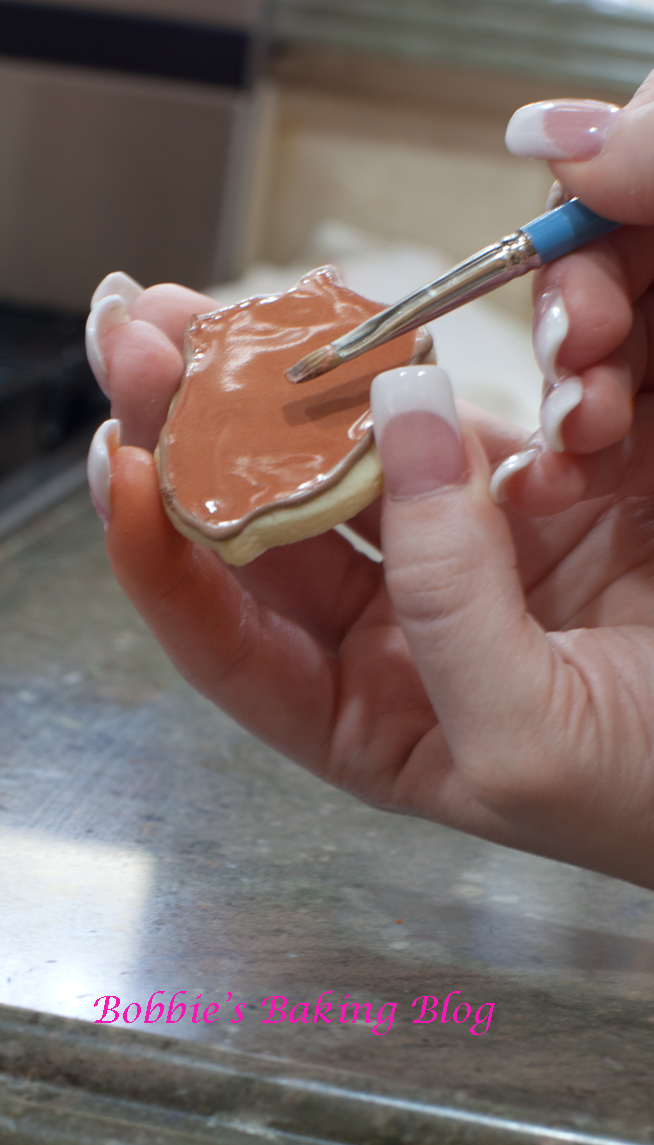
To flood a cookie can be time consuming until you find your rhythm and personal consistency of the royal icing. Start by coloring (color of choice) the flood icing, I prefer a consistency of light cream, Sydney prefers a tad runnier. Pour the flood icing into a squeeze bottle with a #3 tip, the icing should flow into the bottle fairly fast, if you find the flood icing is moving slower then your child on the first day of school add more liquid.
There are to ways we have found to work with ease and leave you with a smooth surface:
1. Begin in the middle of the cookie and work the flood icing to the outline, gently shaking cookie to force the flood in place. If air bubbles pop up use a tooth pick to barley prick the air bubble.
2. Start close to the outside and work the flood toward the middle adding more icing as needed.
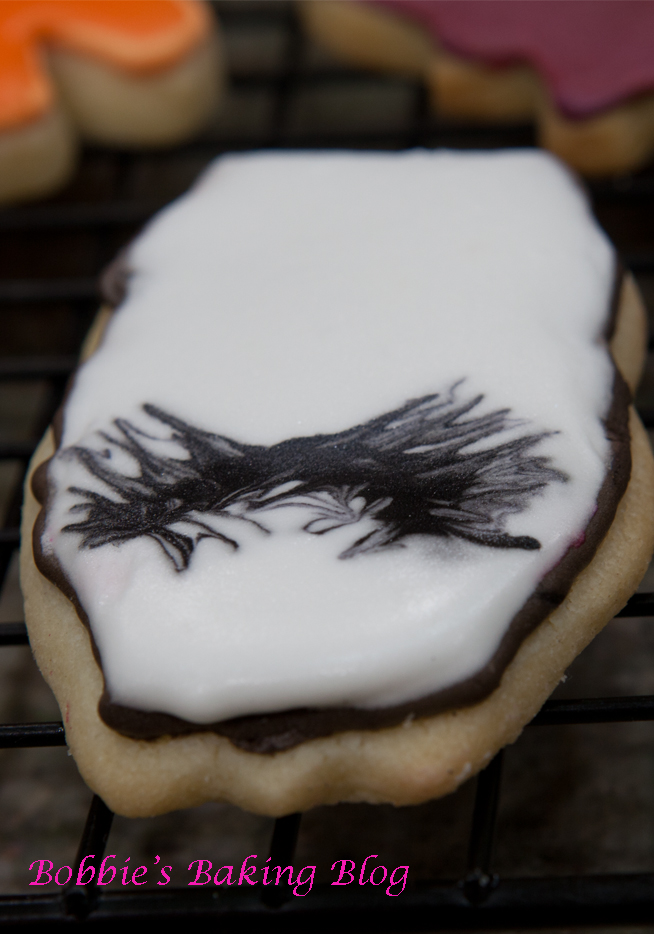
Allow the cookies to dry over night before adding decorative detail, unless you are feathering (another post) or adding sprinkles, jimmies or sugar which should be done while the icing is wet.
Royal Icing:
1-recipe for Sugar Cookies, Baked This Way
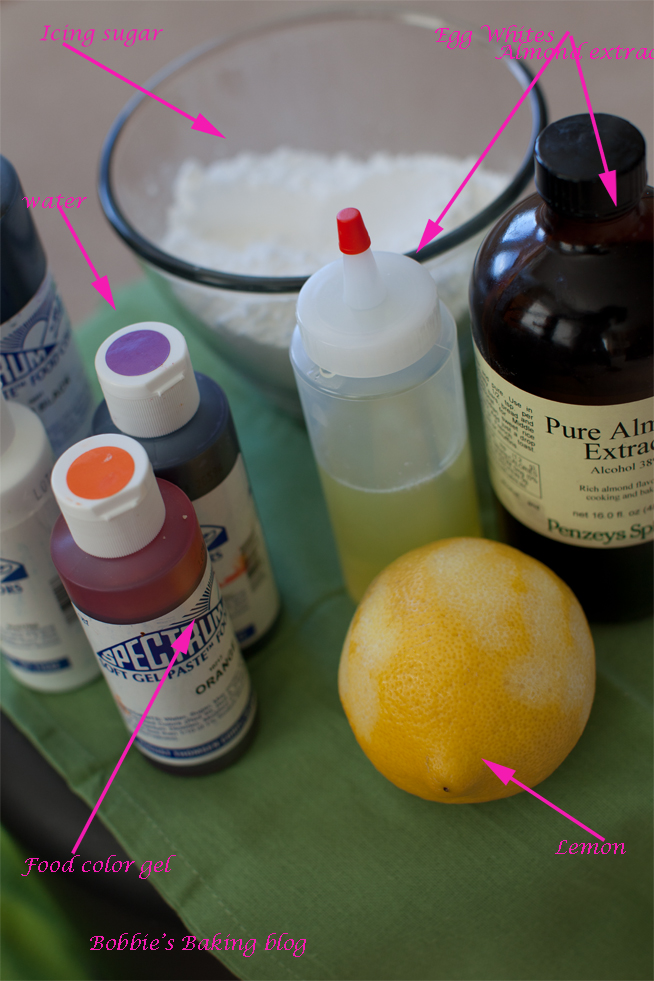
240g – 360g ⁄ 2 – 3 cups Icing Sugar, unsifted
90 grams/3-Tablespoons egg whites
2 tablespoon Lemon Juice
1 tsp Almond Extract, optional
15 grams/ 1-Tablespoon water, outline
Prepare your mise en place.
Royal icing outline:
In a large bowl with with a hand mixer or a standing mixer add all the ingredients, whisk until the royal icing resembles a medium to stiff peak meringue and is shiny and smooth.
It’s important that the bowls/spoons/spatulas and beaters are thoroughly cleaned and grease free.
Royal Icing Flooding:
240g – 360g ⁄2 – 3 cups Icing Sugar, unsifted
90 grams/ 3-Tablespoons egg whites
2 tablespoon Lemon Juice
1 tsp Almond Extract, optional
45 grams/ 3-Tablespoons water, flooding
Use immediately or keep in an airtight container.
Royal Icing hardens with contact to the air, make sure to keep containers covered with either a lid or with plastic wrap while not in use.
For adding decoration use the outline consistency. Decorating becomes easier with practice; the holidays are upon us so Bake This Way and practice, practice practice. Remember to have fun and turn the decorating into a family affair!

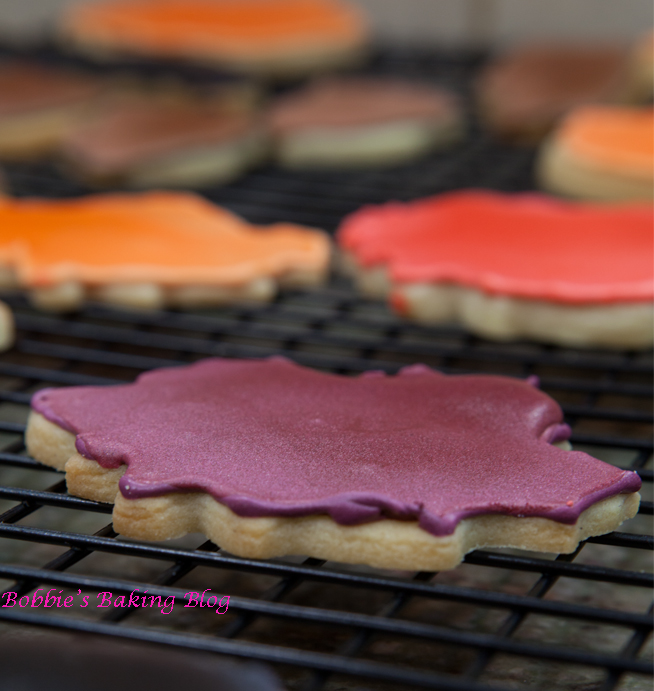





I was a nervous wreck the first time I tried flooding and even more so attempting a perfect outline. Thanks for the tip about starting from the middle with the flooding, I was working from the outline in. Love the deep burgundy color also.