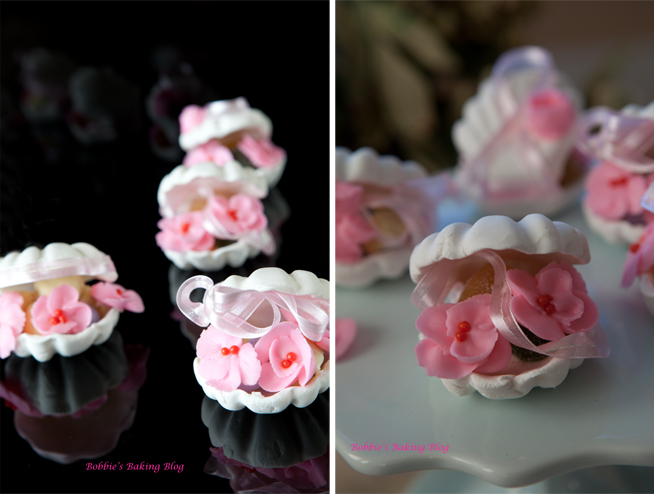
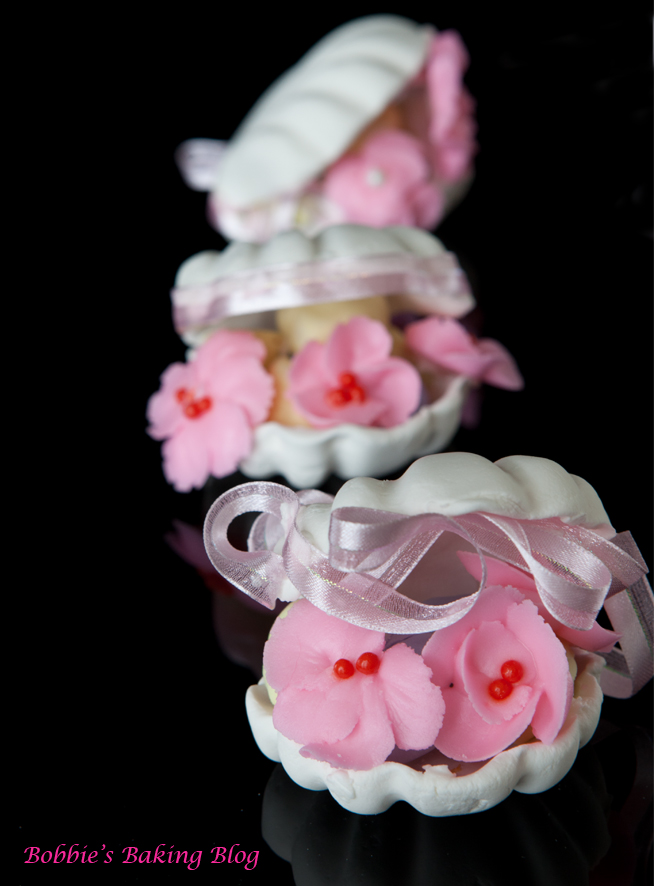
I was working with my camera on a cloudy rainy day; the clouds felt the need to move around and mingle with one another. I thought the first photograph (right side) looked nice until I viewed the photo on my large I-mac screen; the exquisite pastillage shells looked dull and dark. The first thought I had was changing the exposure, but the photo looked over exposed (I couldn’t believe it). After changing the iso and f-stop, to no avail, I finally tried using a completely different back ground.
As you can see the pastillage shells still look dull and the Royal Icing piped flower are almost lifeless (on right side). By adding the two pieces of black plexi-glass not only did the contrast of white on black help the shells; the reflective light the plexi-glass added just enough light. Both pictures were photographed using the Cannon EOS 5D Mark11 and 24-70 Cannon lens. The plexi-glass was set under the shells and DF angled the second piece (both squares of plexi-glass were the same size), I turned the camera for a vertical shot. As seen in the photos above the difference was 100% improved.
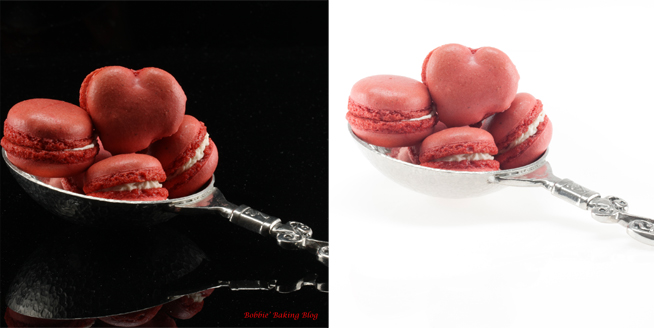
Changing the background will not produce the result desired every time, it becomes a trial and error game. The Strawberry Tart photographs needed an exposure change due to too much sunlight.
Both Strawberry Tart pictures were taken with a Cannon 1Ds mark111 and 100 mm lens. The technical change that finally worked was changing the exposure to +1/2. Though the amount of exposure change was minimal, but the variance to the naked eye was grand!
Sometimes you can change the background and have both photographs be wonderful, with a completely different effect on the viewer. I am alway ecstatic when I achieve two amazing results with the same subject and condition, but the look gives effectively different responses.
As an added bonus I am adding my pectin fruit gel recipe:
Fruit Jelly Candies with Pectin:
Skin:
10 grams/1 ½ – Tablespoons agar agar
230 grams/ 1 1/8-cups sugar
190 grams/ ¾-cup water, cold
170 grams/ ½-cup inverted sugar(trimoline)
190 grams/ lemonade or limeade concentrate
150 grams/1/2- corn syrup
1-teaspoon lemon juice or lime juice
1- teaspoon water
Colorant of choice
150 grams/ 1¾-cup sugar, reserved for coating.
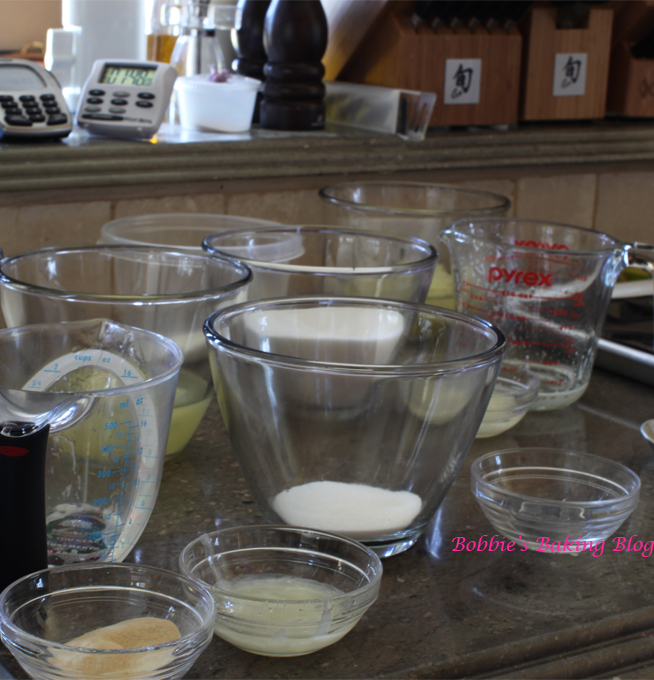
Prepare your mise en place.
Whisk the lemon/or lime juice with the water (this a citric acid), and place the 150 grams/ 1¾ -cup sugar in a medium wide bottom bowl, and set aside.
In a medium saucepan, off heat, whisk 25 grams of the sugar and the pectin.
Add the lemonade, over medium heat, stirring with a wooden spoon to combine, bring to a boil stirring occasionally.
Once the mixture has begin to boil add the remaining 205 grams/2-cups, plus 1-teaspoon sugar, the corn syrup, and inverted sugar. Stirring continuously until the mixture reaches 116 degrees C/ 240 degrees F on candy thermometer.
When the mixture has reached the correct temperature, remove from heat and stir the citric acid and a few drops of colorant.
Very carefully, but quickly pour into a measuring, pour from the measuring jug into the forms.
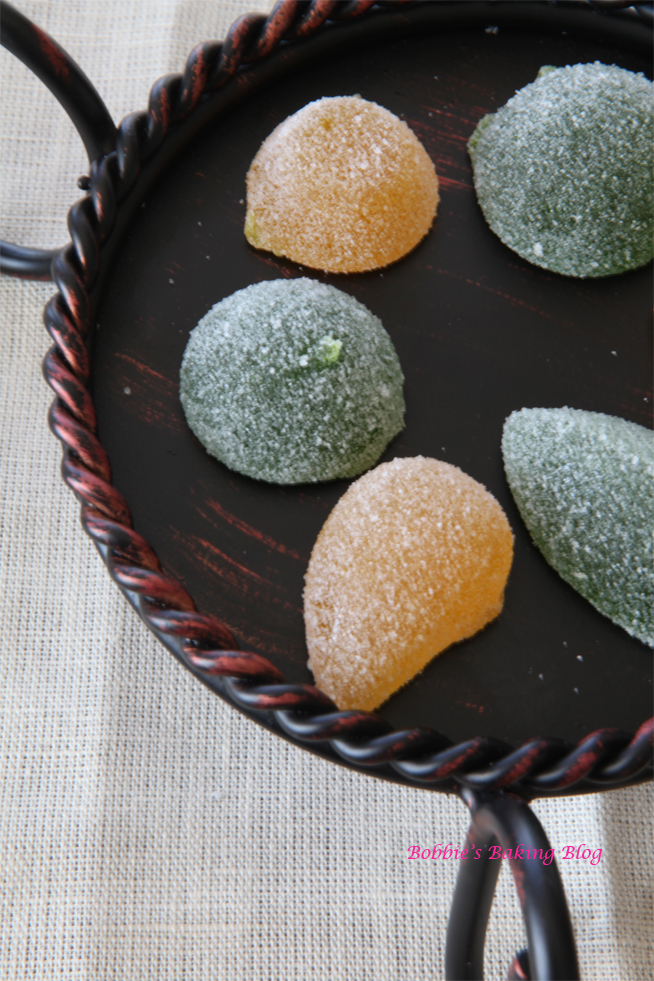
When the jellies are completely cooled, remove the jellies, place them one at a time in the reserved sugar, completely cover.
Store the sugared jellies in an airtight container.
**Any flavor purée will work the same, just remember to have the colorant match.
The sugared jellies are behind the the flowered sugared pansies






Thanks for this post, I’m always trying to improve my blog. Good info.
Very informative thank you.
nice
I love the black plexiglass background – gives such dramatic results! Definitely going to try that sometime.
Great tips, Bobbie! Beautiful results.