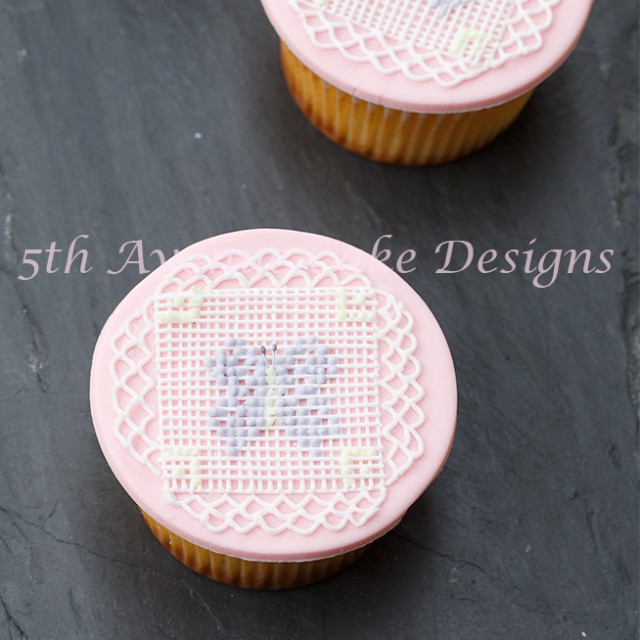
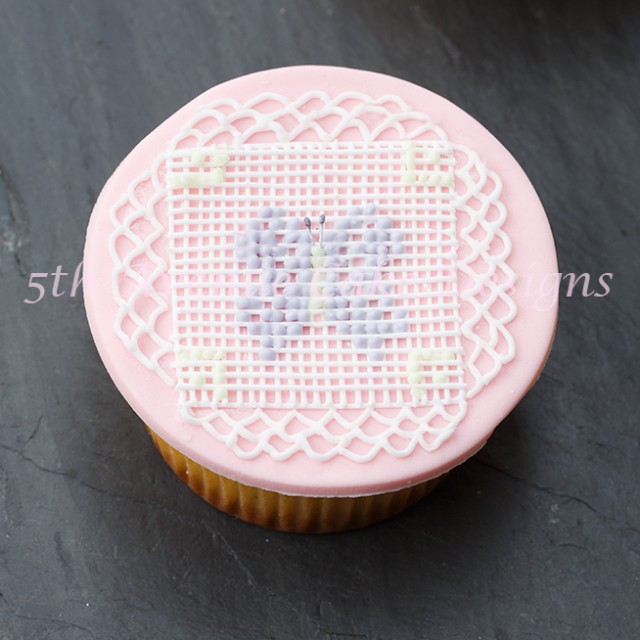
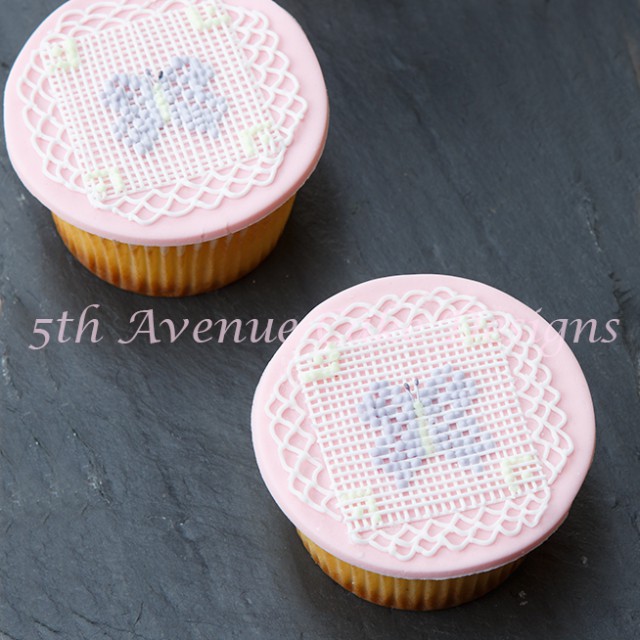
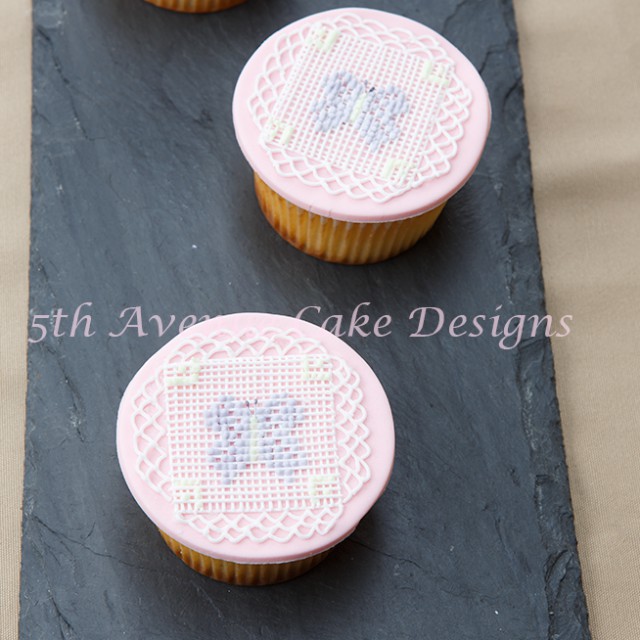
Cross stitch with royal icing might be time consuming, but the finished design is unbelievably rewarding.
I have cross stitched flowers on sugar cookies, and thought it would fun to create a cross stitch pattern on cupcakes.
Cross stitching has become a popular cake decorating technique for any occasion. The cupcakes above are for my niece’s continuation, they would also be perfect for a birthday party.
Once you have an unstinting of the royal icing cross stitch method you can pipe any type of design. The butterflies are a simple design, however if you could pipe intricate bells for christmas, or fancy flowers for a wedding shower. The possibilities are endless.
I have prepared a detailed video tutorial exhibiting how to cross stitch the butterfly with royal icing.
Royal Icing Cross Stitch Butterfly Cupcakes:
Equipment:
- # 5/0 soft artist brush, 2/0 would be fine as well
- Scriber
- Parchment paper cornet, 2
- #1 PME nozzle, Blank grid piped
- Cross stitch pattern grid
- Cross stitch butterfly pattern
- Mini off-set spatula
- Work board
- Double head small stamens, petal dusted black
- Black petal dust
Materials:
- Royal icing
- Food Paste
- Lilac, SF
- Wisteria, SKGI
- Vine green< SKGI
- Cooled boiled water
- Spray bottle
- 1-recipe Cherry Blossom cupcake cover with fondant
You can find the supplies, cross stitch patterns, and grid at 5th Avenue Cake Shop
Bake, cool, and cover your cupcakes.
I covered the cupcakes in a baby pink fondant to match the cherry blossom flavor.
Allow the fondant to dry for at least 4 hours prior to piping your royal icing cross stitch, this avoids denting your fondant.
This video is how to pipe the butterfly and corners, to see how to create the grid
please visit Cross Stitch with Royal Icing Video
For the butterfly patterns (there are six separate patterns, with numbered grid) visit Butterfly Pattern Cross Stitch.
Bead Consistency:
Follow the same method for the line consistency, except you will need to add more cold water. The icing needs to be between a soft peak consistency and 15 second flood consistency.
Place the icing into a parchment cone with your mini spatula. Test the consistency, pipe a few beads close together, if the beads maintain their shape, and the bead is round without peaks you are ready!
If you need a refresher on royal icing consistency visit Royal Icing Tips and Techniques.
For my lavender colour I mixed 3-parts Wisteria and 1-part Lilac.
Now that you have your royal icing ready and your grid piped enjoy the video tutorial!
Tips for success:
I find if you wait about 2 minutes after you have piped the grid, prior to piping your beads.
Continually count your squares for each section.
Pipe your board once the cross stitch is completed.
The finer and smaller you create your grid the more sensational your finished cupcakes will look!


Wow Bobbie, you must have some steady hands! So gorgeous!!
Thank you