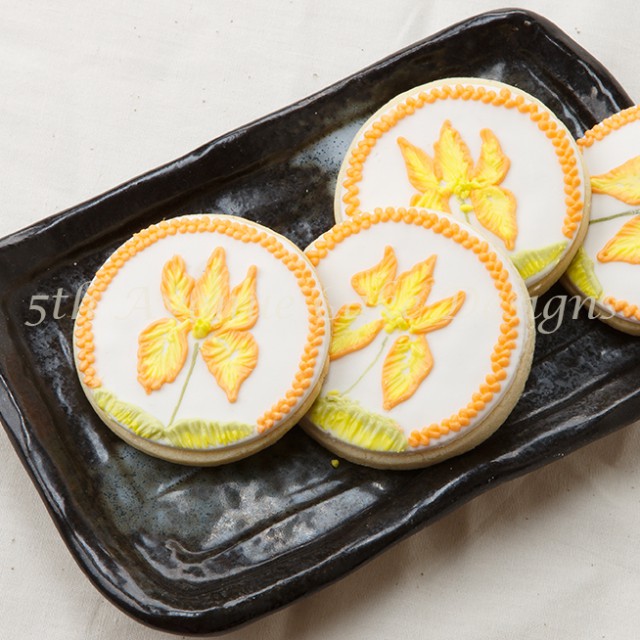
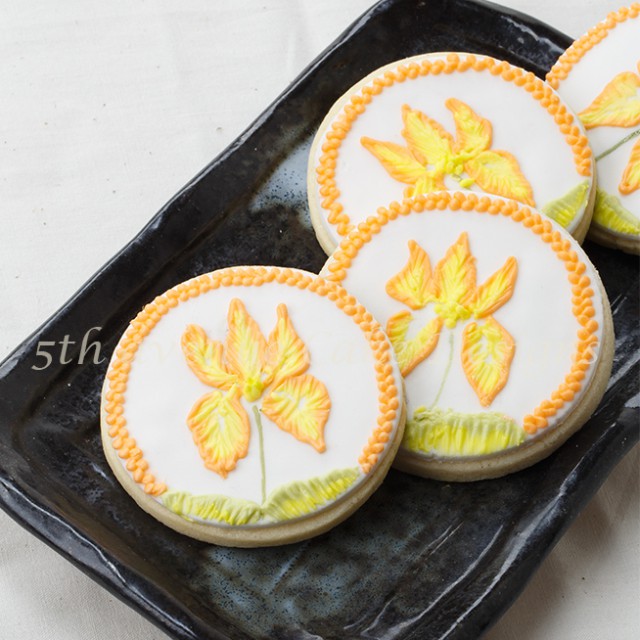
Brush embroidery is a cake decorating technique (that works well for cookie art). To achieve a brush embroidery design you pipe an outline in off-peak consistency, and with a lightly damped square brush paint towards the centre. Your outer line should remain raised and centre is almost flat.
The design can be transferred or free hand, the design above was free hand and will be available at my shop.
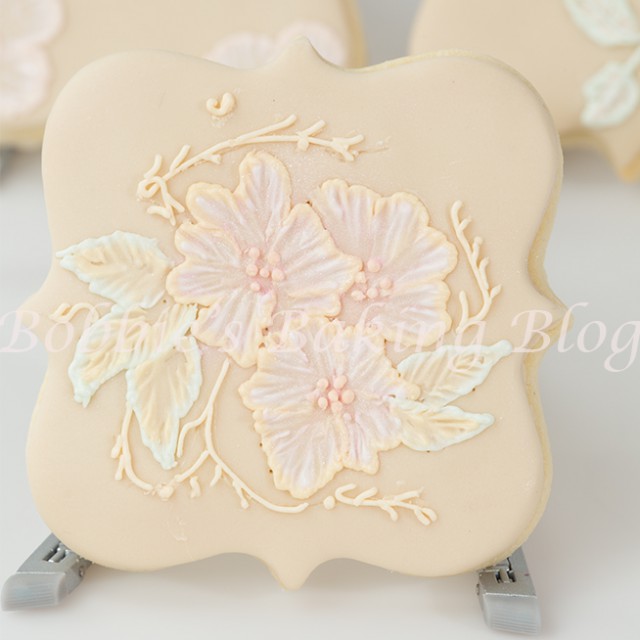
Two tone brush embroidery uses the same method, however you pipe another colour icing directly next to and under the originally outline. Just by adding a second colour you further add interest and definition to your design.
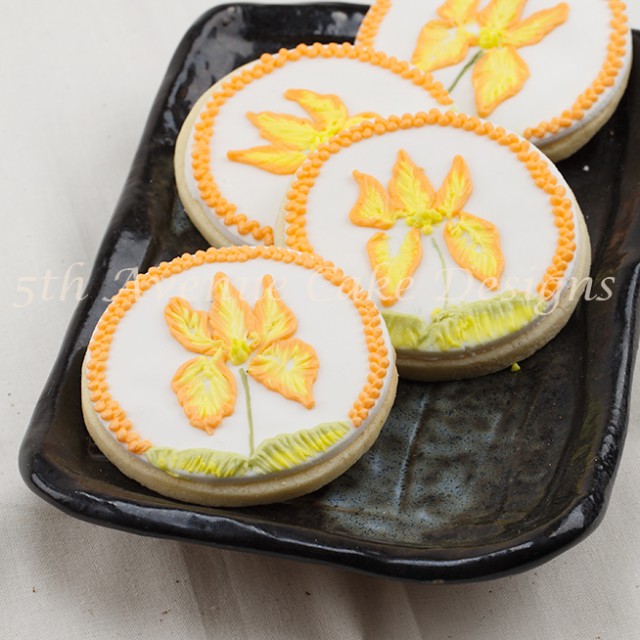
You can create a modern fun contemporary design as the Iris flower or and elegant wedding effect as the tone on tone cookie below.
Spring Iris Brush Embroidery:
Equipment:
- Parchment paper cones or bags
- 3 PME tip/tune writer #2 nozzle/tip
- PME writer#3 nozzle/tip, For the outer leaf
- Square gel brush #10
- Paper towel dry
- Paper towel damp
- PME sponge holder or sponge
- Small bowl
- Cocktail stick or tooth pick
- #2/0 Script brush for painting the stem
- Iris template, optional
Materials:
- Royal icing, off peak consistency
- Bobbie’s Vanilla Sugar cookie recipe
- Piping gel
- Cooled boiled water
- Food paste,
- Tangerine,SF
- Lemon Yellow, Wilton
- Vine Green,SKGI
- Gooseberry,SF
- Fondant cover cookie or glazed covered
Please visit Shop 5th Avenue Cakes for supplies
Once you master brush embroidery you will find the technique is quick and fun with amazing effects!
Remember, to keep your nozzles/tips clean and the brush needs to barely be damp.
Now have some cookie decorating fun!
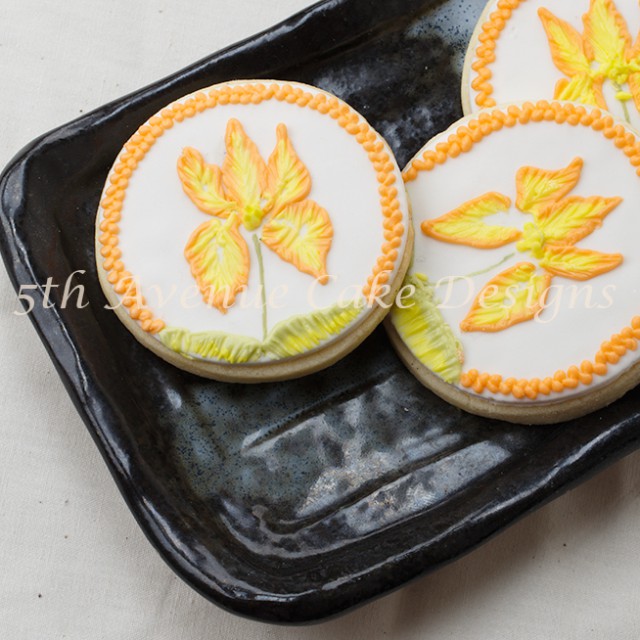
An actual iris leaf is long and narrow, I wanted to keep the focal point on the flower, therefore the brush embroidery leaf is at the bottom of the stem.
Finish your cookie with your favorite boarder, I explained in the video how to achieve an staggered snails trail (off-centre).
