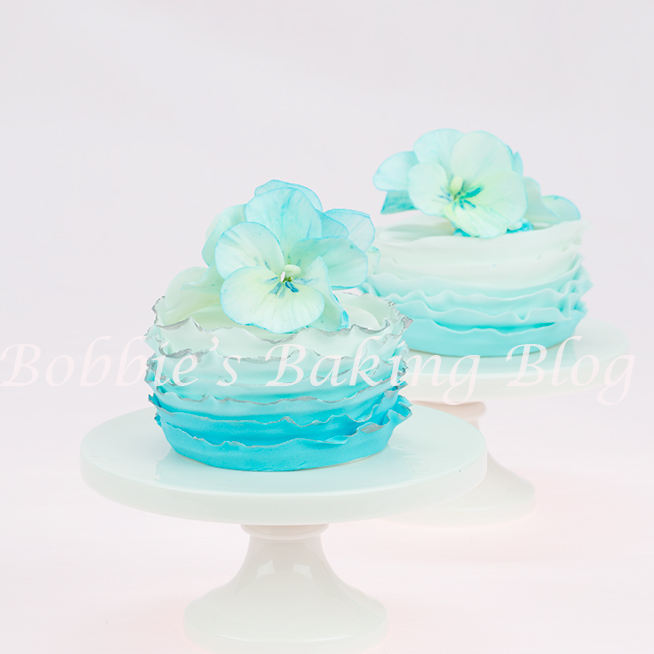
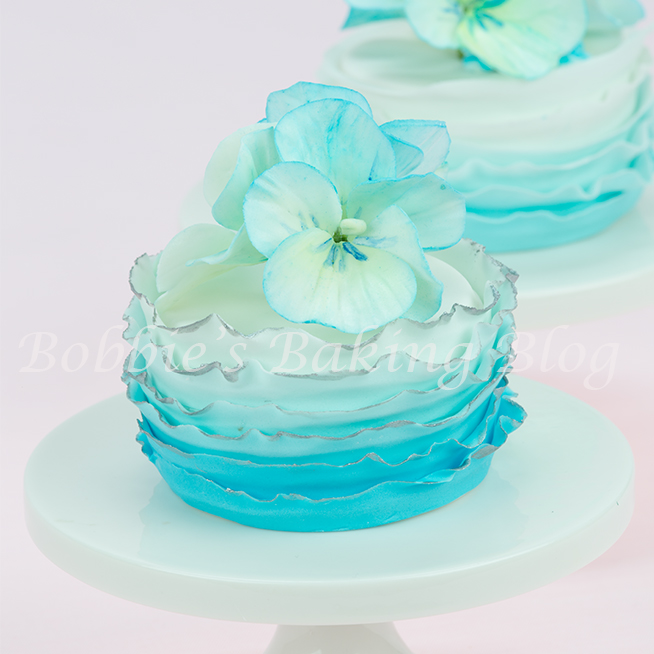
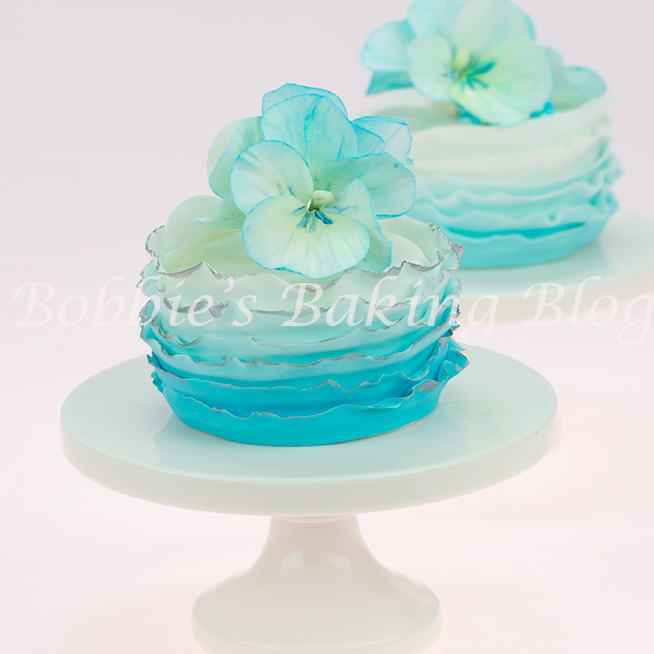
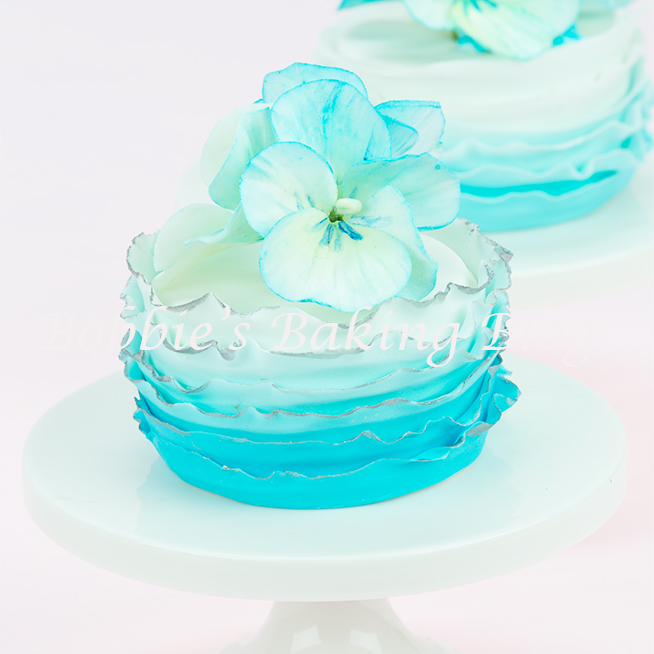
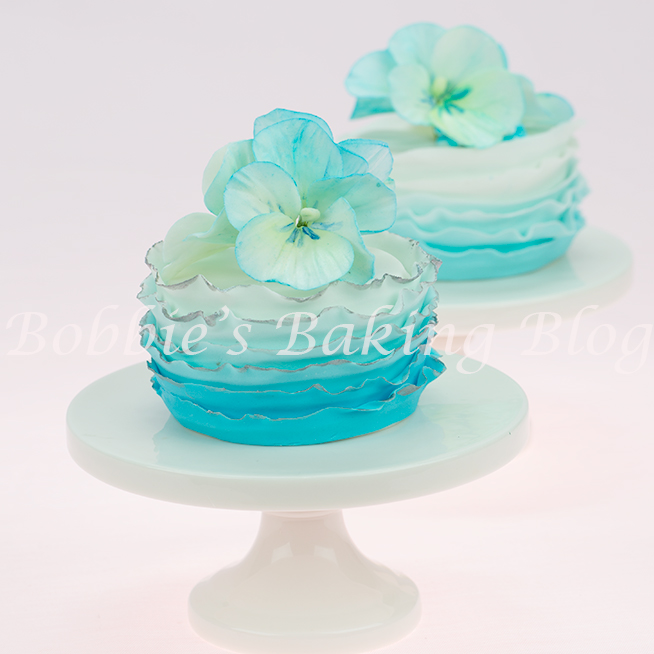
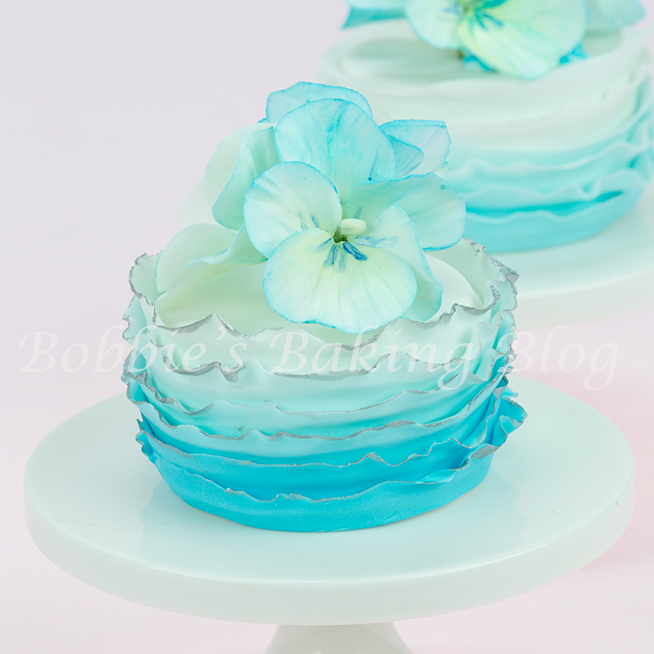
I realize the world’s most famous weather forecaster, Punxsutawney Phil, saw his shadow and declared six more weeks of Winter. I however refuse to except that forecast! This winter has been insane, with my daughter’s university shutting down four times this year and the airports in D.C. closing for most of President’s day weekend. It is time to take action and think Spring!! I am going to start the Spring campaign with a Spring fondant frill mini cake tutorial. The frills are ombre with blue colour and adorned with match blue pansies.
Pansies generally bloom in early spring, which is why I chose to create a spray of pansies for the mini cakes.
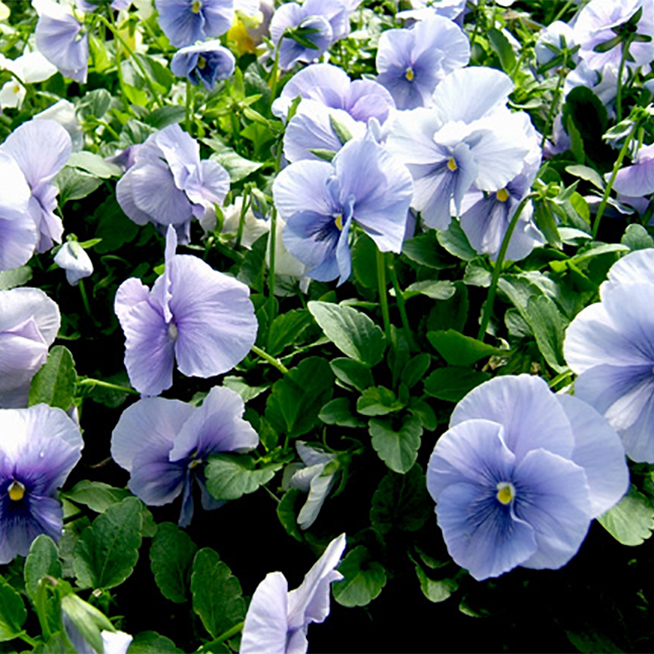
This blue pansy garden was my inspiration for the sugar pansies! I changed the hue of the blue colour to match the cake!
Spring Fondant Frill Mini Cake:
Equipment:
Briar rose petal cutter,OP
Rose petal cutter, OP
Foam pad, with a hard side,NL
Celstick,CC
Work mat
Rolling pin
Pasta machine, option
Ball tools
Poppy veiner
Ceramic Stick,HP, plastic JEM
Steamer,optional
Floral pad
Steamer, optional
Pasta machine, optional
Nile green floral tape, HH
Fondant smoothers
Small sugar paste rolling pin
Plastic mat or DYI plastic cut bag lightly coated with crisco
Cocktail straw
Material:
1-recipe Vanilla Madeira cake (12 mini cakes)
Food Paste
Ice blue,SF
Fondant
Gumpaste
Ever clear
Ice blue petal dust, Sf
Silver lustre Dust,Blossom
Everclear or lemon extract
You can find the supplies need at 5th Avenue cake Shop
You will want to colour your ombre colors before you begin. I chose five monochromatic blue colours for the mini cakes.
Prior to frilling your cake cover them in fondant, I used a panel method for my mini cakes.
I painted each of the frill’s edge with silver lustre dust.
The HD video creating the Sugar Pansy 21.5 minutes
and
The HD video dusting and constructing the SugarPansy 18.46 minutes.
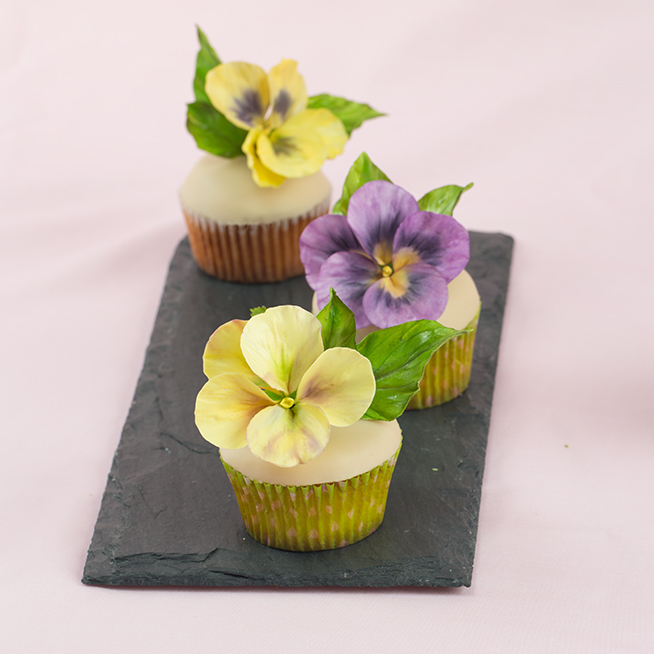
A pansy spray id the perfect size for cupcakes as well.
Here are the pansy spray cupcakes I created for a Cake Central tutorial
I would love to see your inspired fondant frill mini cakes and sugar pansies!
Enjoy!




Wow just beautiful, I love the color!
Thank you:)
wow…so cute!
Thank you!
Excellent instructions – as always – thank you for sharing. Try a piece of non stick matting under your cake it will help stop the cake from slipping around on its stand.
Leonie, thank you for the tip! I will try next time 🙂
Thank you so much for this tutorial. I loved it!
My pleasure Joyce 🙂
Aww they’re sooo pretty x
Thank you
Mesmerizing color blends
Thank you 😉
they are beautiful, may I ask what would you charge for these?
Thank you, each mini cake is $6.00
Oooh Bobbie, thank you so very much for this tutorial, I have a beautiful wedding cake with very much larger frills coming up and your lesson has let me know that I can do this.
I am glad I could help, if you have any question don’t hesitate.
Can a used a ball tool instead of the back of the stick to frill the edge of the fondant? Thank you sharing your ideas
Yes a ball tool would work perfectly!