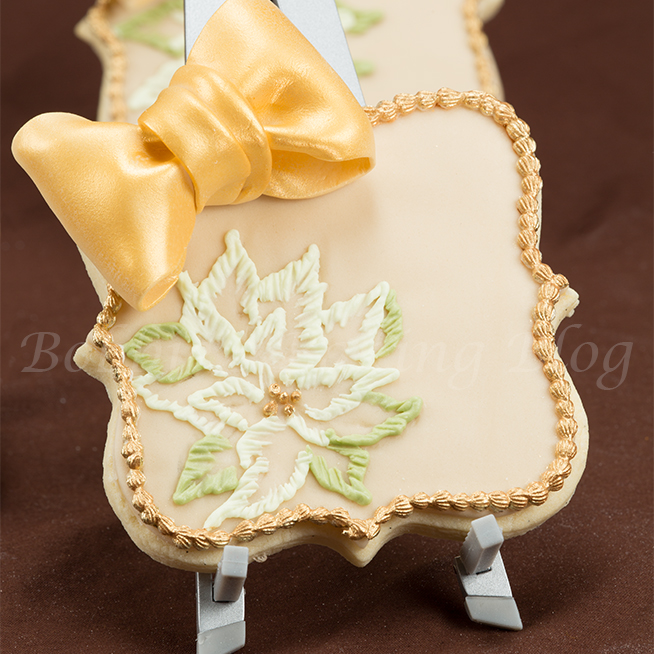
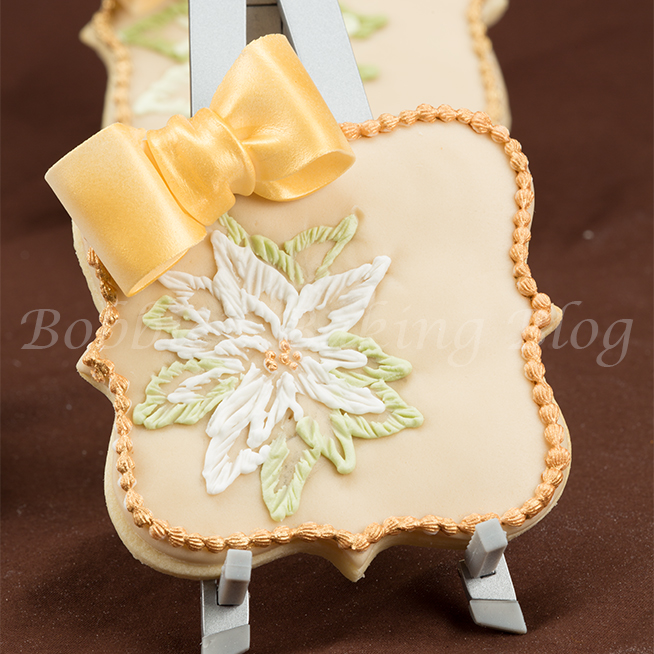
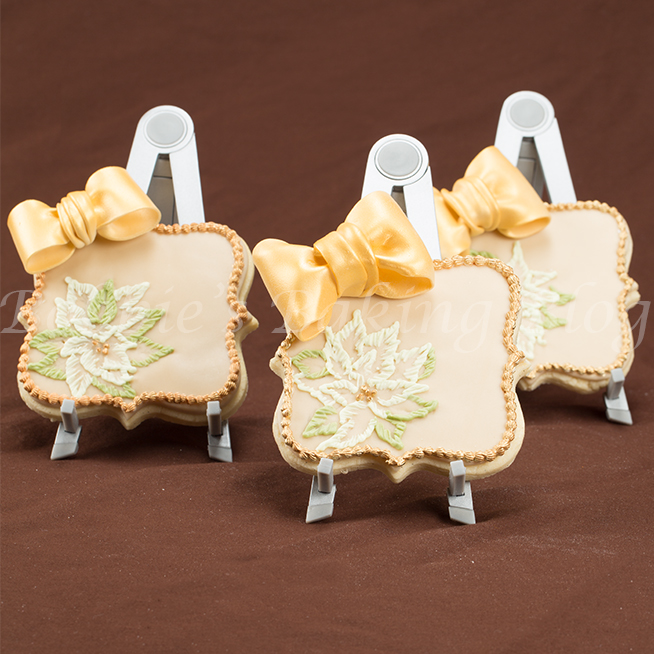
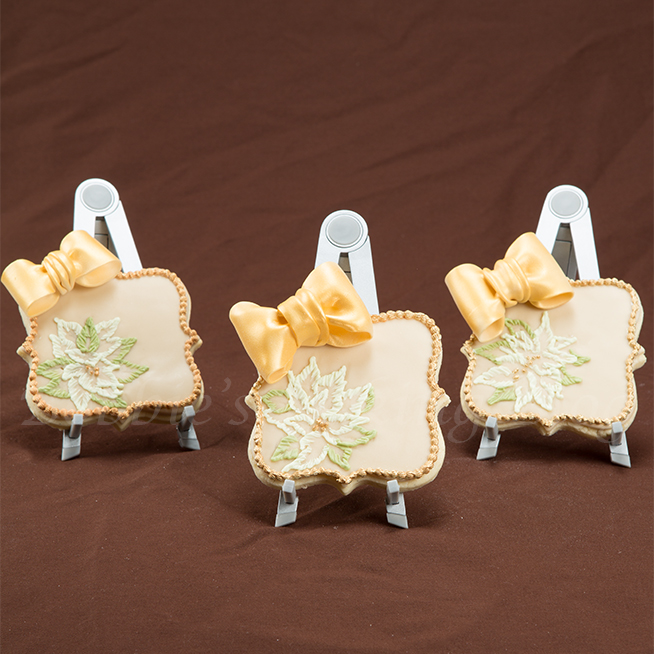
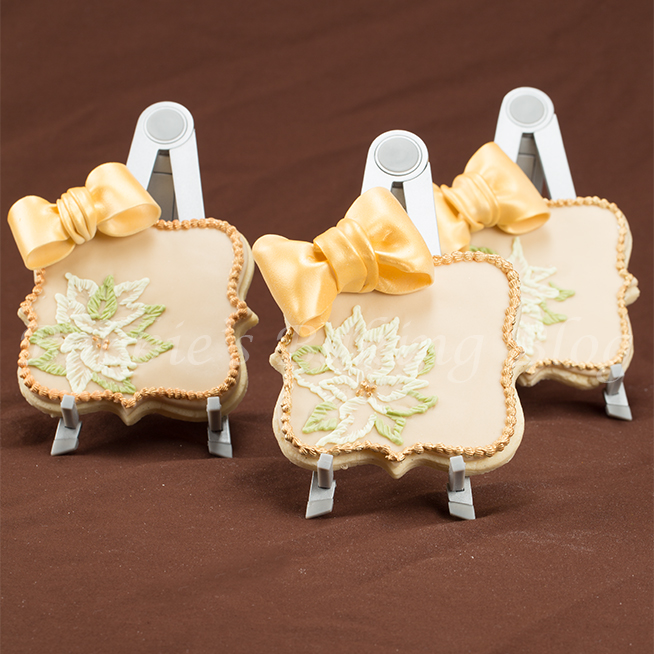
I was asked by a friend if I could bake him a batch of gluten free sugar cookies. I have baked several pastries in the past that were gluten free (mostly bread and pastries), but I realized I had never tried to bake a batch of gluten free sugar cookies. I realized their must be a plethora of children who are unable to have gluten in their diet and would love to be able to receive decorated sugar cookies. I felt compelled to be able to devise a well decorated cookie as well as yummy and gluten free. I had been planning to create Christmas Sugar Cookie Cards decorated with royal icing brush embroidery poinsettia and a gumpaste bow. I baked two batches; one all purpose flour sugar cookies and the other Gluten free sugar cookies. I sent Sydney both batches to taste and give her opinion. Although she enjoyed both she thought the gluten free sugar cookies were a little softer.
I used a homemade gluten free recipe instead of a prepared store box gluten free mixture. To be honest I have never tried the pre made gluten free products and did not want to start with holiday cookies
You will find the gluten free recipe below along with a video tutorial showing my gumpaste bow method and the shell border.
Gluten Free Sugar Cookies:
- 237 grams/ 1 1/2-cups sweet brown rice flour
- 157 grams/ 7/8-cup white rice flour
- 75 grams/ 7/8-cup oat flour
- 38 grams/14-cup tapioca starch
- 1-teaspoon xanthan gum
- 1-teaspoon baking powder, Bakewell Cream
- 2 tablespoon cake enhancer
- 150 grams/ 1 cup confectioner’s sugar
- 200grams, 7/8-cup butter
- 1 egg
- 1 tsp almond extract
- 1 tsp. salt
- 1/2 teaspoon milk
- Vanilla bean, seeds only,
- 1/2-teaspoon almond extract
Prepare your mise en place, sift together sweet brown rice flour, white rice flour, oat flour, tapioca starch, pantheon gum, baking powder, and cake enhancer, salt, and set aside. Line four baking sheets with either a silpat or parchment paper.
Cream together the butter, sugar, and seeds from the vanilla bean with a standing mixer with the paddle attachment. Beat until just becoming creamy in texture. Whisk the egg and extract together, and add to butter mixture.
(Don’t over mix otherwise you’ll incorporate too much air and the cookies will spread during baking, losing their shape.) Scrape down the sides of the bowl and paddle attachment. Sift the GF flour,again, into the bowl of the standing mixer and mix on low until dough just begins to form.
Knead on a cool GF floured workspace, such as a marble board or counter top, bring the dough together, form a well in the center, and add the milk. Knead to amalgamate.
Place the dough into a zip lock bag. Roll the dough into a disk, place in the refrigerator for 60 minutes.
Roll out the dough about 6.35 mm/ 1/4-inch thick, dip the cookie cutters in some reserved flour, and cut out the shapes.
Place on the prepared cookie sheets and refrigerate for 30 more minutes.
Preheat oven to 165 degrees C/ 325 degrees F, bake the cookies for about 7 to 9 minutes.The cookies should look light a golden in color. Cool on the baking sheet for 5 minutes and transfer to a cooling rack unitl completely cooled.
I found the cookies dough needs to rest longer about 20 to 35 minutes in the refrigerator.
Gumpaste/Fondant Bow:
Materials:
- 50 grams of gum paste
- 50 grams fondant
- Ivory food paste,Wilton
- Cooled boiled water
- Royal icing
Equipment :
- Small brush
- Dental gauze rolled smooth with plastic film, see video
- Mini pizza wheel
- Mini rolling pin
- Foam pad, to work on
- Gold, Lucks edible airbrush colour
- Parchment cornet or plastic piping bag
- Pme Holder
- Pme #43 rope tube/tip
- Gold or old gold, lustre dust
- Storage bag
- Crisco
You can find most of the supplies here:
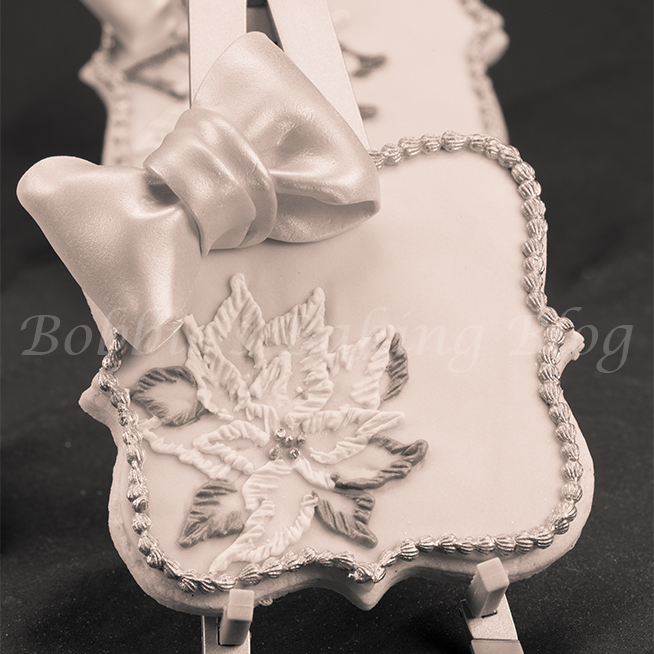
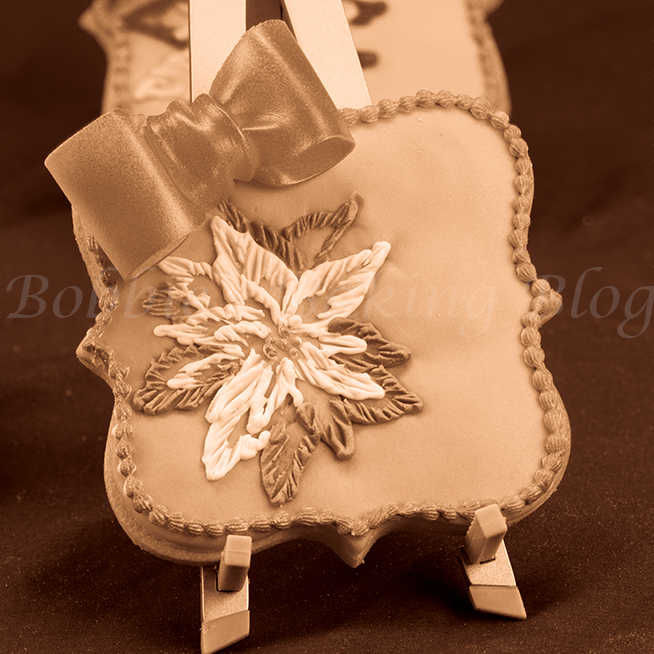
I thought it might be fun to share the photographs I played in lightroom with above black and white.
Below is sepia.
The cookie needs to be completely cooled prior to decorating.
The bow and the boarder are the final steps to decoration and I generally wait several hours for the brush embroidery poinsettia.
For the Bow:
Knead your gumpaste and fondant together (50/50) place a little crisco on the palms of your hand and roll the 50/50 into a ball, turn the ball into a log. Next roll the 50/50 paste thin enough to place into a paste machine, and gradually roll the paste to a #4 (starting on a #1).
The bow needs to dry overnight and you can construct the bow prior to the cookies being baked. Once the bow has dried follow the instruction for airbrushing, and use gold edible color.
For the Boarder:
The boarder is piped with off-peak consistency, colored with 1/4 toothpick ivory food paste, and place in a paper cornet. Painted with old gold once dried completely. See the clock tutorial.
If you have any question please contact me or leave a message.
Enjoy!




I would love to try this gluten free cookie. However, the butter amount isn’t listed. Could you please update the recipe to include the butter? Your work is just beautiful! Thank you’
Oh my! It is updated thanks for letting me know!