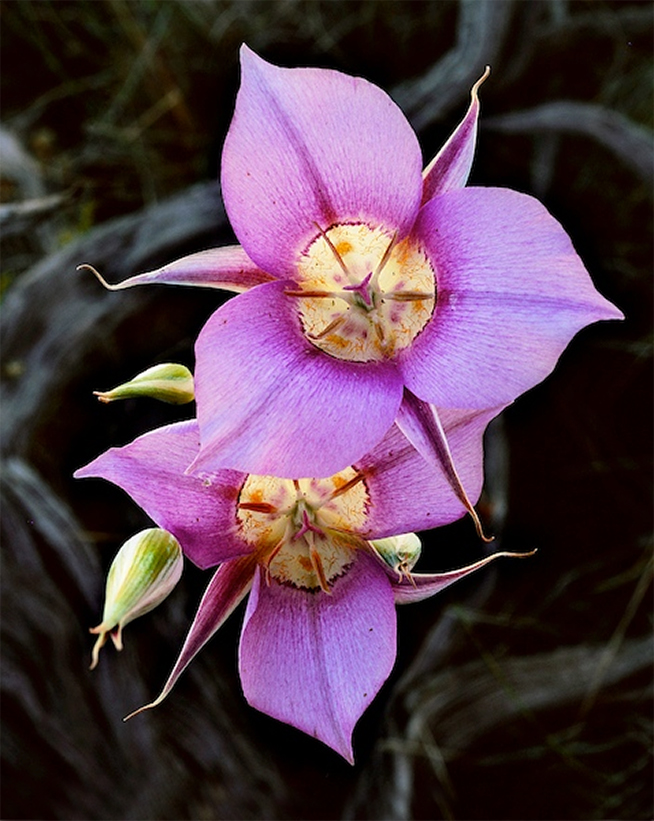
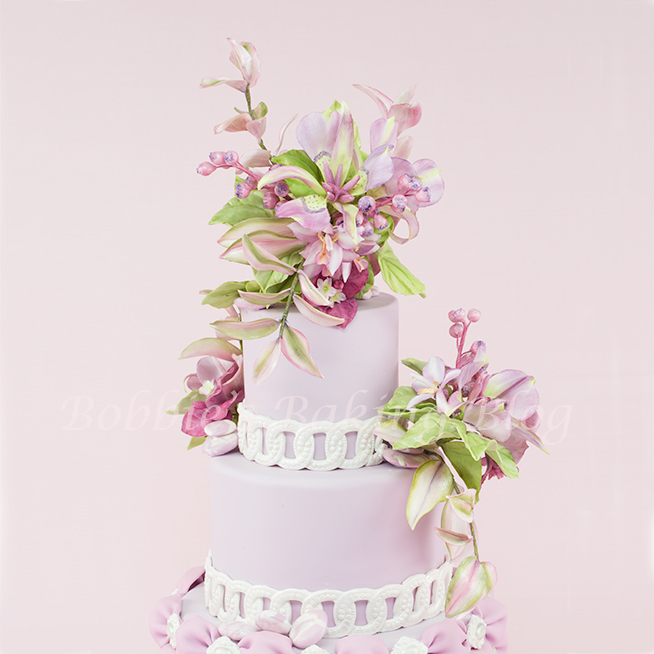
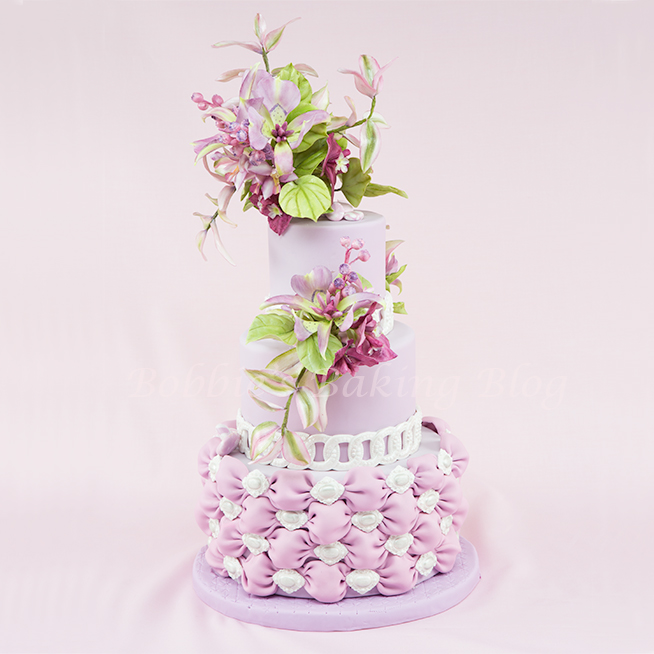
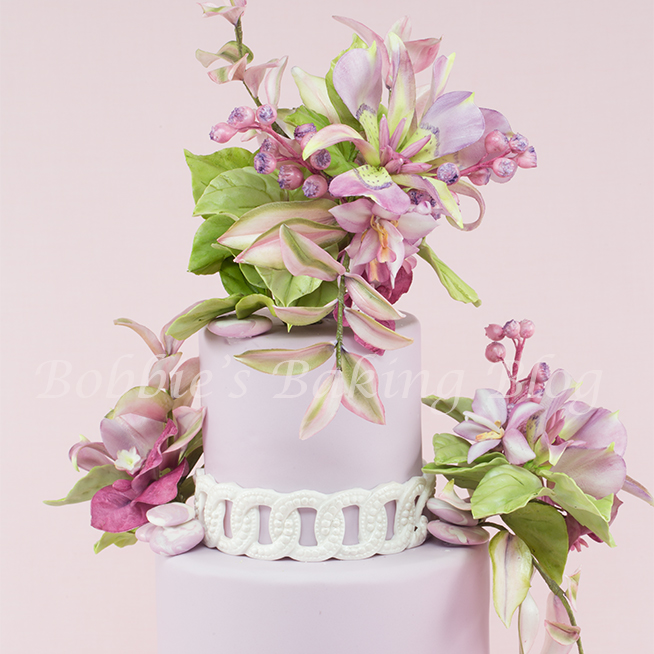
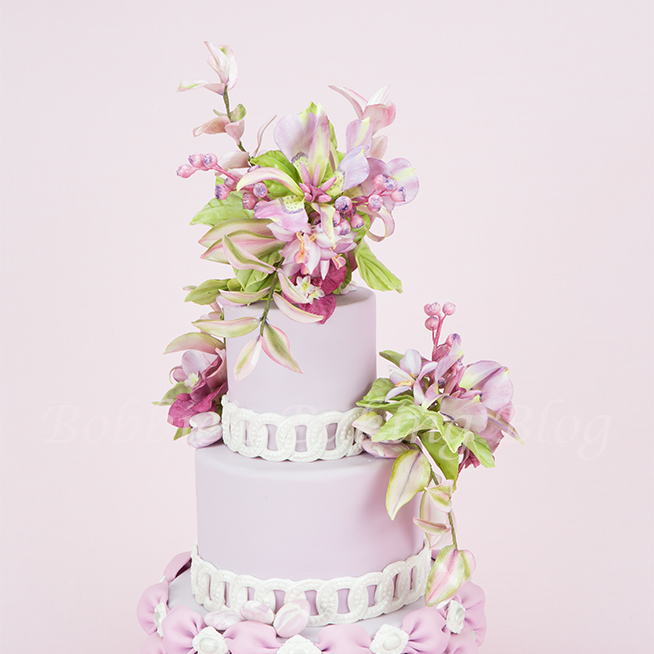
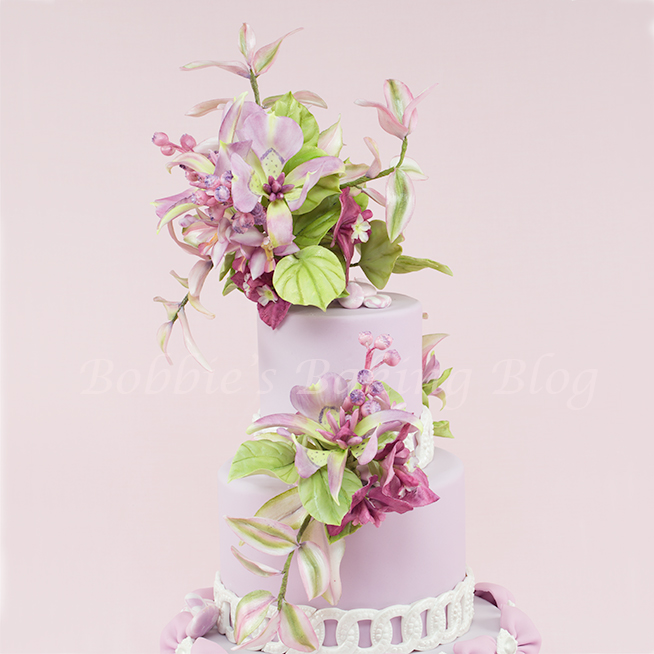
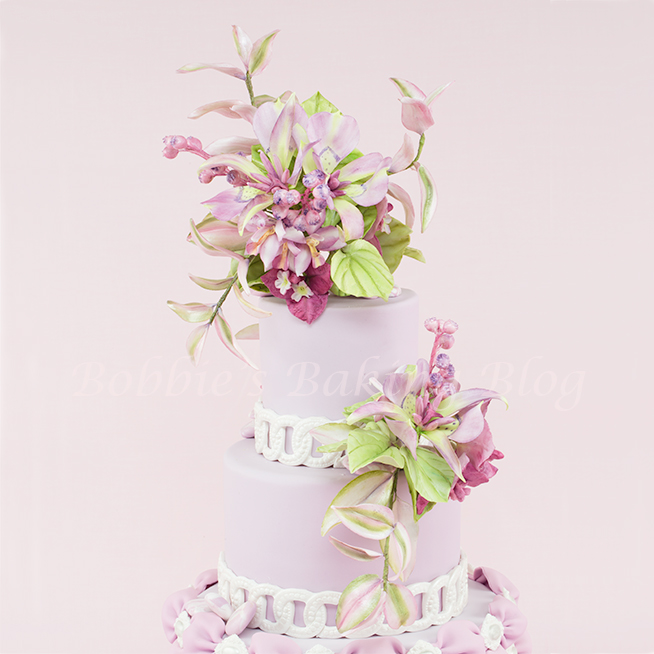
I love Mariposa Lilies they are so elegant and tranquil so I created my version of this peaceful spray to adorn the top of a fabric billow weave cake. Mariposa (or “butterfly”) in Spanish are peaceful beautifully colored flowers that can thrive in harsh environments despite their delicate appearance. Although there are 67 species of mariposa lilies most are found in California. I decided to add Bougainvillea, Asian orchids, and an array of foliage along with strategically placed sugar paste Rhodochrosite rocks. Finally the bottom layer is covered with 50/50 paste of billow weave.
Mariposa Lily Tutorial:
Equipment:
- Groove board
- Small paste rollin pin
- Amaryllis cutters or Alstroemeria cutters, TT
- Long leaf metal cutter, TT
- Stargazer-B petal veiner
- Dresden tool, FFm
- Veiner tool, JEM
- Plain Cutting wheel, PME
- Tap-It mat, ISAC
- Mini pizza wheel, JR
- Foam pad
- Shaping Foam, Wilton and optional
- Shape cutting blade
- Floral wires, 20 26, 28, & 30 gauge white
- Brush for egg white
- 1/2-width white & nile green tape
- Metal ball tools
- Ceramic silk veining tool, HH
- Artist brushes
- Dimpled foam for drying
- Size chart
- Floral foam
- Stay fresh mat or a cut plastic bag
- Steamer, optional
Materials:
- Sugar paste/gumpaste white
- 1- 4×4,1-6×4,1-8×4 fondant covered cake
- Aubergine petal dust, SKGI
- Plum petal dust, SKGI
- Vine petal dust, SKGI
- Vodka, lemon extract
- Egg white
Prepare your mise en place.
The Stamens:
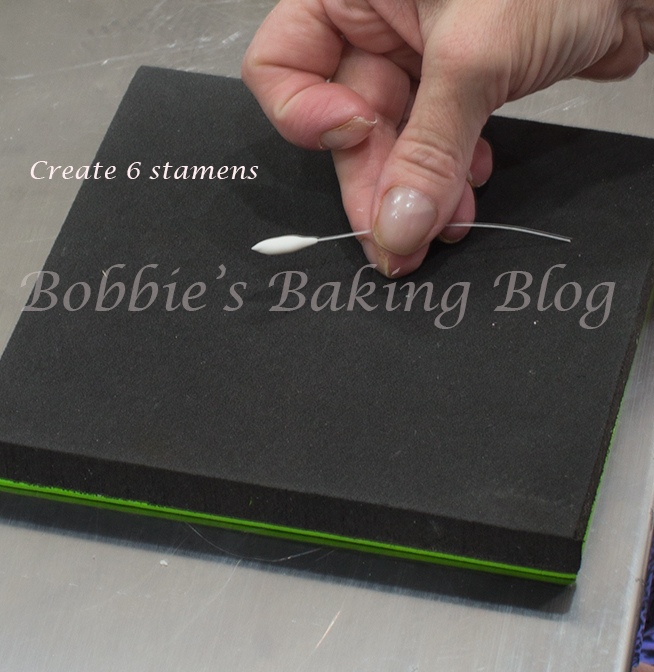
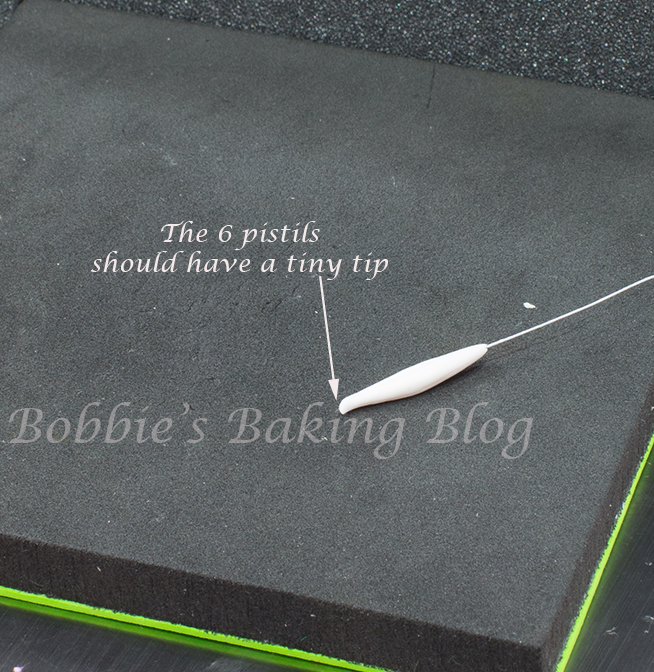
You want to create the stamens first for each mariposa lily, The stamens are narrow and long with a little tip at the top.
Cut six 30 gauge wires, place them to the side. Condition and knead a small amount of sugar paste/gumpaste, and create six tiny #3 seamless balls, place 5 of the balls under a cup (to keep from drying out). Dip the wire into your egg white and insert the wire in a seamless ball of paste. Gently with your forefinger and thumb work the paste down the wire to a point, keep the centre of stamen bulbous, and bring the top to a pointy tip. Use a fine tweezer to mark the stamen in thirds. Curve a few and leave a few some what straight. Place the wire stamens in a straw in a floral foam to dry.
The Pistil:
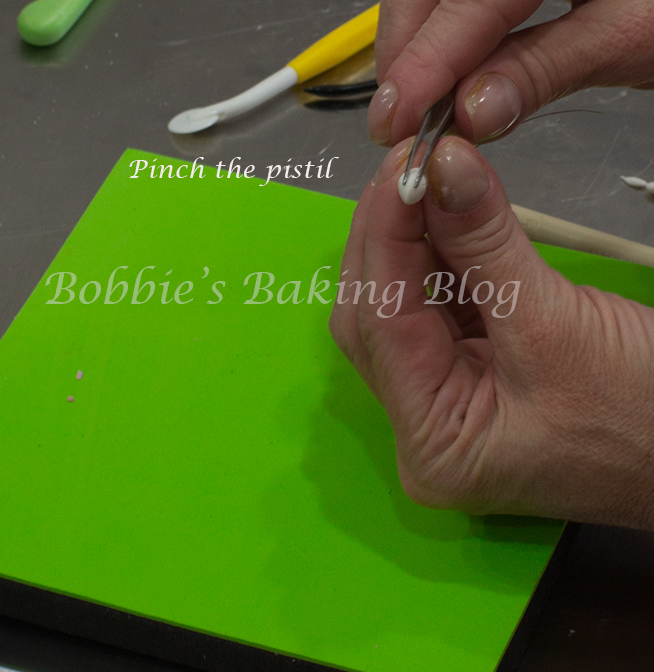
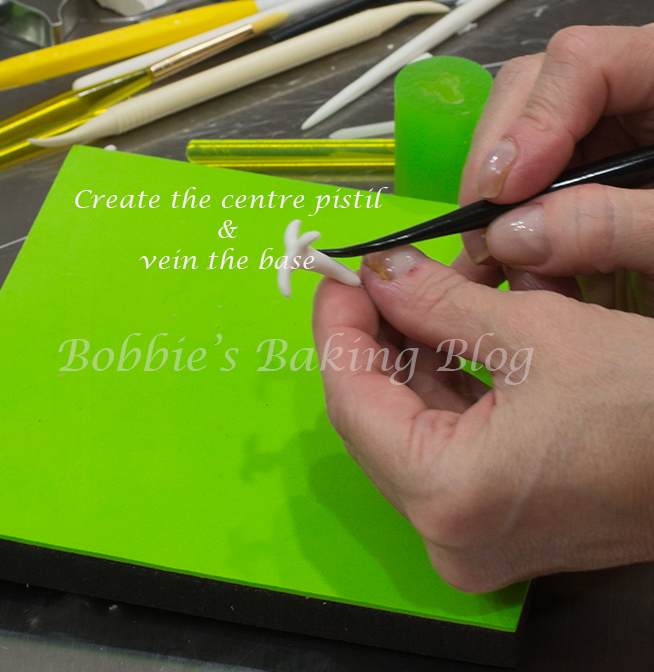
The centre pistil has a “T” shape with a bulbous base.
Cut 1/3 of a 26 gauge wire, set aside. Condition and knead a #4 or #5 size ball. Dip the wire into egg white and insert the wire into the seamless ball, using your forefinger and thumb work the paste down on the wire to a point. Flatten the top, with a plain wheel mark 3 equally spaced marks. With a sharp blade slice about 1/4 of the way down. Shape into a “T” curve at the centre. With a veining tool vein the base vertical. Place the pistil in straw in floral foam.
The Petals:
Inner Petals:
The mariposa lily consists of 3 wide inner petals, and 3 narrow outer petals.
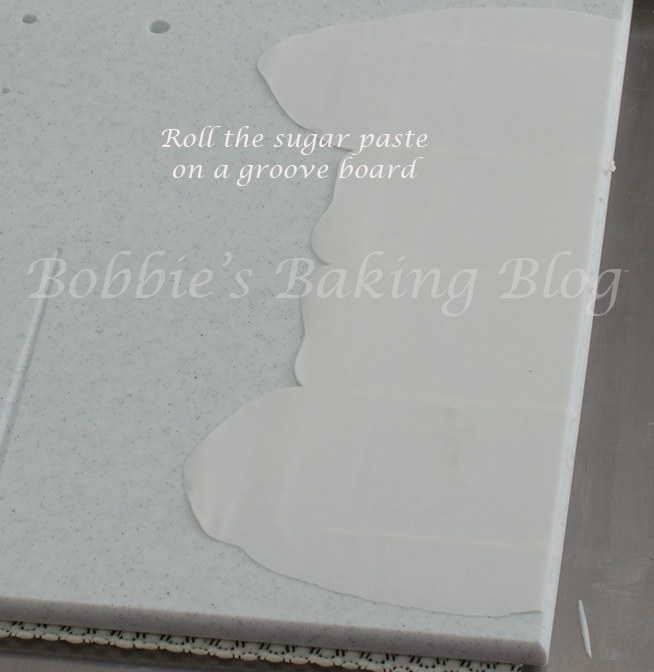
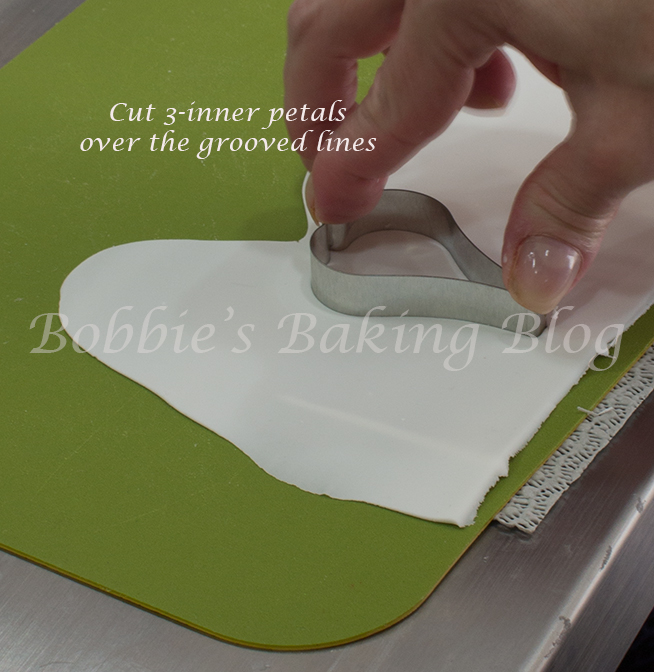
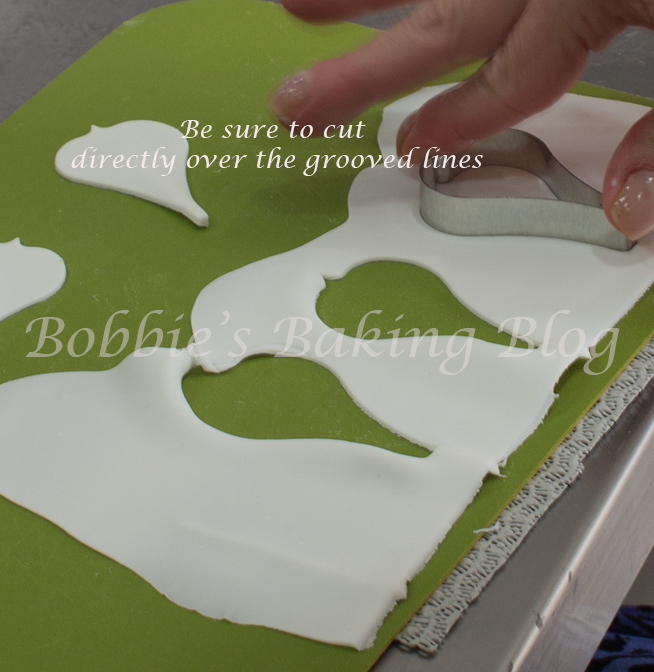
Cut 1/3 length 26 gauge, you will need 6 of these, set to the side. You need to condition and knead some gum paste/sugar paste. Roll the paste into a log and place the log onto a groove board. Roll the log paste on the groove board, thinly to the point where the paste is transparent. Transfer the paste to a Tap-it mat and cut three petals with the widest Amaryllis or Alstroemeria petal cutter, take care to place the cutter so the groove is going down the centre.
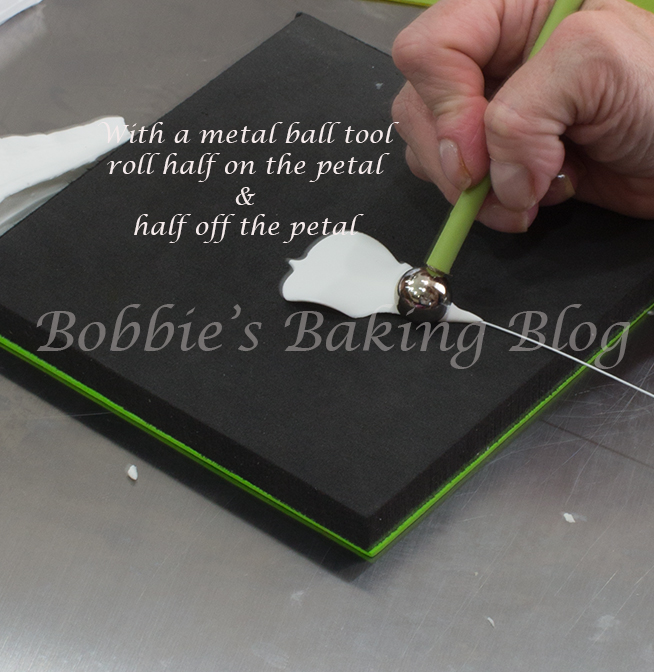
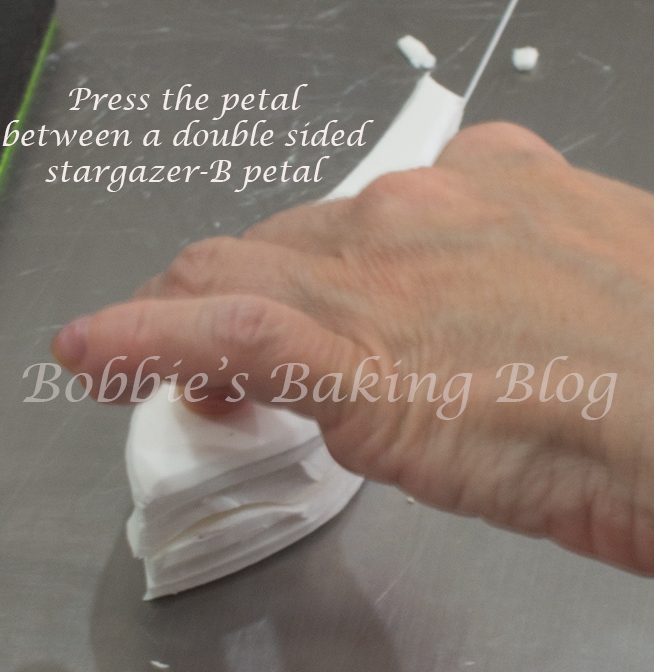
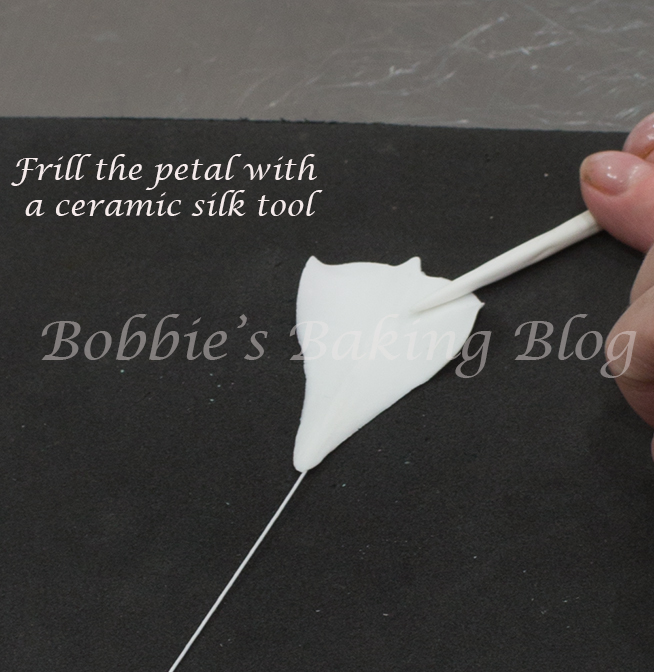
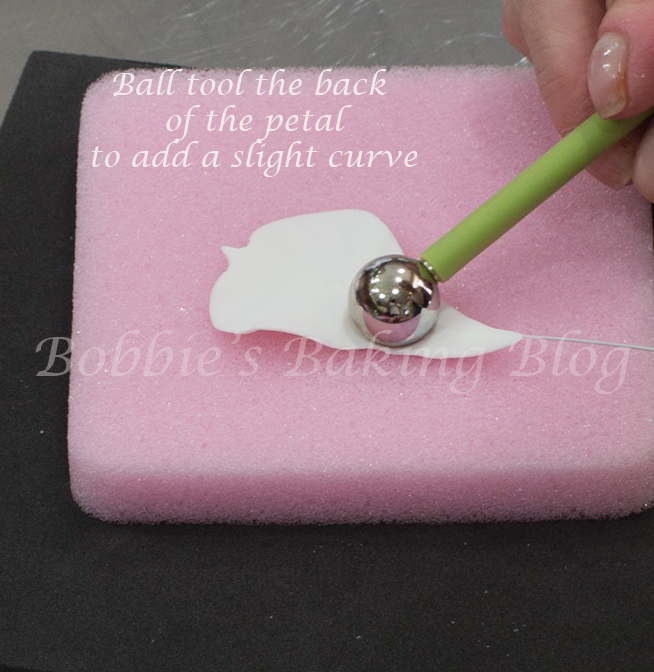
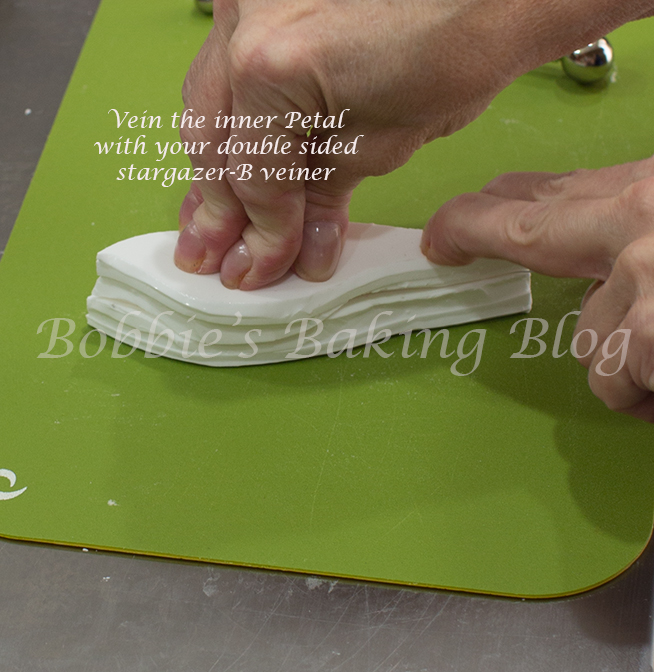
Cut the petal out, and place the petal on your foam pad, place the other two petals under a stay fresh mat. Take one of the wires dip the wire into the egg white (wipe off the excess) and carefully insert the wire into the groove half way up the petal. With your medium metal ball tool half on the petal and half on the pad, soften the edges of the petal as you frill slightly. Place the petal between your double sided stargazer-B petal veiner and press to add the veining impression. Replace the petal to the foam pad and using your silk veining tool roll in a fan motion over the top of the petal. Turn the petal over and place on to your shaping foam. Gently roll your medium ball tool down the centre of the back of the petal, creating a slight curve.
Lay on a dimpled foam to dry.
Outer Petals:
The outer petals are long and thin, some are curled back, some are straight, and some are a combination of both.
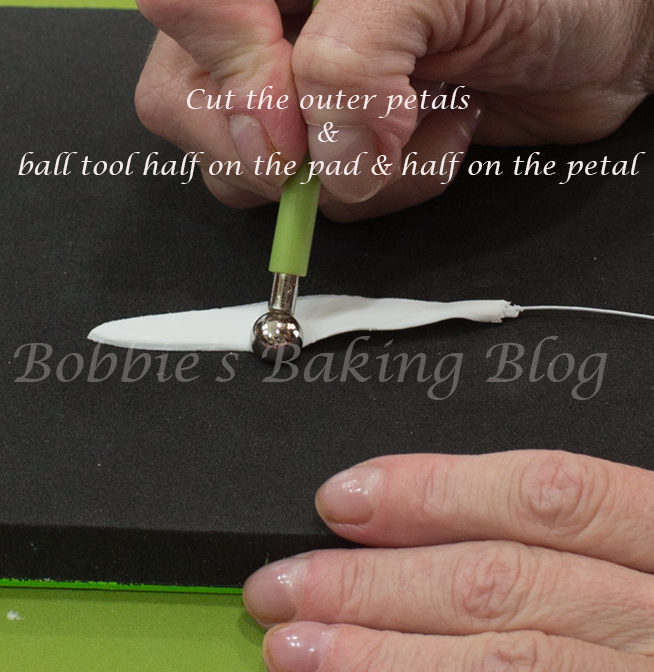
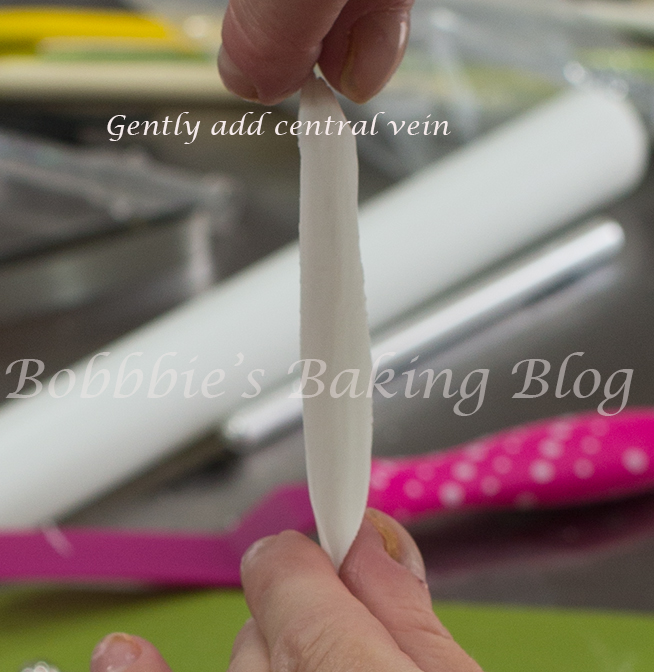
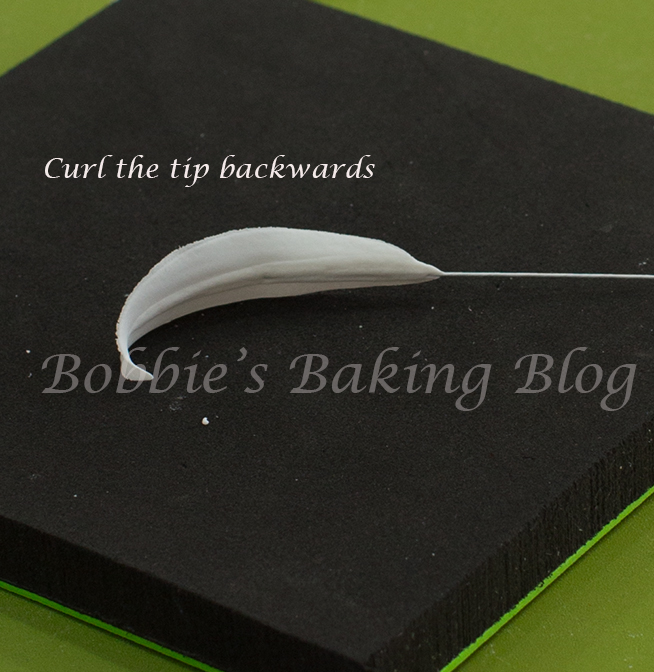
Condition and knead some more sugar paste/gumpaste. Roll the paste into a ball and then into a log. Place the log onto a groove board. Roll the log paste on the groove board, thinly to the point where the paste is transparent. Transfer the paste to a Tap-it mat and cut three petals with the shortest of the long metal leaf cutters. The cutter needs to be centred over the grooves. Place two outer petals under your stay fresh mat. Place the third outer petal on your foam pad and insert a moisten (with egg white) 26 gauge wire through the groove half way up the petal. With your medium metal ball tool half on the petal and half on the pad, soften the edges of petal as you frill slightly. Place the petal between your double sided stargazer-B petal veiner and press to add the veining impression. With your fore finger and thumb gently roll the bottom of the petal to a point. Hold the petal at the bottom and carefully work you finger and thumb to the tip creating a centre vein. At this point you can leave the petal straight, curl backwards, or slightly curl the tip.
Colour and Assemble:
Before I describe how to colour and assemble the Mariposa Lily I want let you know DF took the photos however did not realize the battery needed to be recharged. Therefore I will not have a slider..However Sydney is arriving home for the Summer on Friday. We should not have anymore issues. DF does try!
Colour :
Mariposa Lilies come in a plethora of colours if you have don’t have a favorite colour google Mariposa Lily and use a photograph for inspiration.
For the colour of this Mariposa I used vine green for the base dusting 1/3 of the way up. I mixed aubergine and plum dusted from the tip and sides to a little above the vine colour. I placed a few drops of vodka on my parchment paper and mixed some aubergine to paint a zigzag line between the vine and aubergine/plum mixture. I than added different sized elongated dots. I coloured the back of the petal the same way.
Assemble:
The Pistil and Stamens:
With 1/2 width white floral tape, tape about 1/3 down the wire once or twice, push the tape up under the pistil. Add each stamen wrapping the tape around once before adding the next stamen. Once all the stamens are attached tape down the wires and cut the tape. Colour the tape under the centre with plum/aubergine dust mixture.
The Inner Petals:
With nile green 1/2 width tape attach the inner petals equally around the centre in thirds. Tape one petal at a time wrapping the nile green tape once around then add the next petal, and again for the third.
Outer Petals:
Attach the outer petals slightly behind the inner petals. Tape one petal at a time wrapping the nile green tape once around then add the next petal, and again for the third.
Arrange the petals and steam.
I must admit this is one of mine and Sydney’s favorite cakes. Maybe this will be the type of cake she will choose for her 21st birthday.
The Mariposa Lily is a brillant flower and spray to create!
Enjoy!






beautiful well written and displayed tutorial