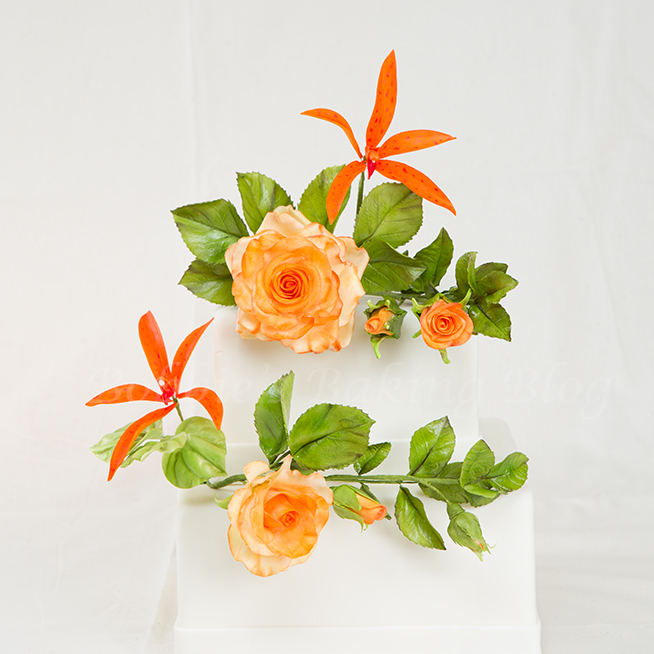
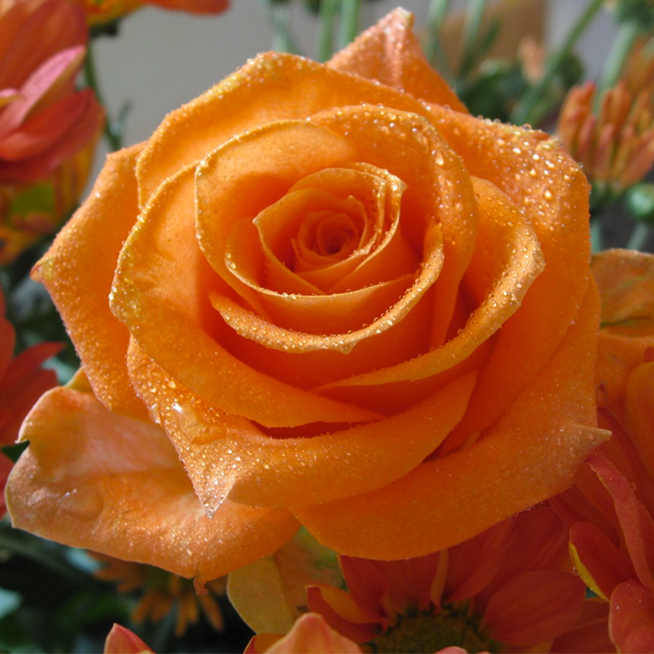
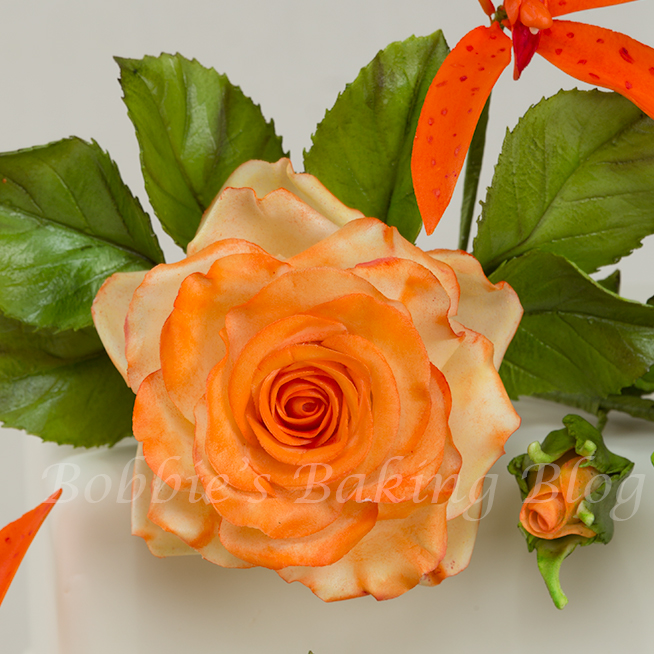
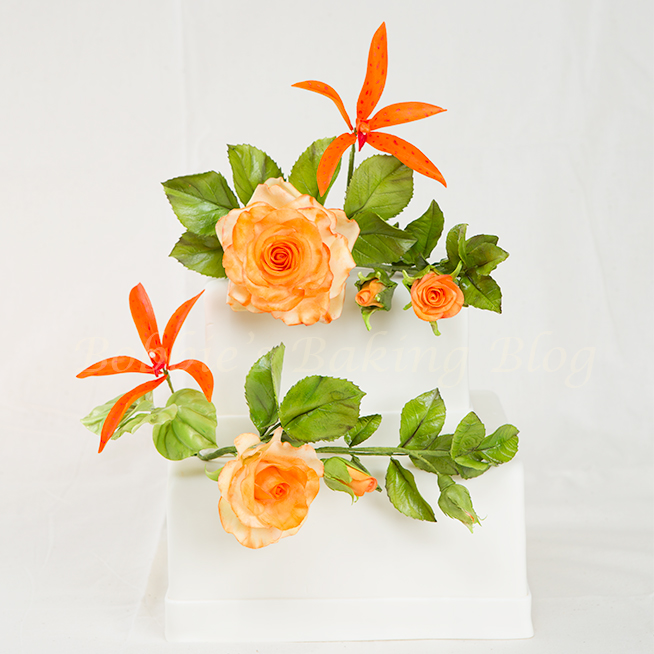
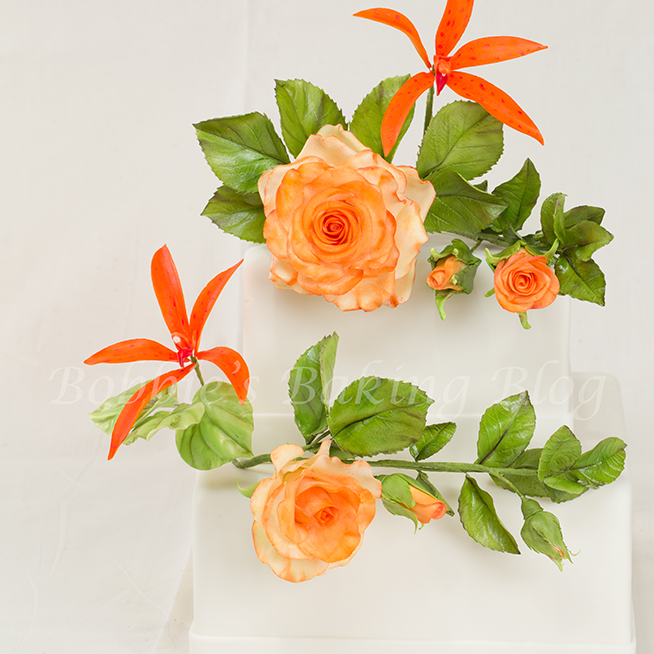
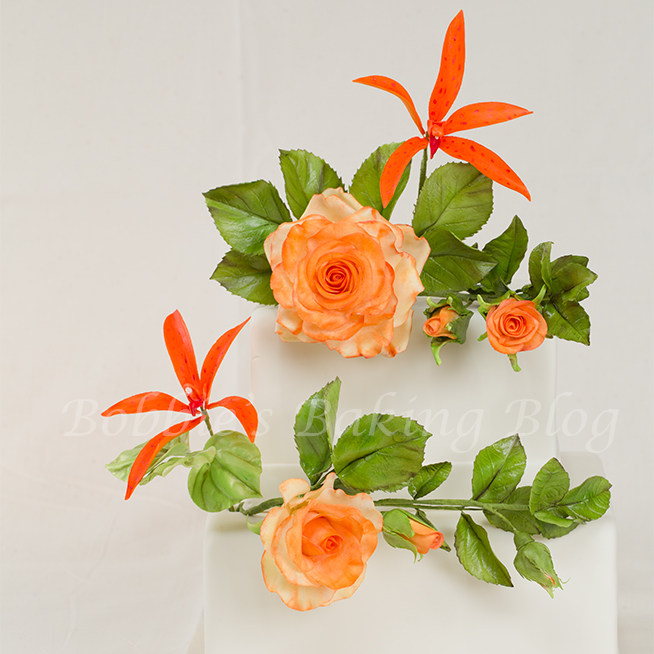
Sydney has been asking me if we could create a sugarpaste full blown rose spray for a cake for sometime now. I figured with Roses being June’s flower now would be perfect. I based the roses for this cake after the Glowing Peace Rose, named after its grandparent Peace, the world’s most renowned rose. The Glowing Peace combines timeless beauty with a modern touch. Large, round buds open to reveal full, 3 inch blooms featuring 26 to 42 golden yellow and cantaloupe orange blended petals. Deep, glossy green foliage serves as a backdrop for the luminous blooms and gives way to stunning, burgundy fall color. The rose exhibits a light tea fragrance amalgamation that stands out in any garden and warrants attention. The rest of the spray consists of a Full Blown rose, a medium rose, a full rose, buds in several stages, two Renanthera orchids, and three Peperomia Leaves.
Nicholas Lodge has an amazing craftsy tutorial “The Ultimate Sugar Rose”, I was so impressed I changed my method on creating the bud. The rest of the rose we chose to add individual petals, rather then using a five petal cutter. I would highly recommend buying the tutorial. Alan Dunn also has a plethora of books, all of which has a great sections on roses.
Sugar Paste Roses:
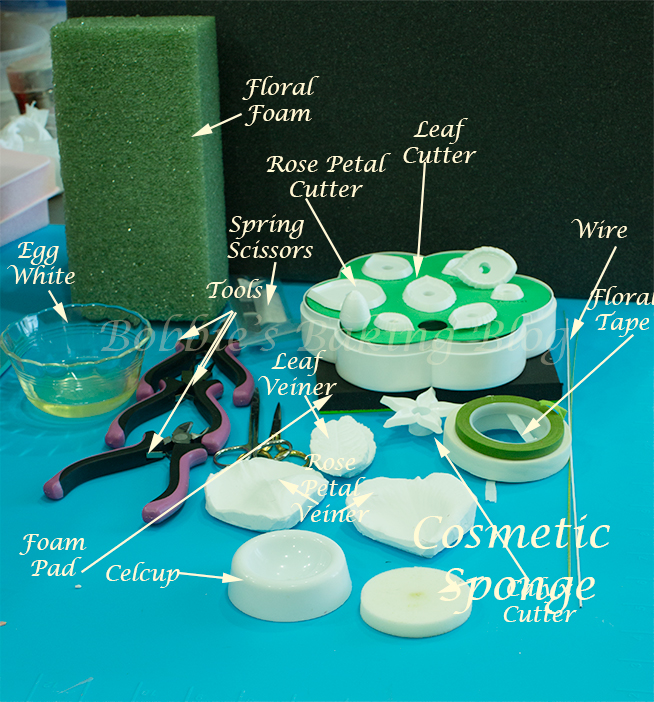
Equipment:
- 20,28, and 26 gauge white wire, cut into thirds
- 26 gauge green wire, cut into thirds
- Rose petal cutters, Op # 1 to 3
- Rose leaf cutter, OP
- Calyx Cutter, OP & Jem
- Rose petal veiner, SKGI
- Spring fine scissors
- Half width nile green floral tape
- Tweezers
- Dusting brushes
- Smooth ceramic too, HP
- Celstick
- Tap mat, ISAC
- Stay fresh mat
- Crisco
- Cornstarch
- Floral foam
- Foam pad, ISAC
- Dresden tool, OP or FMM
- Grove board
- Edible varnish
- Metal ball tool
- Fine nose pliers
- Wire cutters
- Sugar paste rolling pin
- Pasta machine
- Plastic storage bag to keep sugar paste when not in use
Material:
- Pale yellow sugar paste, Fondarific
- Moss green floral paste
- Petal dust Daffodil yellow, Bird of Paradise, orange, Poppy red, Vine green, Moss green, and Aubergine
- Egg white or edible sugar glue
- Moss green paste
Prepare your mise en place & cut the wires into thirds.
If you are intending for the rose to be on a cake I would start them a a few days ahead.
The Bud and Rose centre:
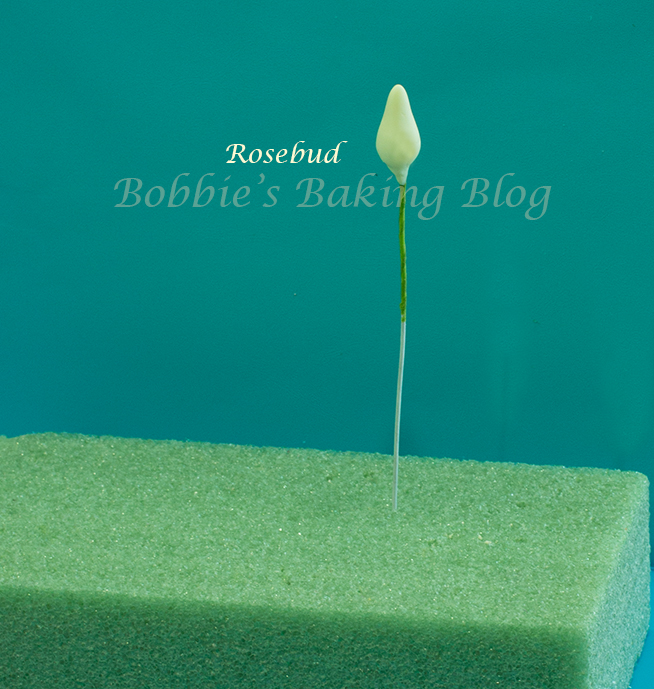
Styrene buds are available on the cake craft market, but we prefer to create our own. If you create your own buds they can be any size you want. The centre of the half rose, full rose, and fully blown rose all start with the same method as the bud.
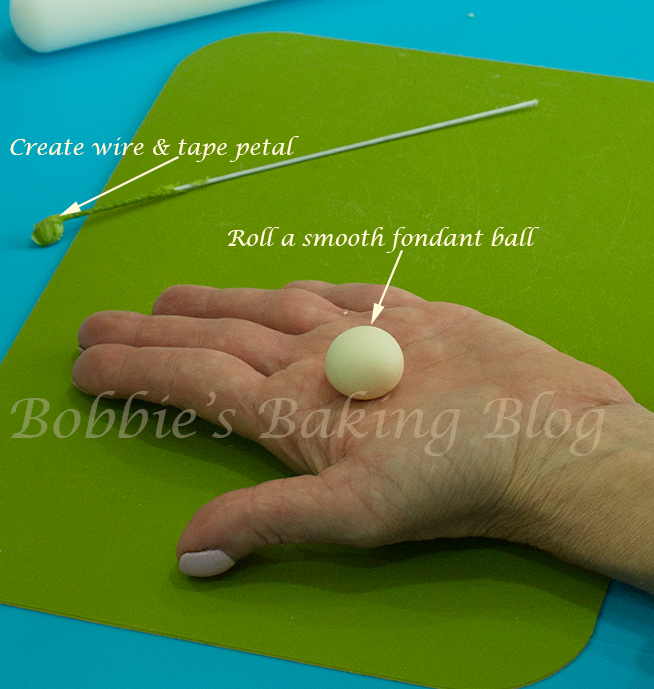
Take a 20 gauge wire bend the top into a hook, wrap the hook about 10 times with nile green floral tape, bring the tape down the wire about 1/4 of the way, and set in a floral foam. You will want to start with a marble size ball of pale yellow sugar paste, roll into a smooth ball (be sure the ball is smooth, the cone will show any little cracks). Roll the ball into a slender cone on your tap mat, insert the wire, brushed with egg white, into the cone. Pinch the bottom of the cone to attach to the wire, and reshape your cone. This is your baby bud, allow to dry over night.
Fishtail Bud:
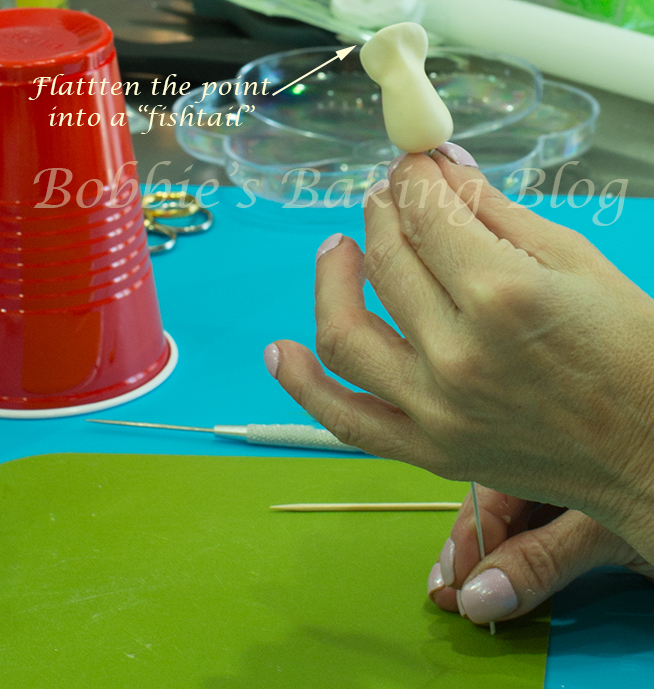
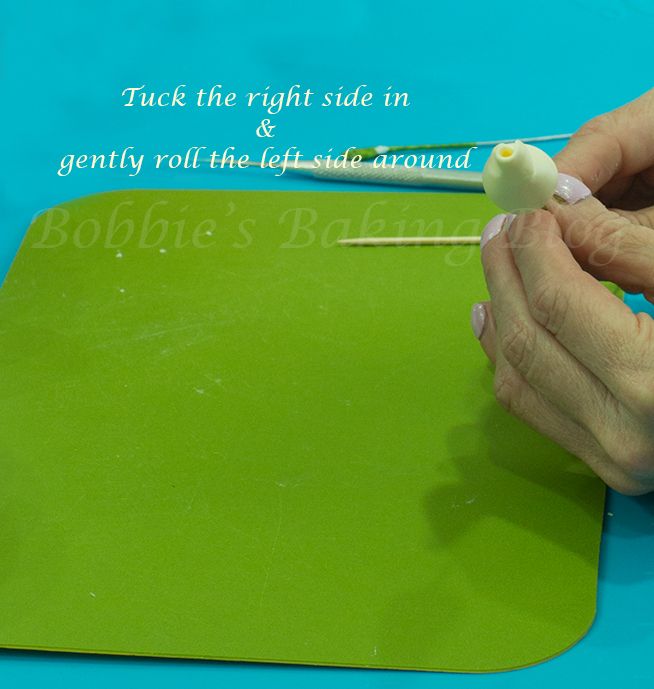
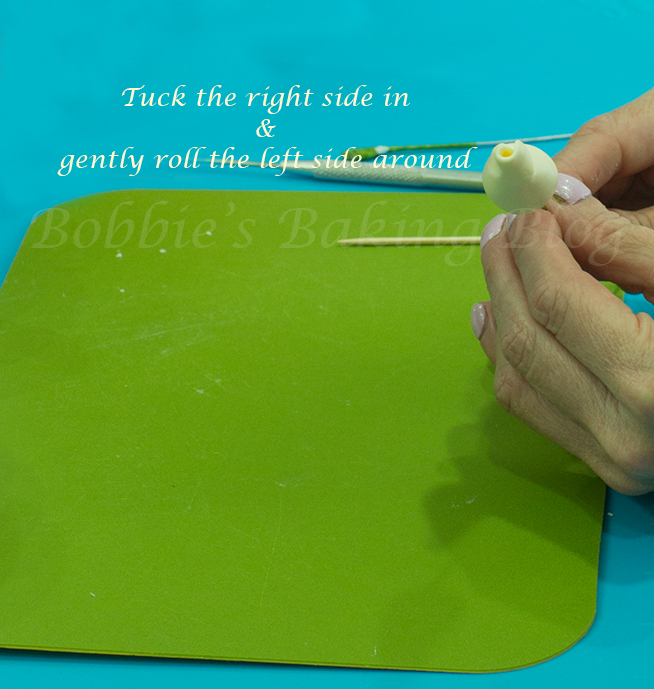
Bend the tip of the cone and flatten into a “fishtail” shape. (The fishtail method belongs to Nicholas Lodge). Tuck the right side in tightly and roll the left over the tucked right side.
Allow to dry over night, you will need to create a cone for each bud or rose you are going to create.
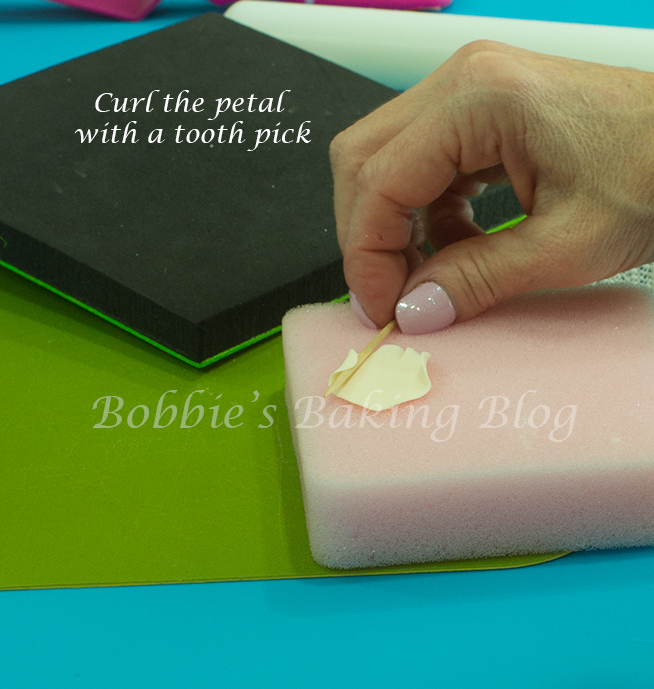
If you are making a three petal bud slightly curl the edge of the petal with a tooth pick.
Allow the “fishtail” bud to dry over night. ( If you are in a time crunch instead of preparing the taped wire petal you can heat the wire with a flame from a candle, and insert the hot wire into your cone. This will cause the paste to fuse to the wire instantaneously, thus the bud will be secure).
The Half Rose, Full Rose & Fully Blown Rose:
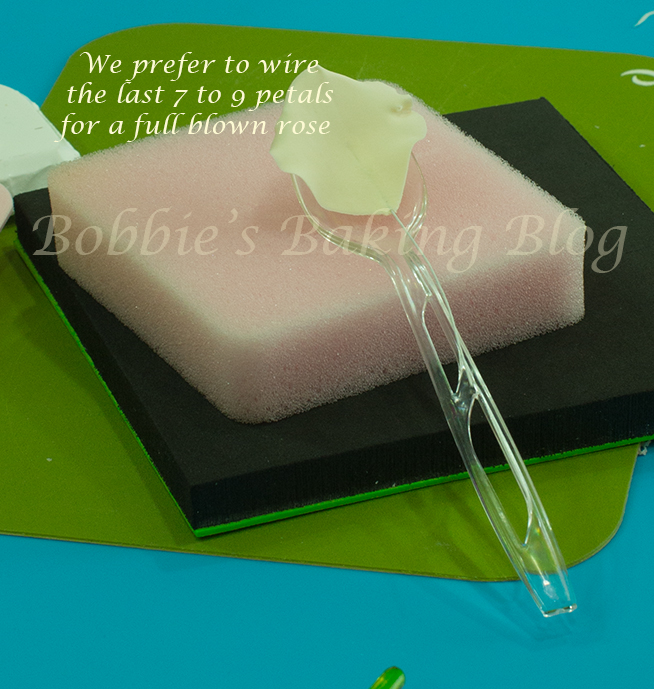
For the fully blown rose I prefer to put the last 5 to 9 petals on wires, it adds a realistic look.
Medium Rose:
Once your fishtail bud has dried you may begin to add petals.
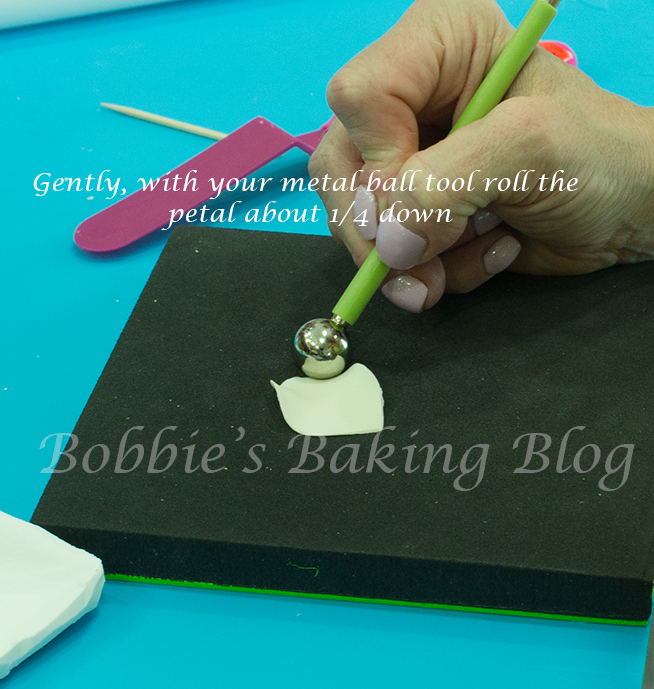
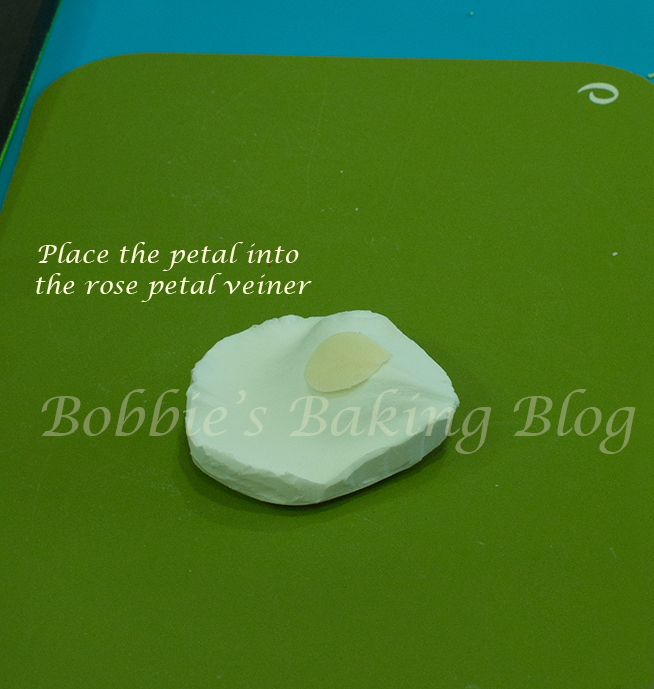
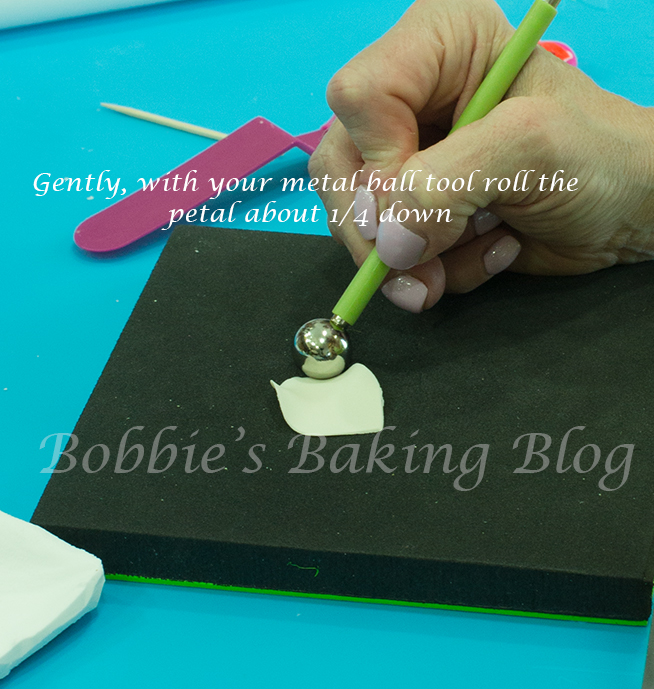
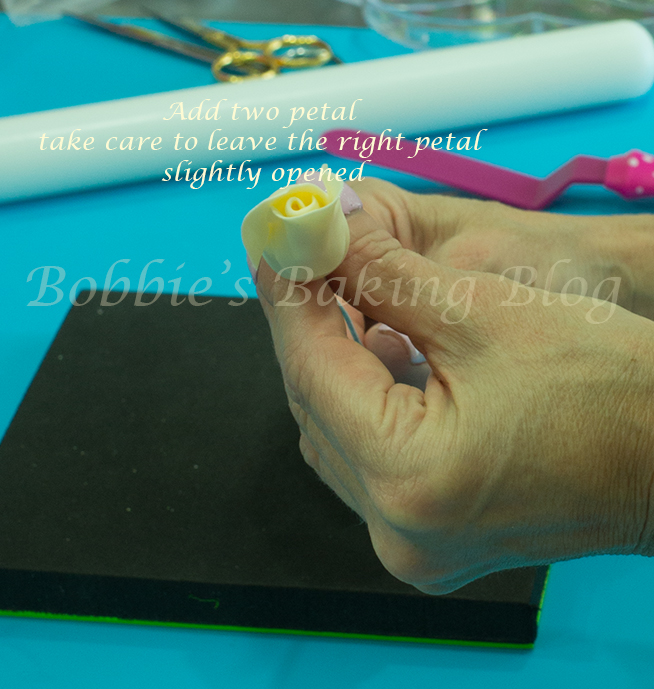
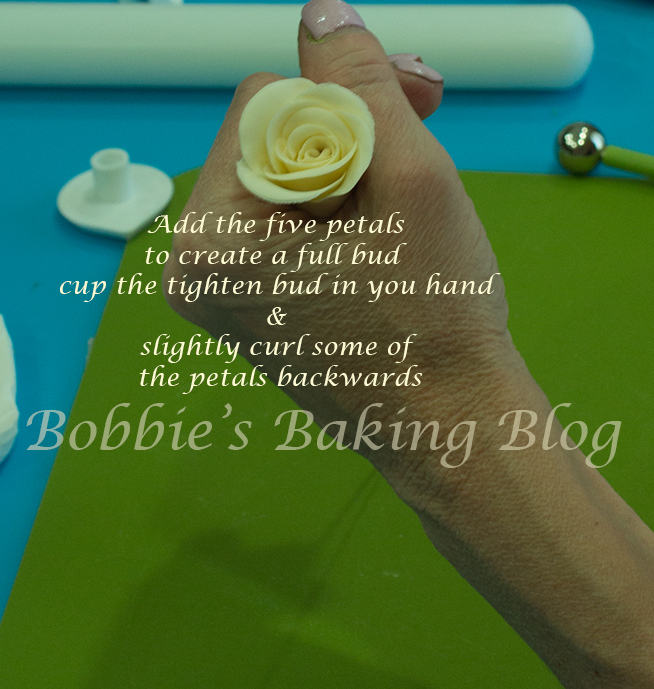
Condition your pale yellow paste and knead well, roll the paste thin enough to be able to go into your pasta machine, gradually thin the paste to # 7 or 8. Place the thin paste on your tap mat and proceed to cut out 6 petals with your OP #3 petal cutter. Place 5 petals under your stay fresh mat, place the sixth petal on a foam pad. Using your metal ball tool, half on the top of the petal & half on the pad, add movement to the petal. You do not want to add too much movement for the first sixth petal. Next vein your petal and roll the ball tool the same as before. With a brush, brush egg white in a “V” shape at the base of the petal about 1/2-up. Find the outside seam and position the first petal so it lays directly half on the seam, seal the left side with tiny amount of egg white, leave the right side open. Follow the same steps for the next two petals, place petal #2 inside the right side of first petal, using a very small amount of egg white close the right side of the first petal closed over the second petal. Leave a small part of the petal open and curl back the top with a tooth pick.
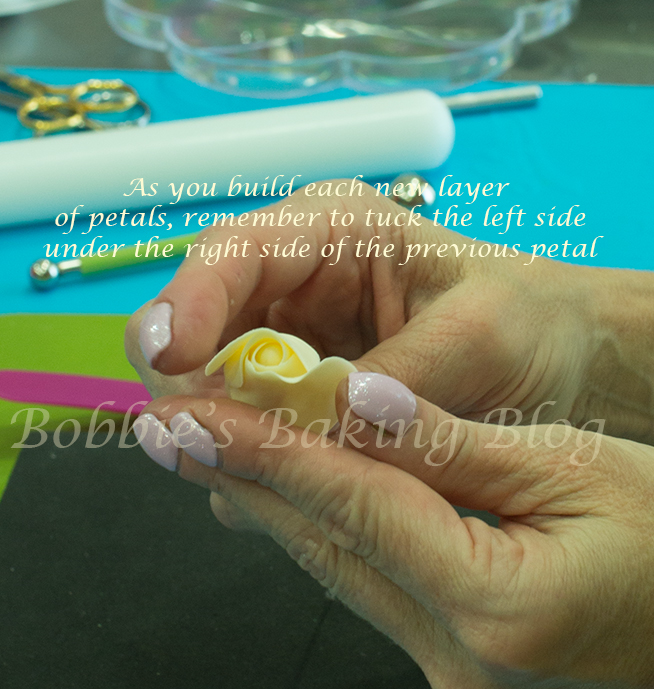
For next set of three you will follow all the same steps, except you will cup these petals. Turn the petals over, so less vein side is facing you, with your ball tool, roll from the centre of petal to the top. Moisten, with egg white, 1/2 up petal on the cupped side. Remembering to start on a seam, attach the petal leaving the side open.
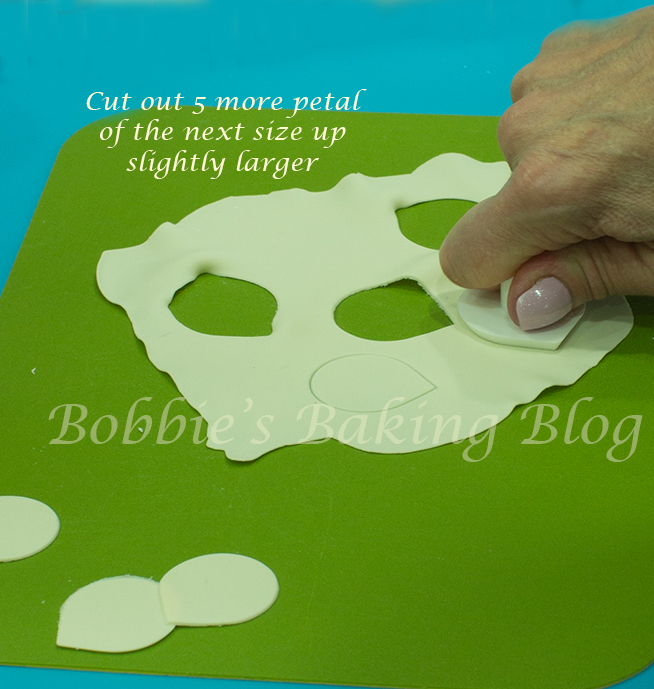
Roll out some more of the condition kneaded pale yellow paste and roll in a pasta machine to a #8 cut five petals with the #2 petal cutter. Place four of the petals in your stay fresh mat, place the fifth petal on a foam pad, using your metal ball tool, half on the top of the petal & half on the pad. This time ball tool down about 1/2 way, vein and add more movement with the ball tool. Now place the petal in the palm of your hand and cup the first petal. Moisten in a “v” shape at the base of the petal with egg white about 1/3 up the petal. Find the seam from the proceeding set lay directly half on the seam, seal the left side of the base with a tiny amount of egg white, leave the right side open. At this point I begin to leave the petal a little more open.
For the second petal you will follow the same steps, except this petal will be cupped on the less veined side. This is the transition part of the rose, where some of the petals are opening and some are still slightly closed. Petal three will be cupped like petal one, petal four and five will be cupped exactly like petal two.
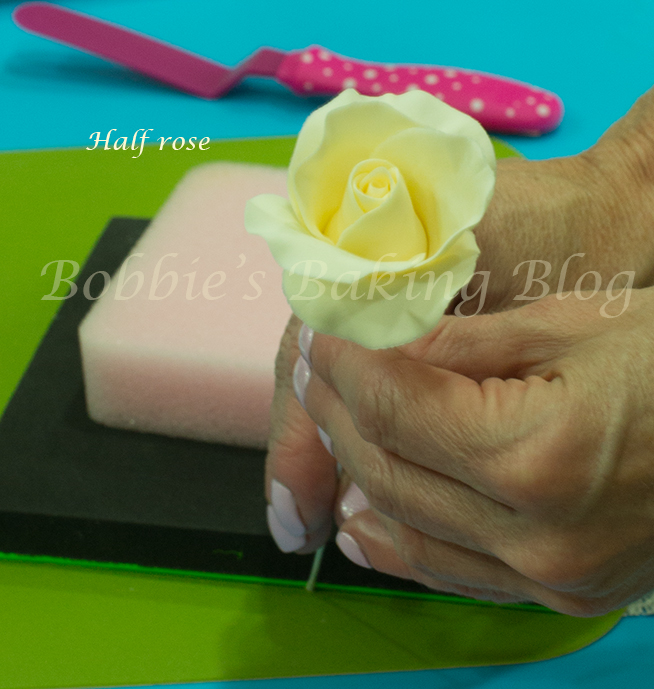
This is your stopping point for a medium rose. Wrap your hand around the medium rose, curl and pinch some of the petals, and allow to dry.
Full Rose:
For the full rose continue with the medium rose, without allowing drying time. Roll out some more of the condition kneaded pale yellow paste and roll in a pasta machine to a #8 cut seven petal with the #1 petal cutter. Place six of the petals in your stay fresh mat, place the seventh petal on a foam pad, using your metal ball tool, half on the top of the petal & half on the pad. This time ball tool down almost to the bottom, vein the petal and re ball the petal. With your ceramic ball tool place the point of the tool on the “V’ portion of the petal using a fan like motion roll in one direction to the other end of the petal. All of the petals will be cupped, in the palm of your hand, on the less vein side. Brush a little egg white on the “v” portion of the petal and tuck the first petal inside a petal from the previous petal. Continue spiraling the petal until you have the last one on.
For the full rose this is your stopping point, allow the full rose to dry.
Fully blown Rose:
These are the petals we prefer to use wire, the rose is structurally stronger and tend to look even more realistic.
Condition and knead your pale yellow paste, roll the past on your groove board until paper thin, you should be able to see grooves through the paste. Transfer your paste to the tap mat and proceed to cut 9 petals out, centre the petal to the groove. Place one petal on your foam pad groove side up, and place the 8 other petals in your stay fresh mat.
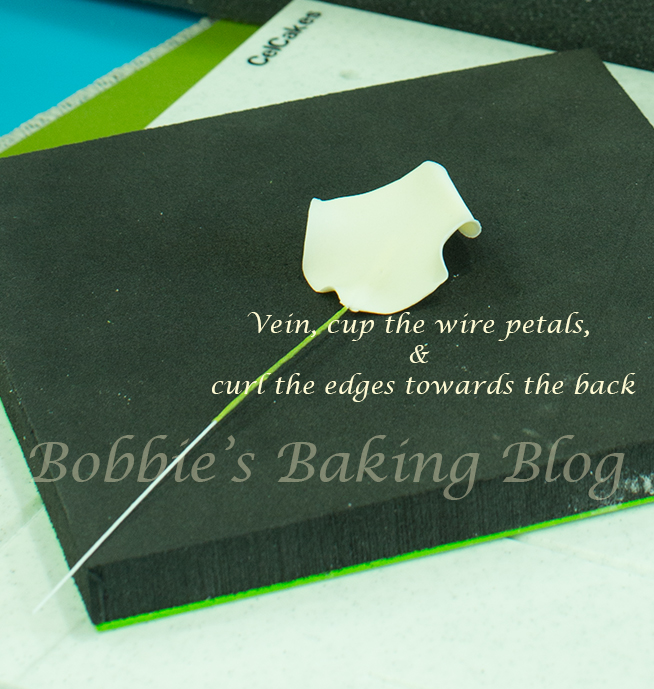
With 28 gauge wire thread the wire through the groove. Using your metal ball tool, half on the top of the petal & half on the pad. Ball tool down almost to the bottom, vein the petal and re ball the petal. With your ceramic ball tool place the point of the tool on the “v” portion of the petal using a fan like motion roll in one direction to the other end of the petal. Turn the petal over and curl the parts of the petal with a tooth pick, cup the petal in the palm of your hand. Place the wired petal in a floral foam block and allow to dry.
Calyx and Rose Hip:
I have a full tutorial on the rose leaves on another post you may find here.
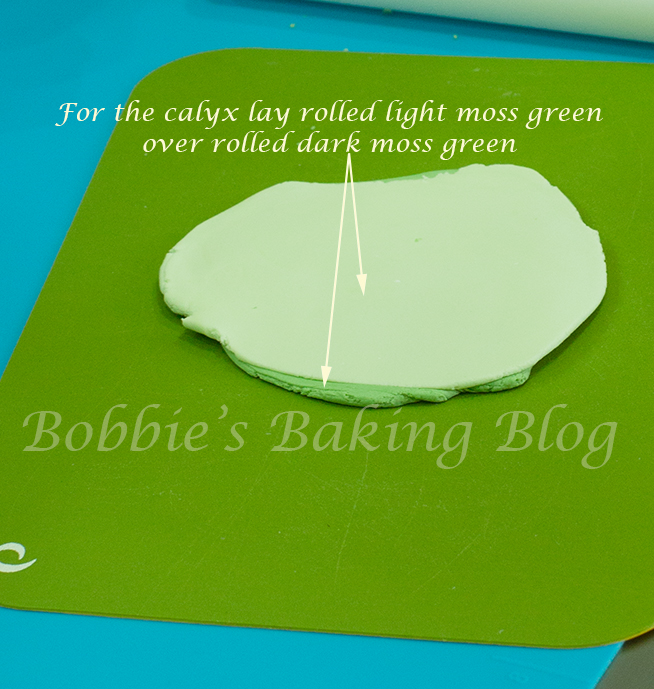
For the calyx knead some white sugar paste with green moss food paste, take about 1/4 out and knead more white sugar paste, you should have a dark moss green paste and light green paste. Place both pastes in separate plastic bags. Take equal amounts of both condition and knead well. Roll both out to 6-inch width or width your pasta machine is. Place the light moss green on the dark moss green roll and pace in the pasta machine. Gradually thin the two tone paste to a #4 on the pasta machine.
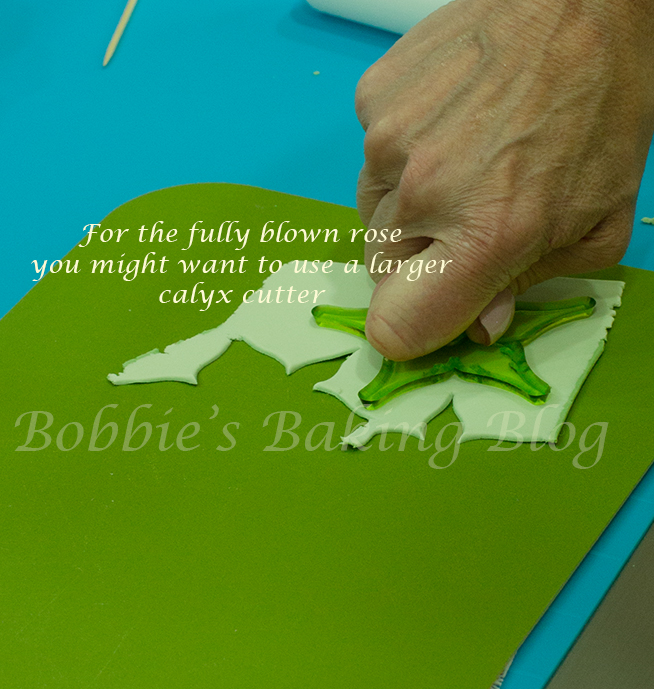
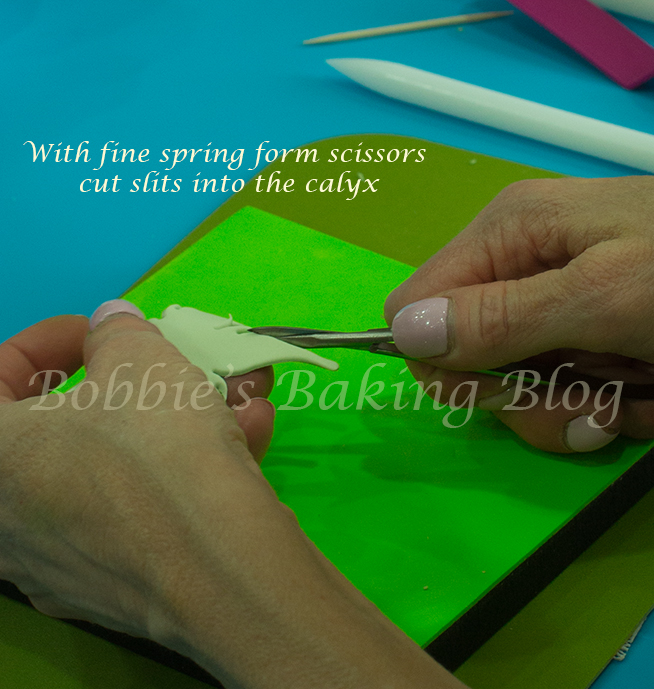
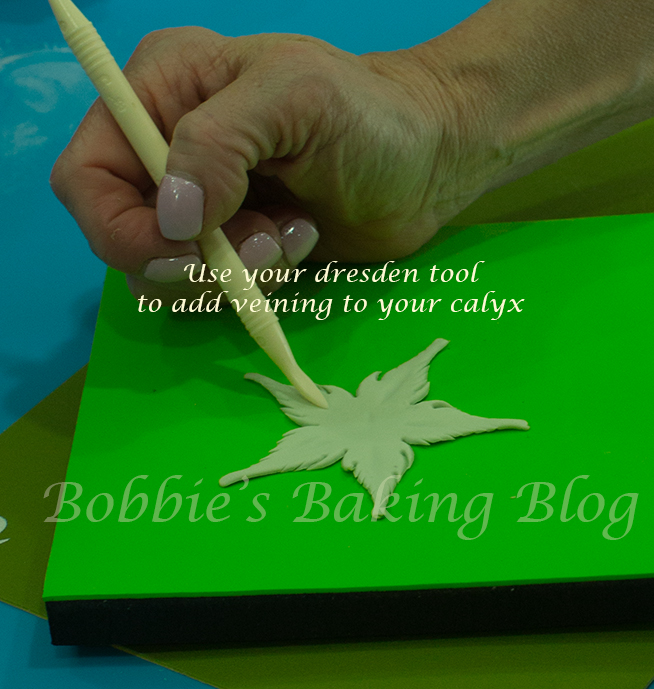
Cut out six JEM calyxes (or how many rosebuds and roses you have). Roll the tips of the calyx with a paste pin to lengthen and thin the calyx tips. With your very fine scissors cut little straight cuts on the calyxes. Next using your dresden tool to hollow the lower petals of the calyx, your rose will fit easier if you hollow out the calyx. Use a Celstick to add movement to the calyxes.
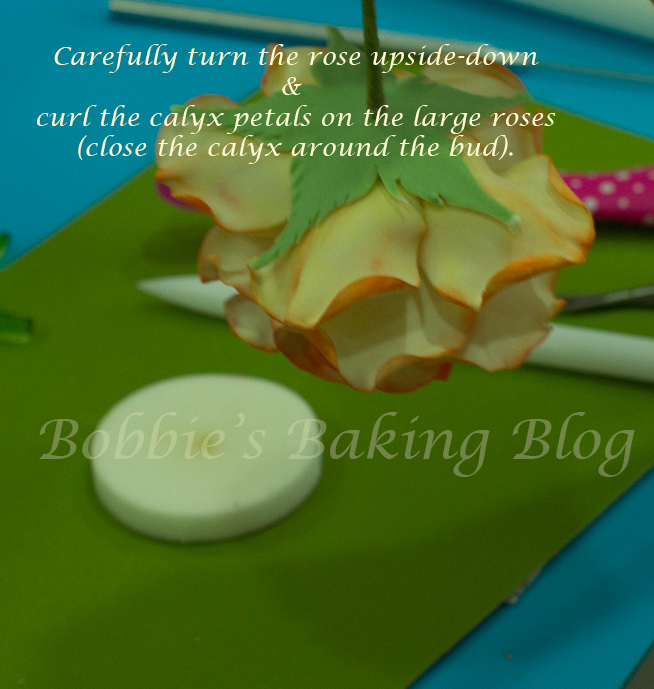
Place the calyx on a cosmetic sponge with a hole in the centre brush the centre and lower portion of the calyx with egg white. Thread your dusted wired rose through the calyx and the sponge, push the sponge upwards. Carefully turn the flower upside down and put into place one the rose.
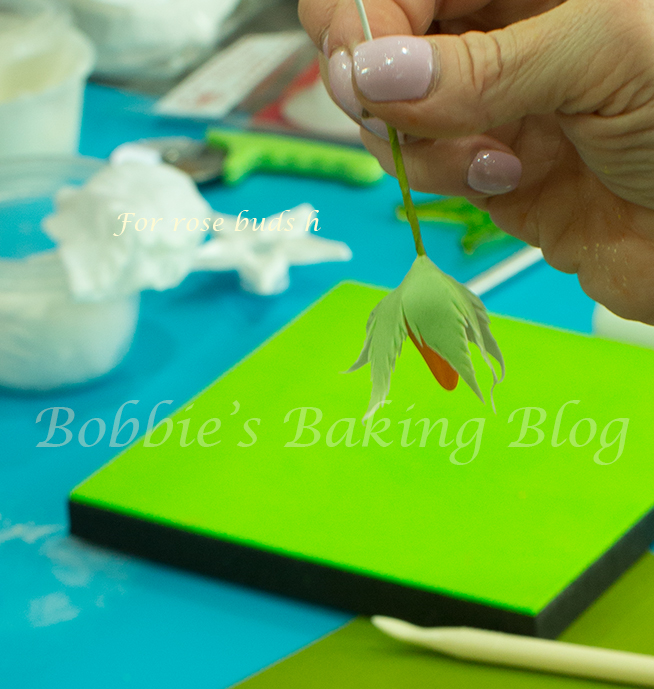
Buds will have calyxes that cover them, sometimes fully covering them. The larger the rose the more the calyx petal will curl.
Rose Hip:
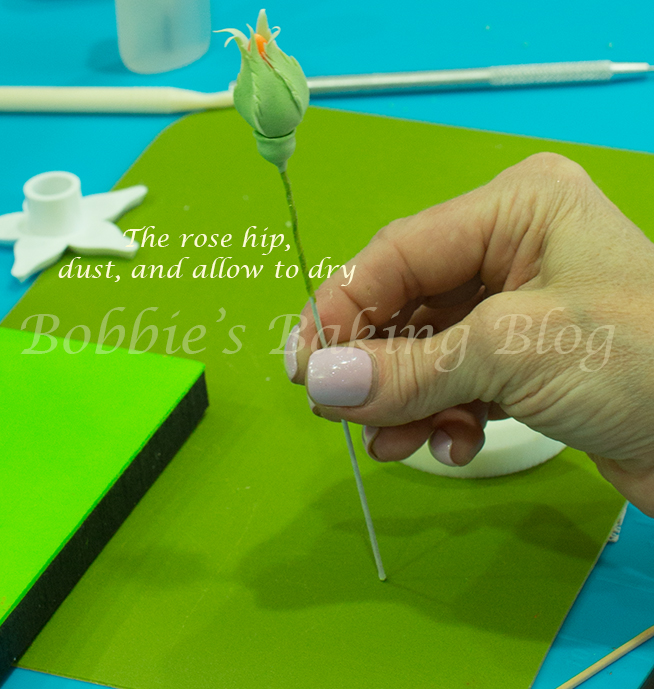
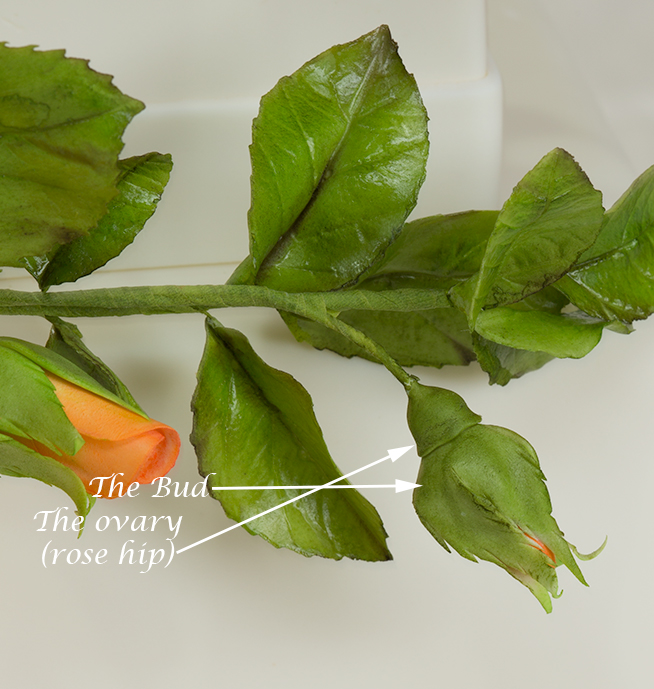
The hip of the rose is the ovary of the rose. All the hips will be pea sized, the buds will show the rosebud hip more than larger roses.
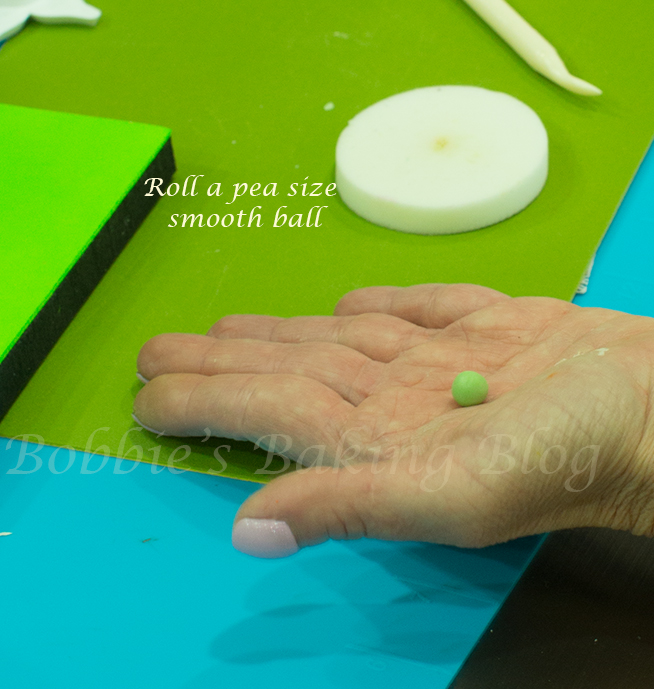
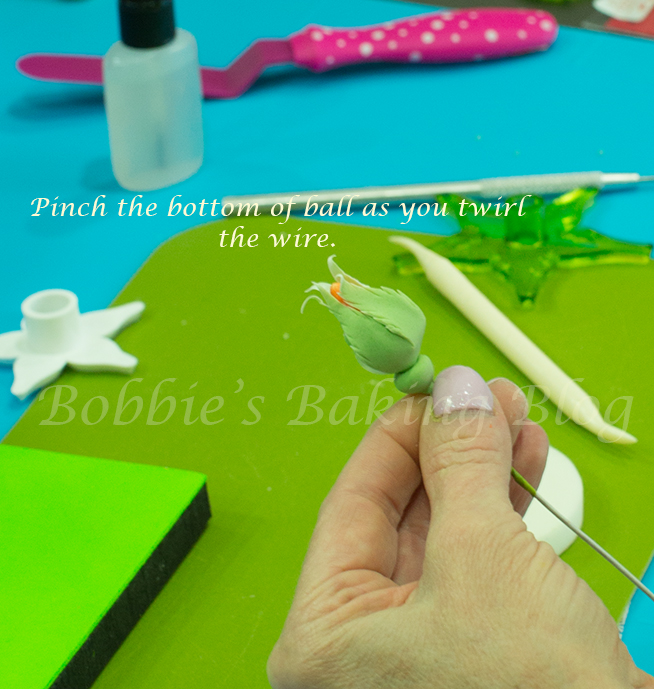
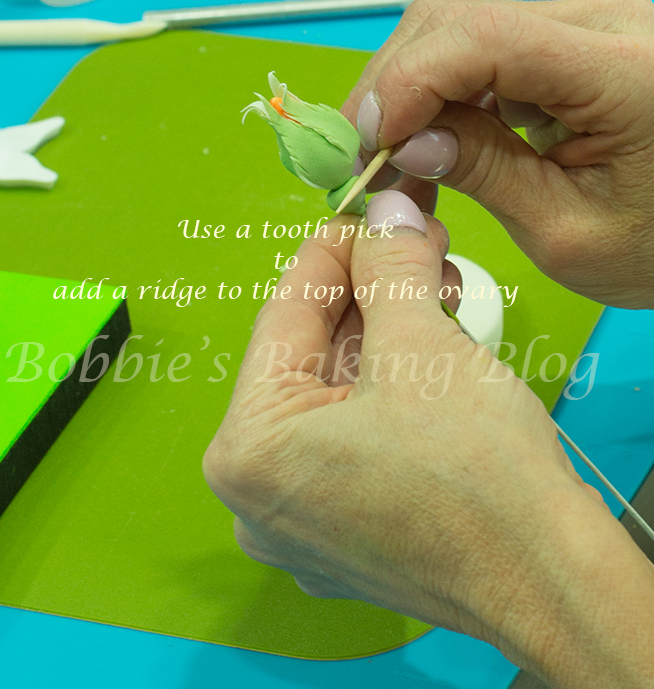
Roll a smooth size of dark moss green sugar paste, thread the calyx rose through the ball. Brush a little egg white to the top of the hip, after you dent the shape with the calyx, pinch the bottom to attach to the wire. Use a tooth pick to create a ridge and attach to the calyx.
Dust and Assemble:
To add the wire petals start some green nile tape close to the bottom of the full rose, add one petal at a time, wrapping the tape around once per petal. When all the petals have been taped into place arrange them so the right petals overlaps left..Keeping the spiral effect.
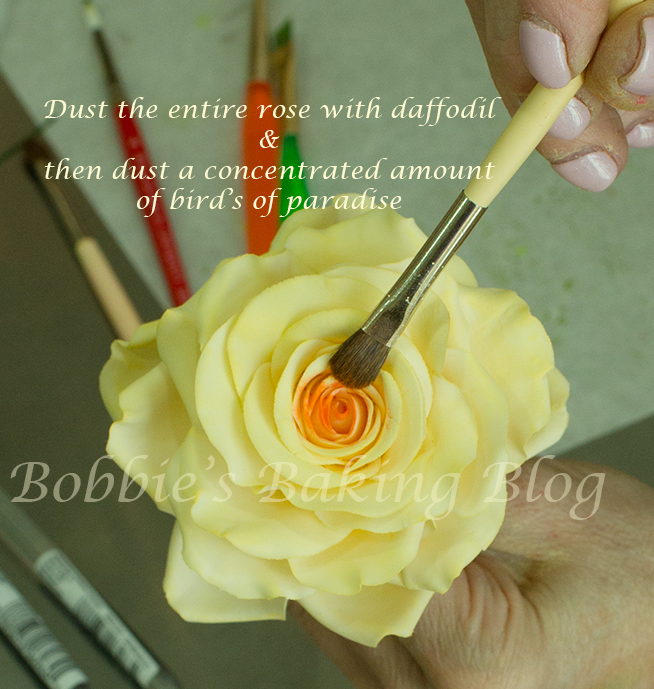
We found dusting the rose prior to creating and attaching the calyx is easier, the dust for the rosebuds and roses cannot contaminate the calyx. The center of the rose and the buds have the deepest concentration of color. For the Glowing Peace Roses the entire flower is dusted with daffodil yellow as is the buds, keeping the centre highly coloured. The buds, centre and about 10 petals will be dusted heavily with Birds of Paradise orange. As you move to the outer petal lighten up on the Birds of Paradise orange. Lastly shade with poppy red in the centre and petals, the buds will have half poppy red.
Color the calyx with vine green inside and out fully. Dust with moss green on the outside (the darker moss side) and shade with aubergine.
Steam each of roses and buds, allow to dry in the floral block.
The sugar paste rose is an elegant flower for brides, grooms, 21st birthday cakes, and they are exciting to create. I adore watching them come to life. If you have never created a sugar paste flower remember to take your time and have fun with the design!
Enjoy!






Trackbacks/Pingbacks