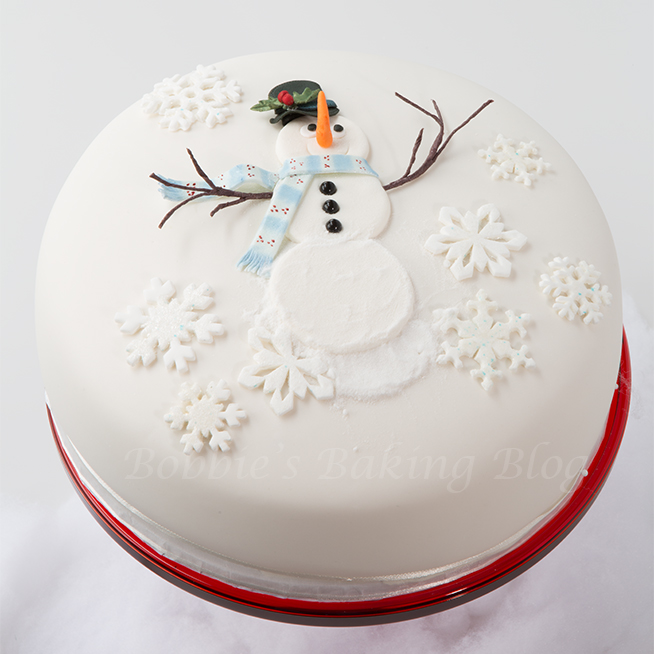
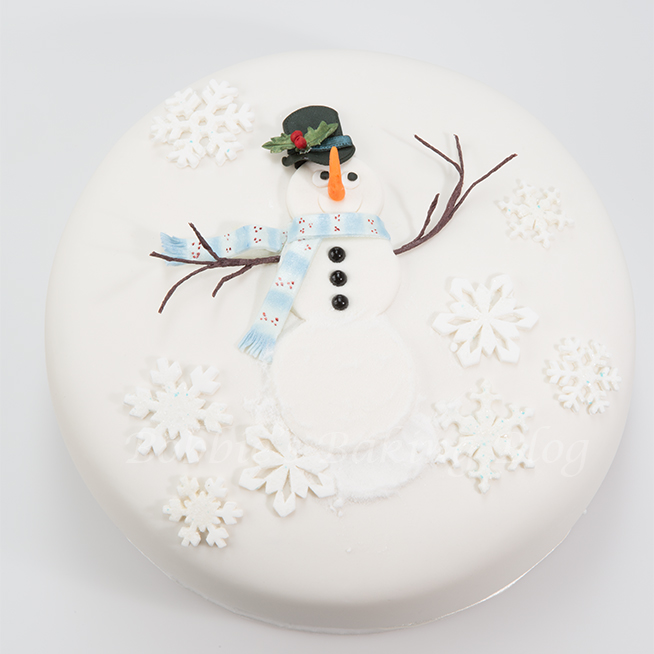
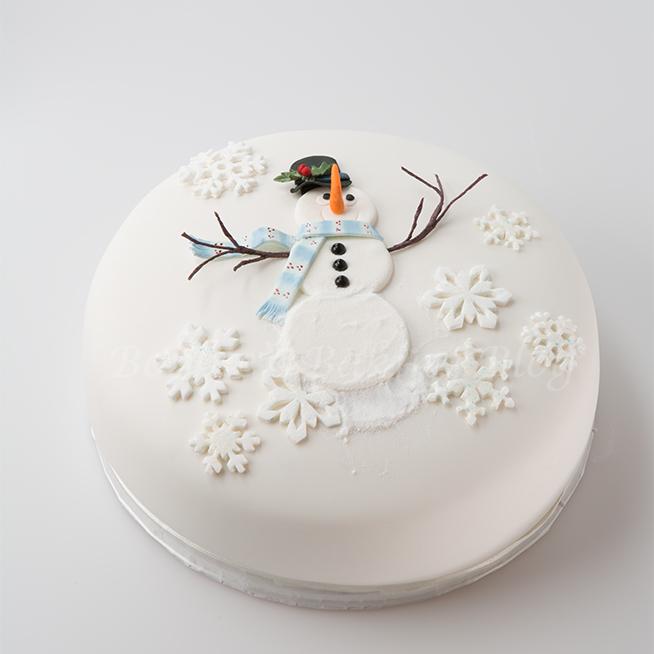
Sydney was looking through Alan Dunn’s, Christmas Cakes (A perfect gift for any cake enthusiast) when she came across a cake of the most adorable snowman. She insisted we create a snowman cake of are own. Alan Dunn’s cake inspired Sydney and I to design our own version. I knew the cake would be a fun project for us, but I must admit I was caught off guard at the amount of excitement that came over us as we began bringing the cake to life. We found ourselves giggling like first graders as we added the parts of the snowman’s body and apparel. As we added the last snowflake a sense of melancholiness over came me, it reminds me of a trip to Disney World. You cherished the vacation and are sadden to leave. I adored designing and working on the cake with Sydney and was sadden the project had ended!
Mr. Freeze Snowman Cake:
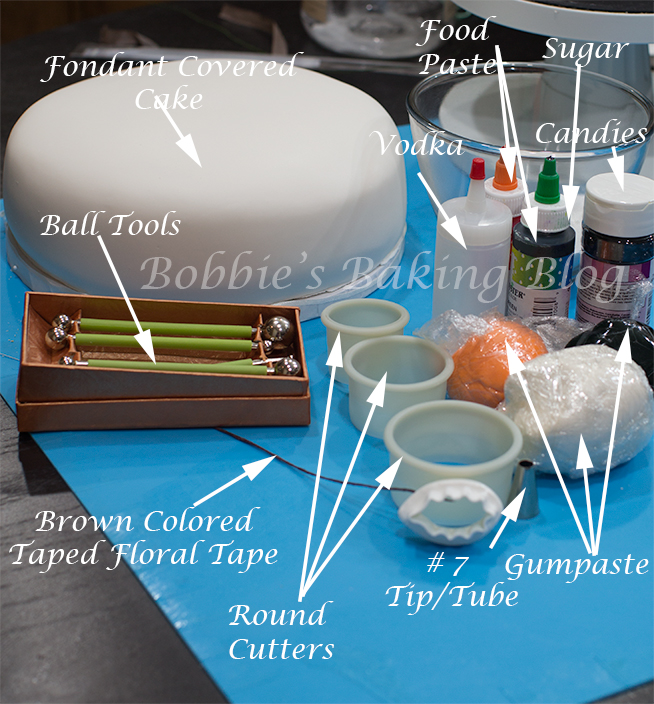
Materials:
- 1-round 22 cm/ 9-inch 4 layer chiffon cake
- White fondant
- Red fondant
- Black fondant
- Gumpaste
- Black dragees
- Egg white, for cake glue
- Food paste, poinsettia red, blue, orange, & green
- Holly berry cutter small, orchard cutters
- Petal dust, sunset orange, orange, kiwi green, forest green, avocado green, baby blue, pearlized crystal blue & poinsettia red
- Royal icing, white
- Super fine sugar
Equipment:
- Ball tool
- #7 piping tip/tube
- 28 gauge
- 3 round circle cutter graduating in size
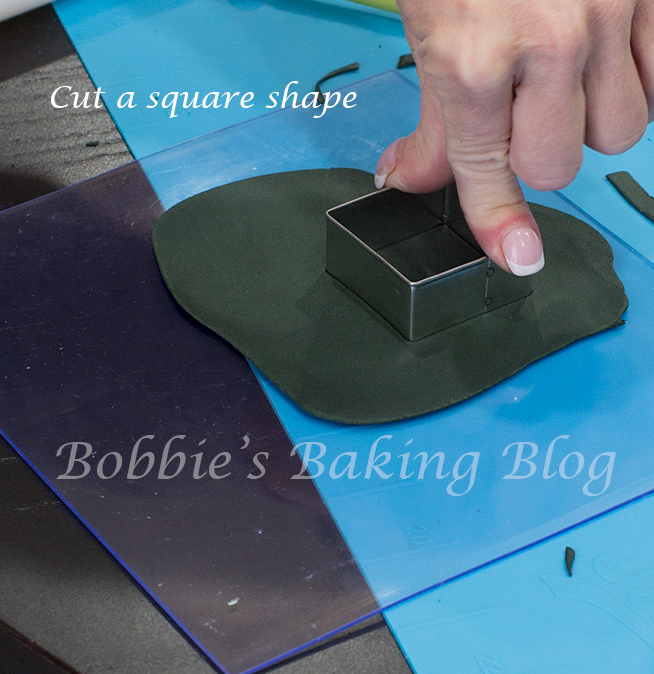
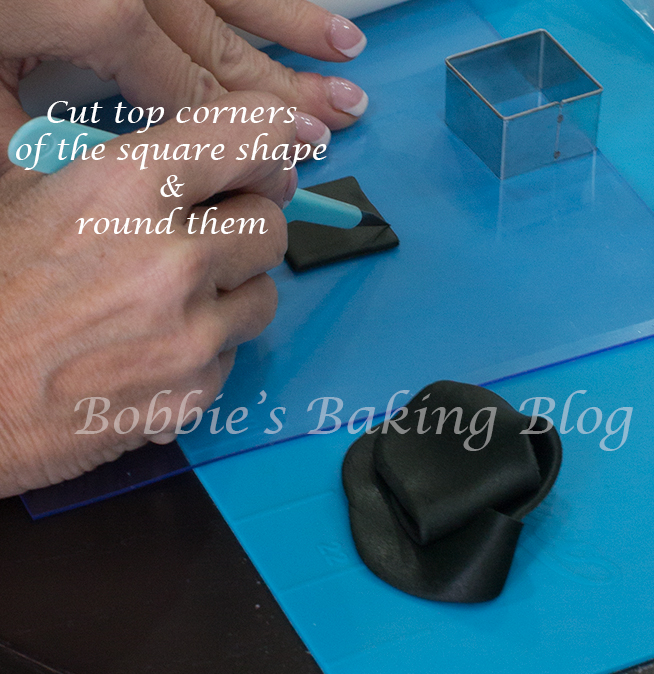
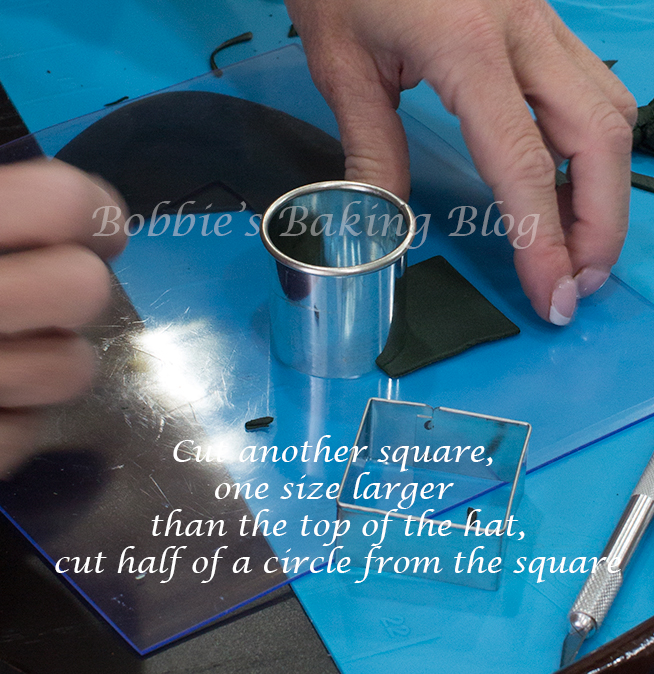
- Small graduating square cutters, Stephen Benison
- Brown floral tape
- Needle nose pilars
- Pme plain wheel
- Pounce wheel
- Small round cutters
- Cocktail stick
- Paint brushes
- Gumpaste rolling pin
- Ribbon cutter
- Stay fresh mat
- Foam board
- Aceto knife
Normally we suggest to prepare your gum paste decoration prior to baking the cake and covering with fondant; this cake is assembled on the cake in pieces. Have a cake ready to use.
Pre color the fondant and gumpaste, wrap tightly in plastic wrap and set to the side.
Prepare your mise en place.
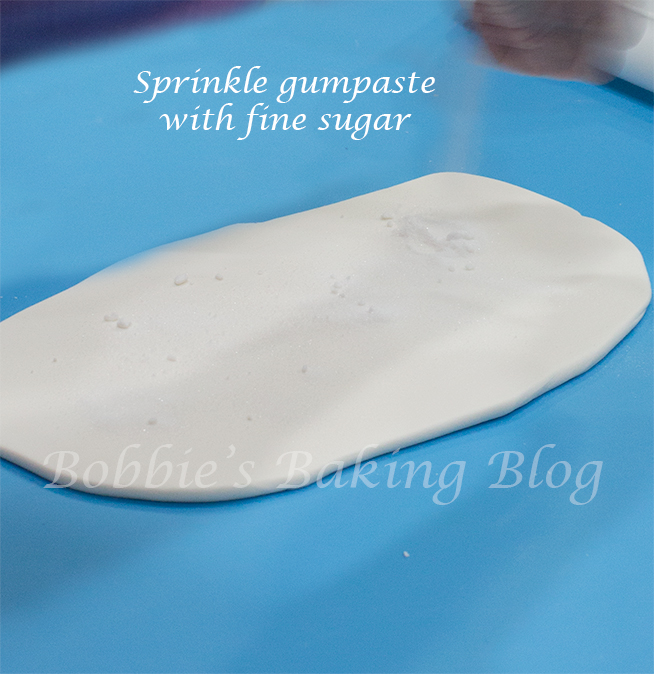
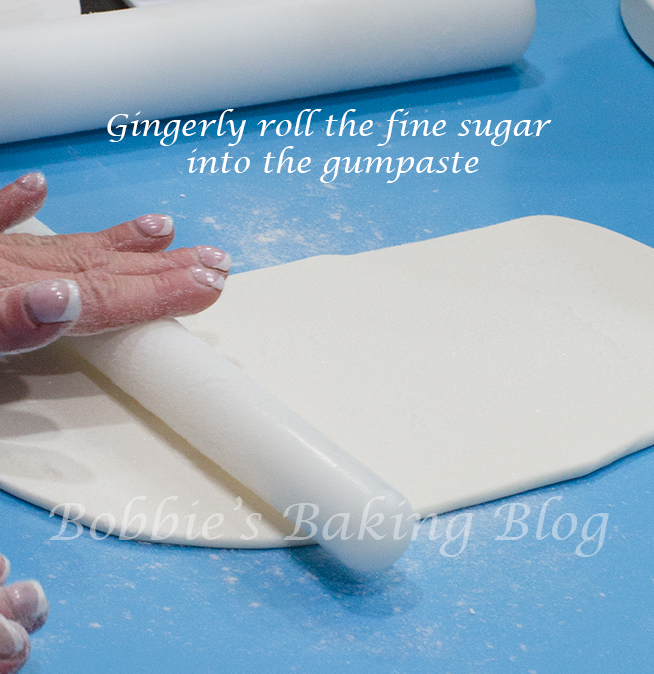
Knead half of the fondant with half of the gumpaste. Roll out the half n half kneaded paste, sprinkle with super fine sugar. Roll the paste out again, sprinkle a little more sugar, and gently roll the sugar into the paste.
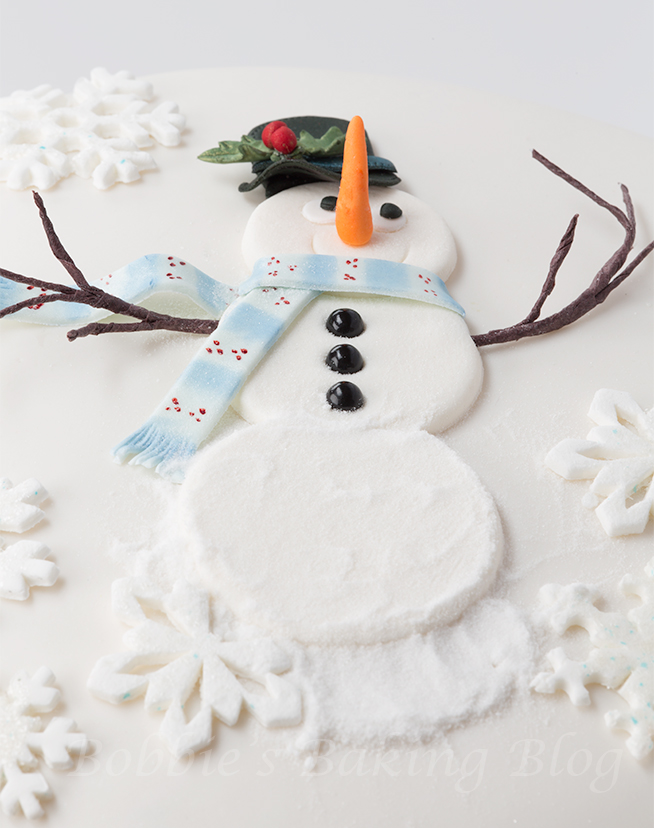
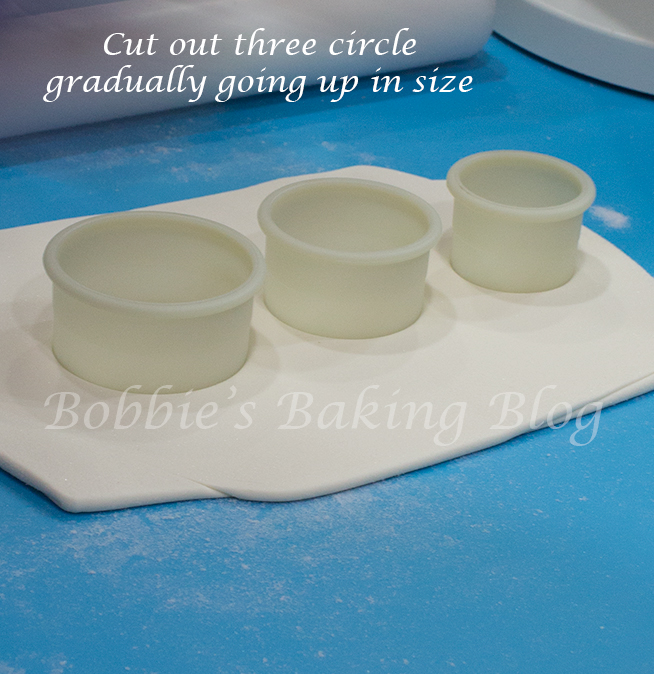
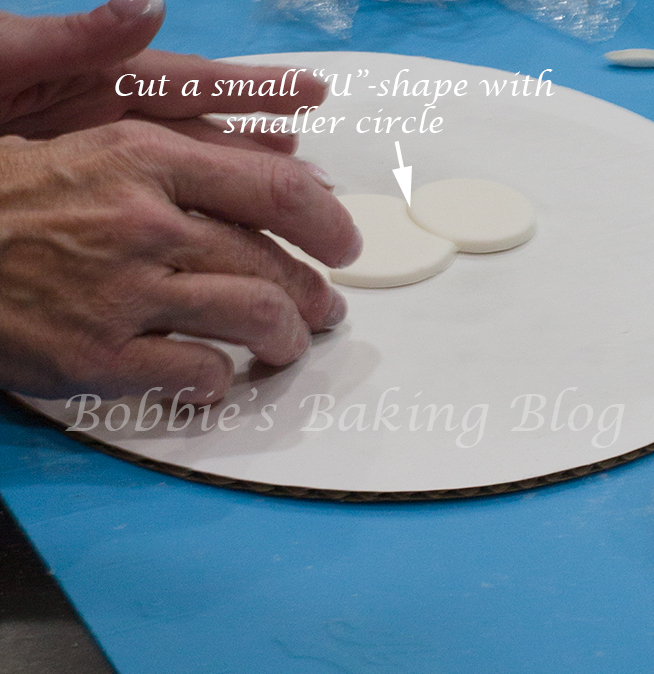
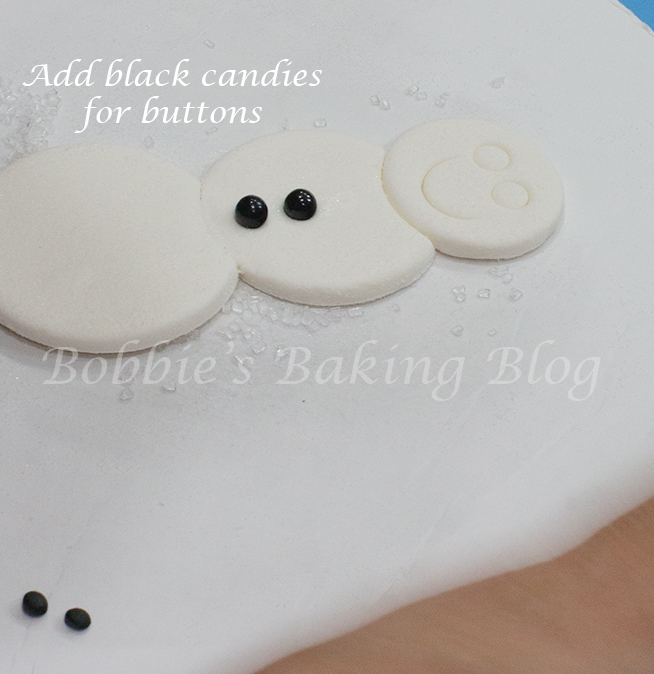
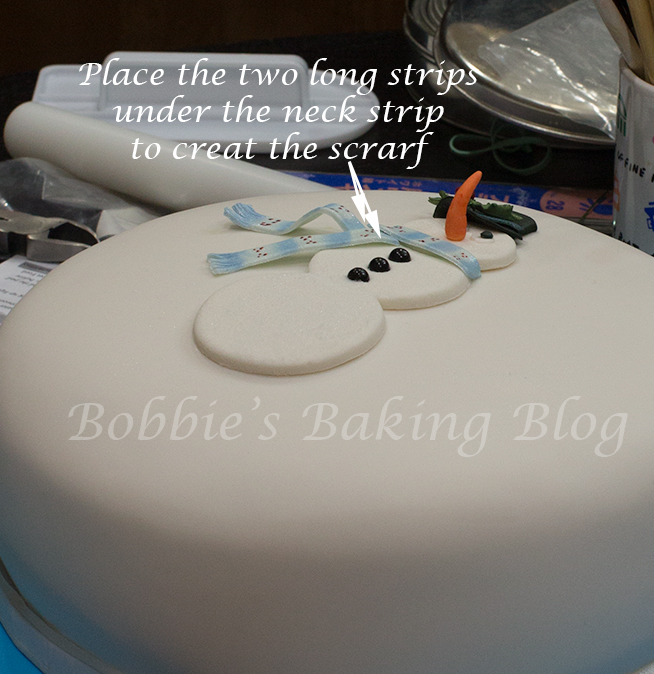
Cut out three circles graduating in size. Cut each circle’s top with the next size smaller circle cutter (excluding the head) at the top, this will create a “U” to place the body together. Soften the edges of the circles, without frilling them. Lightly brush each circle with egg white, place the circle side into the “u” shape of the next larger circle, smooth with a ball tool to attach.
The face of Mr. Freeze and placing on the cake:
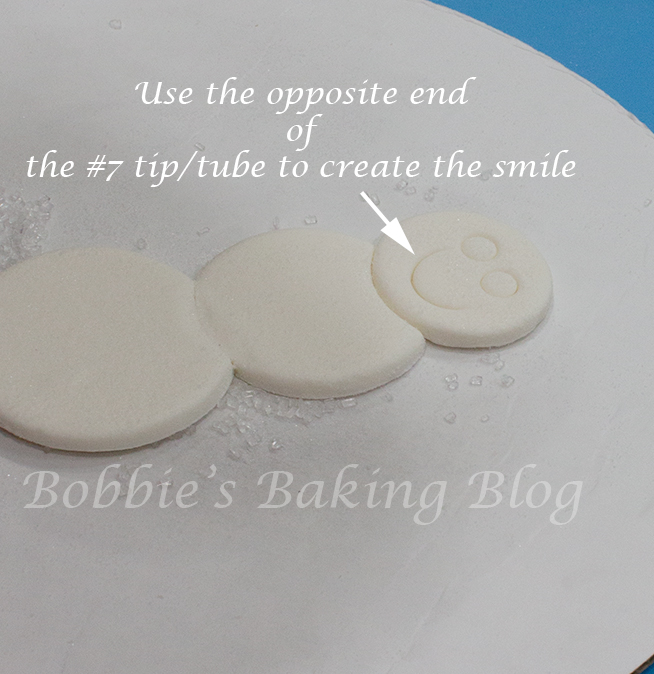
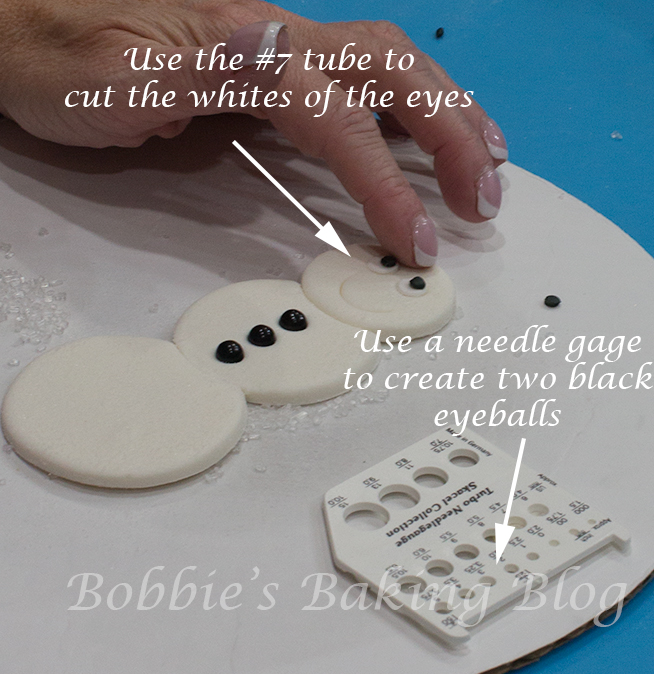
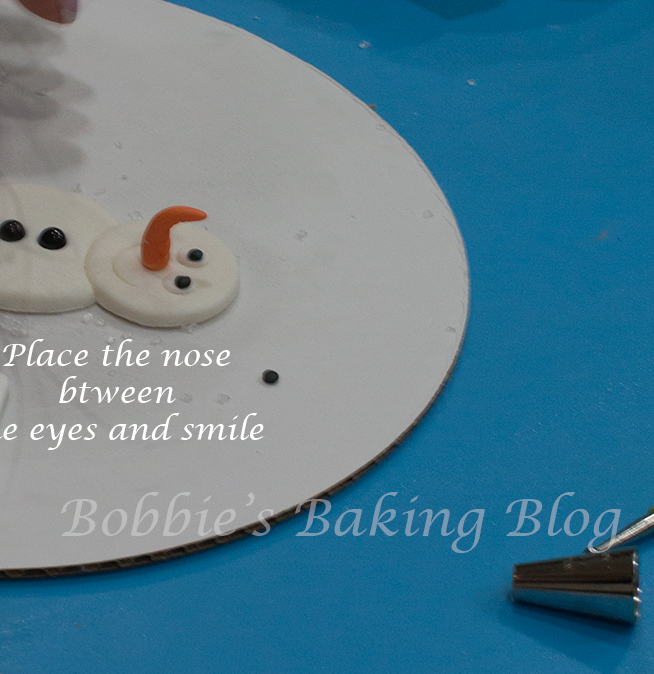
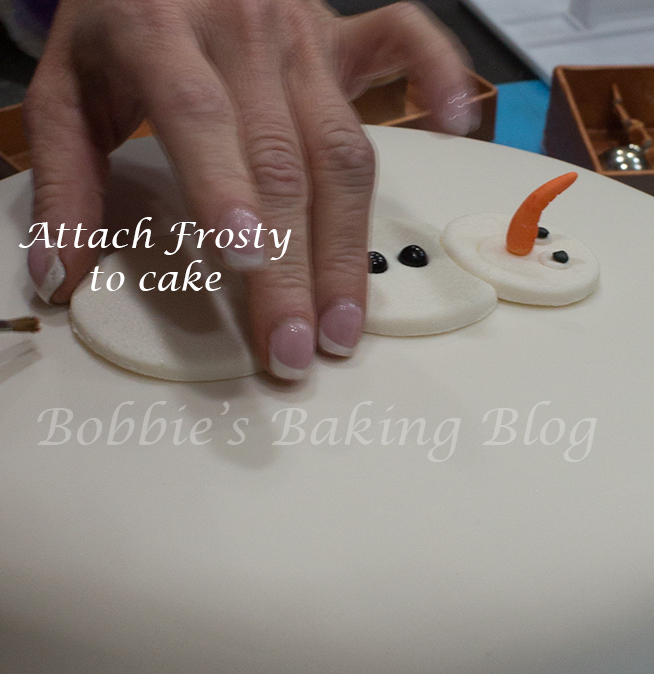
For the eyes, use the piping side of your #7 piping tip/tube, about 1/4 from the top of the head indent two circles, roll two small ball (use your needle point circle gauge to insure they are the same size), and flatten. Brush a very small amount of egg white to the back, attach inside the eye circles you just created. Now knead a small amount of black gumpaste, roll two smaller circle (gauging for even size), flatten the cirles sightly, and attach with egg white to the white part of the eyes. Using the opposite side of your #7 tip/tube indent a “U” (about 1/4 from the bottom of the head) to create an adorable smile.
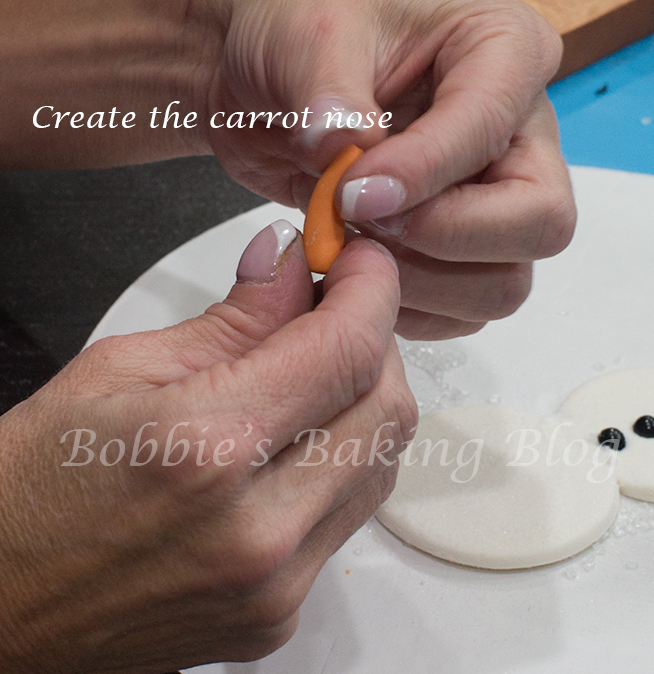
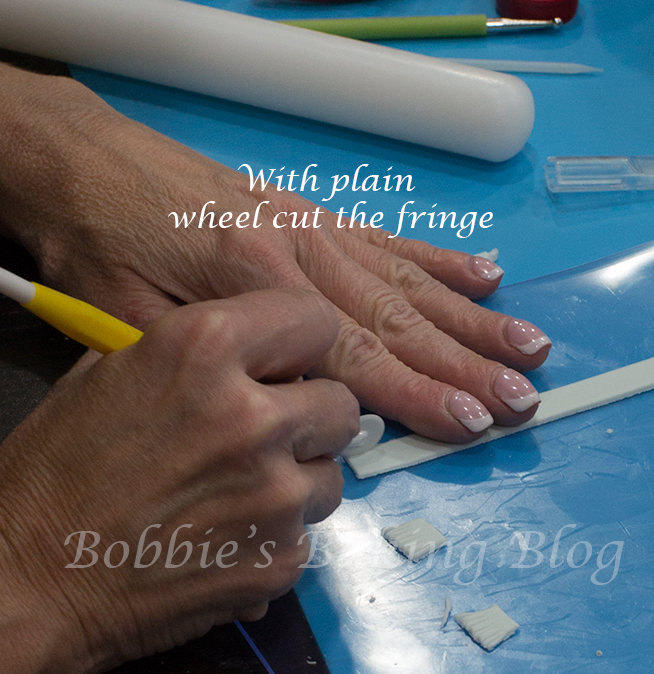
For the nose, knead a small amount of orange colored gumpaste, shape into a cone with a pointy tip. Flatten the bottom, and with your PME or plain cutting wheel create carrot lines. Brush a small amount of egg white to the flatten bottom and attach to the face. Add 3 black dragees to the center of the middle circle of the snowman.
Find the center of your cake, mark it with a scribber, brush a little egg white to the area. Carefully lift the entire snowman with a triangle spatula lay over the egg white brushed area.
For the Arms:
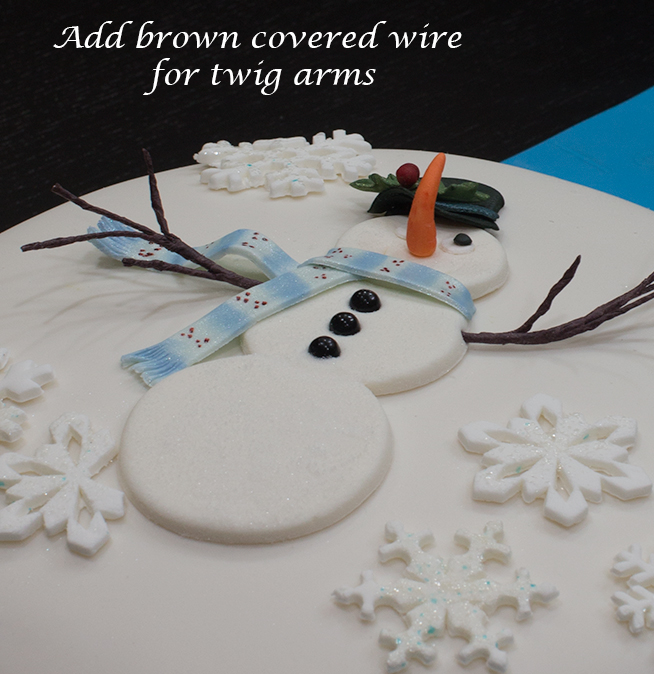
Wrap half of a 28 gauge white wire with brown floral tape, cut the remaining white part off (cut into 6 pieces). Cut the brown covered wire in half. Wrap the brown wire around the remaining white wire as you attach the short pieces of wire to the base. Insert the arms into the snowman’s sides.
This was an amazing and cherished cake to create; watch your children’s eyes as Mr. Freeze comes to life!
Enjoy!





WHAT A BEAUTIFUL CAKE AND SUCH A GREAT TUTORIAL! ABSOLUTELY LOVE IT AND I’M SURE IT WILL BE A HIT IN MANY HOMES! HAPPY HOLIDAYS!
Gloria, I hope you have as much as we had creating Mr. Freeze; I would love to see pictures of your cake!
Thank you so much for this tutorial- it is nice and simple and easy to understand and has wonderful results. Love your blog.
Claudia, I am pleased you enjoyed the post, thank you for your sweet compliment!
Beautiful cake. Thanks for the tutorial. I am going to make this one.
Hi Kathy, I hope you have as much fun designing Mr,Freeze as we did! Happy New Year!