I will warn you ahead of time, this will be a heartfelt article, if you want to jump to the cake recipe/instructions please feel free. Sydney, my miracle child after ten miscarriages, turned twenty. I know every parent claims time passes quickly, but her twenty years snuck up upon me. I remember deciding I would treasure ever moment with her; I not only cried when she went to kindergarten, but I neurotically remained at St Mary’s the entire day. I was becoming a fixture on the stairs to the point Sister Susan offered me a volunteer job at the school. Everyone, all the other parents, my family, and friends promised it would become easier as she became older, but each start of the school year a lump would develop in my throat and a feeling of emptiness I cannot explain would creep into my very soul. There is an Areosmith song “ I Don’t Want to Miss a Thing,” from the movie Armageddon that put my feeling into words…I didn’t close my eyes, I tried not to blink, I didn’t want to miss a thing, but in spite of my efforts she still grew up in record time.
I love the remarkable woman she has become, she is compassionate, respectful, confident, and smart. A few weeks ago she offered to give up something she truly wanted to drive me around town (I had an injury). I gratefully refused and explained it was still my job to take of her. Sydney’s reply brought tears to my eyes..”Mom, you drove me around most of my life, I can drive you now; it is the least I can do!” She is extraordinaire, but there are moments I miss the little girl she was.
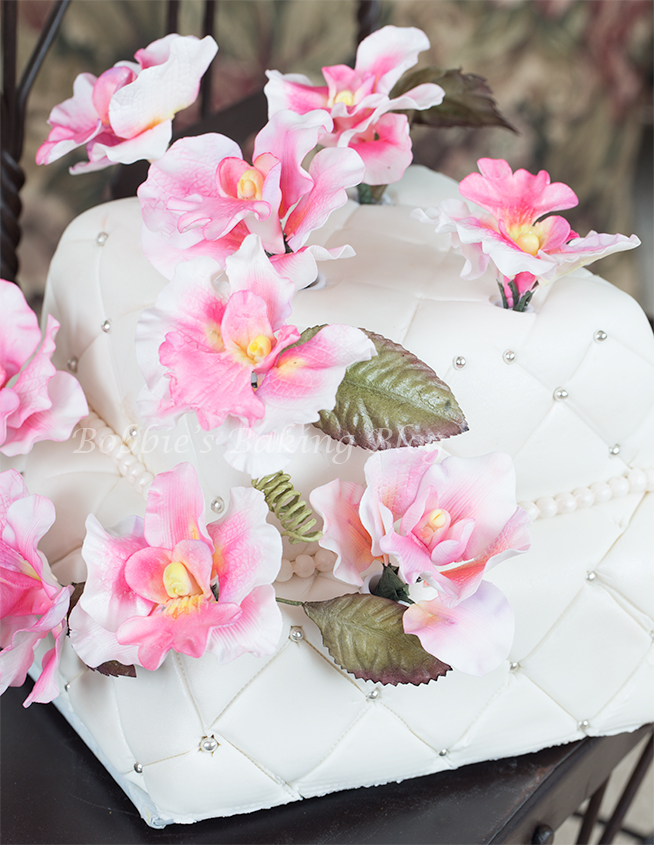
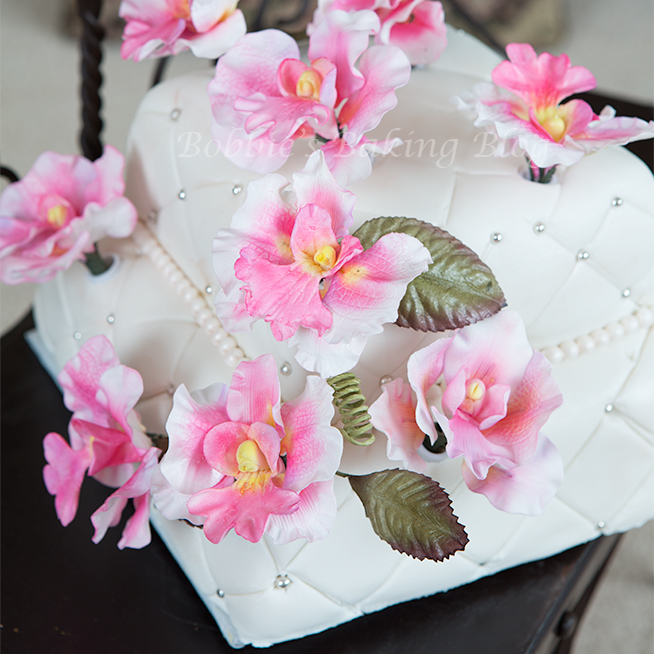
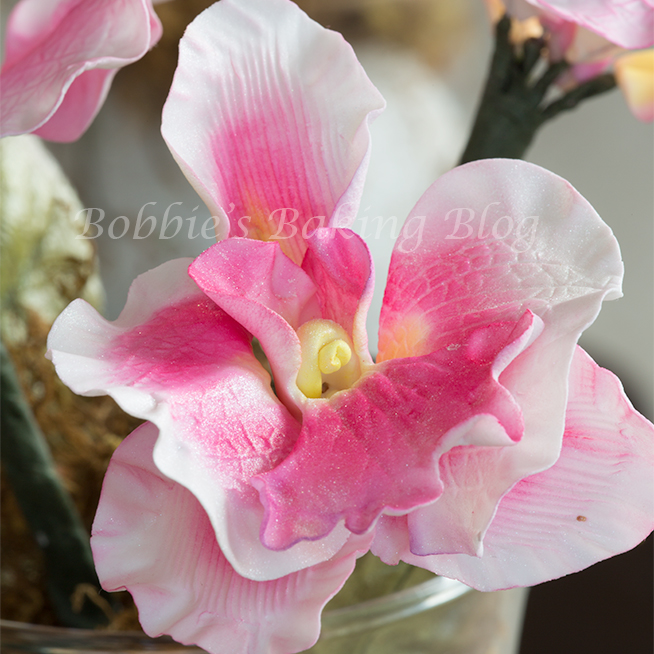
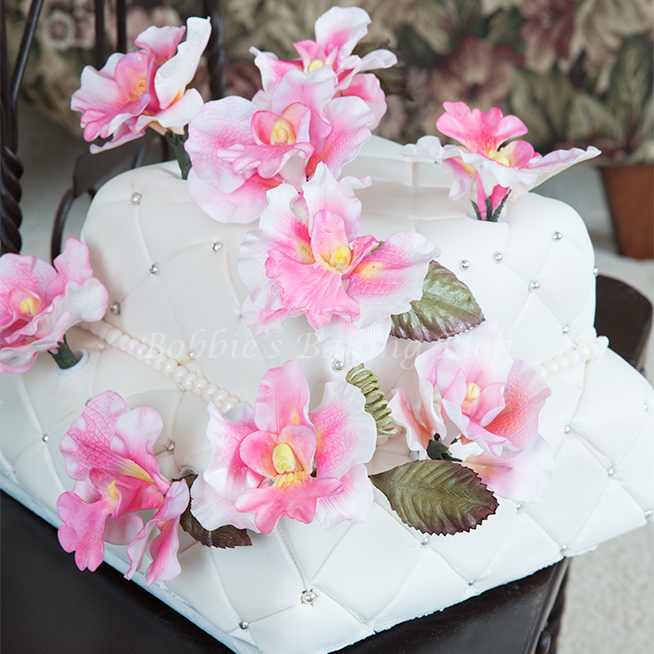
I wanted her 20th birthday to be rememberable with a special cake; Sydney had the cake mapped out, she wanted a white génoise with lemon curd filling, a pastry cream coating with marzipan and fondant; decorated with Butterfly Orchids. The best part about the entire designing, baking, and assembling was Sydney and I did it all together..her words!
Sydney’s Pleated Tiered Butterfly Orchid Cake:
- 1-recipe champagne génoise or cake of choice
- 1-recipe lemon curd
- 1-recipe crème pâtissière pastry cream
- Tiering & assembly instructions
- PME flower leaf modeling tool
- PME scraper
- PME taper cone
- Fondant white, or color of choice
- PME quilting tool
- Quilting triangle, any sewing store
- Fondant smoother
- A-ceto knife
- Bead mold
- Piping gel
- Quick Shape crater squares, craft store
- Diamond impression mat
- Cake turntable
- Petal dust of choice for beads
- Dragrees, color of choice
- Tweezers
- Gumpaste Orchids
- Floral spikes
Prepare your mise en place.
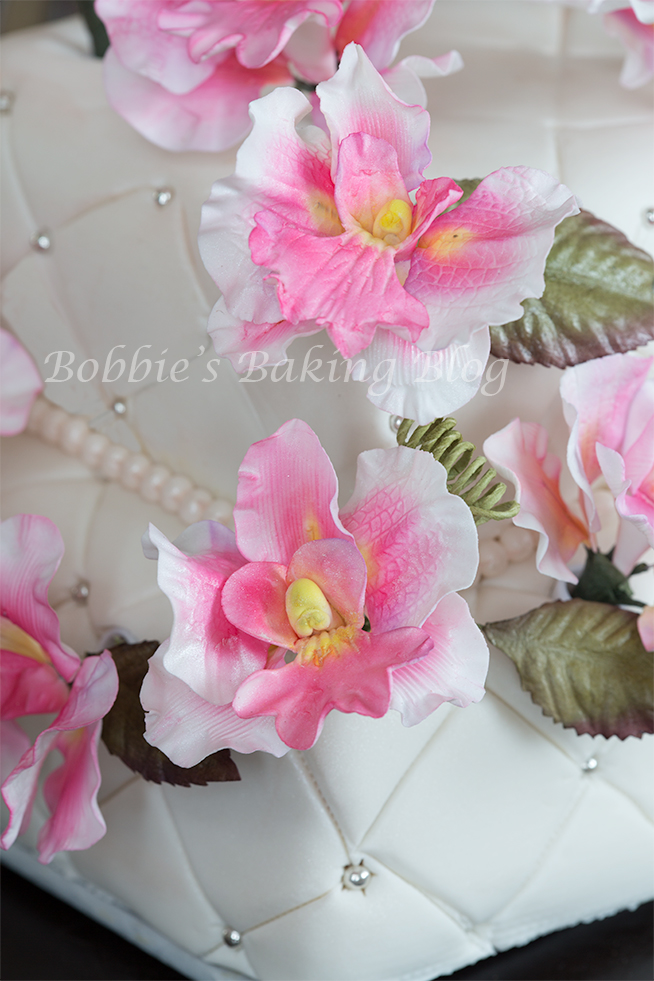
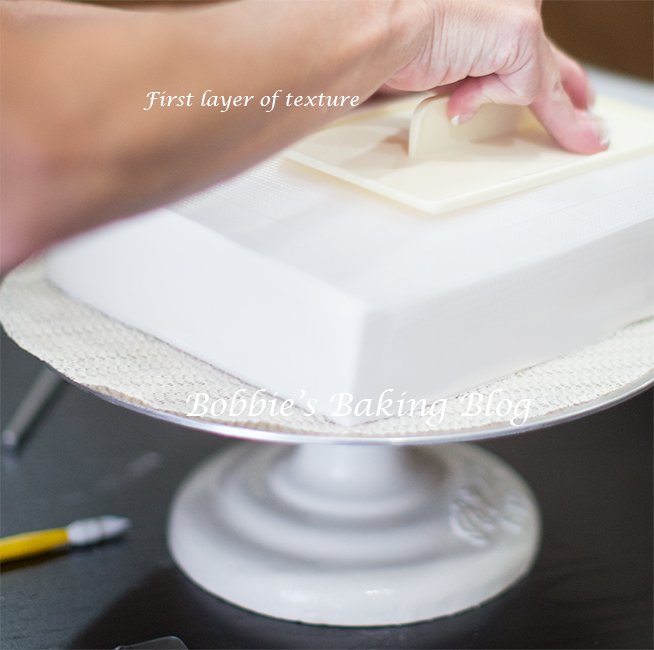
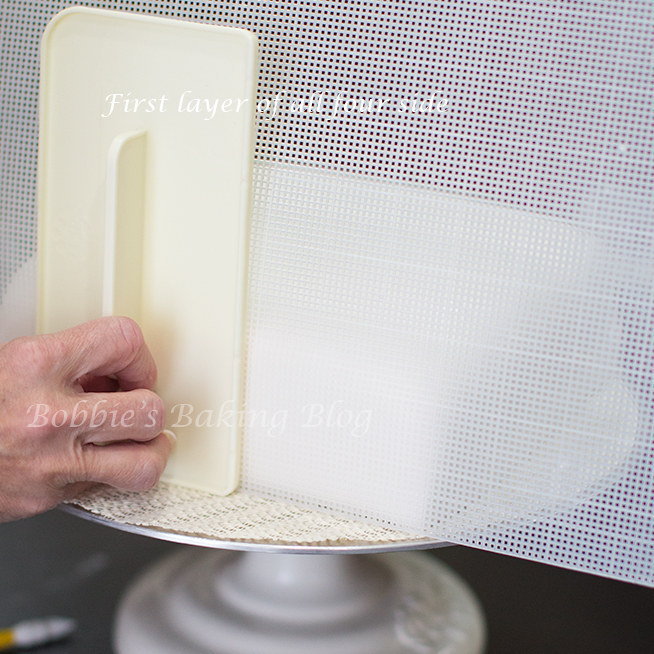
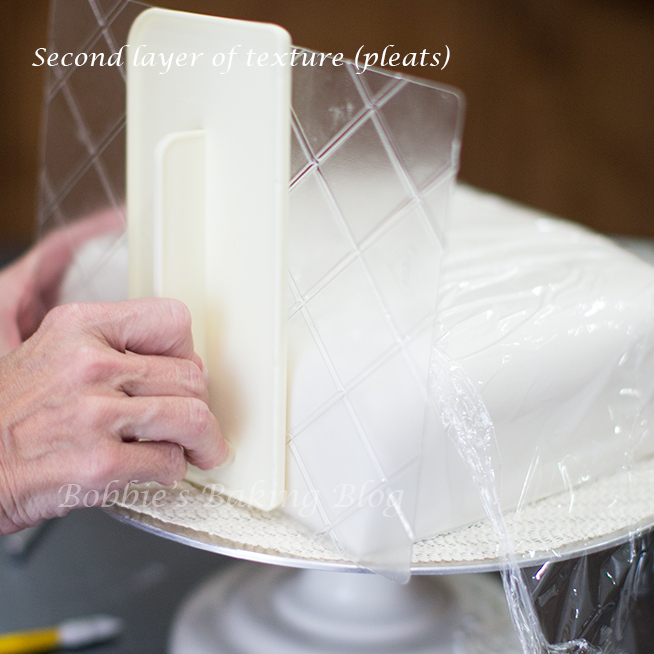
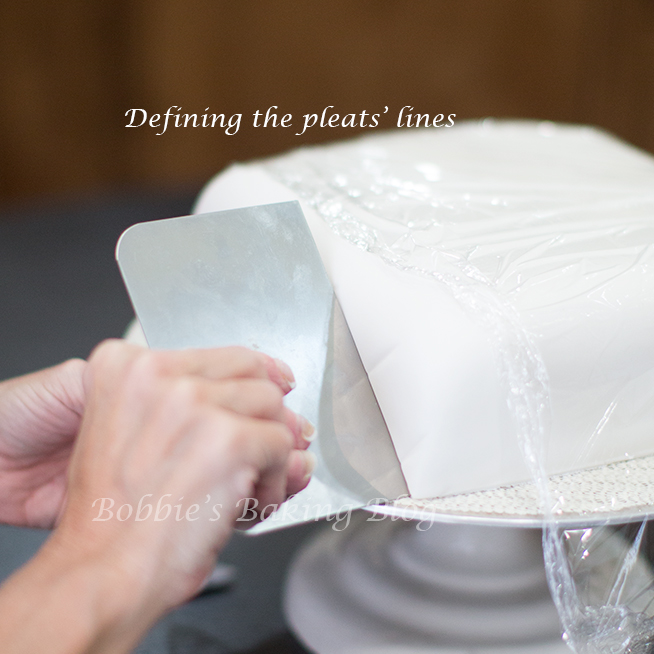
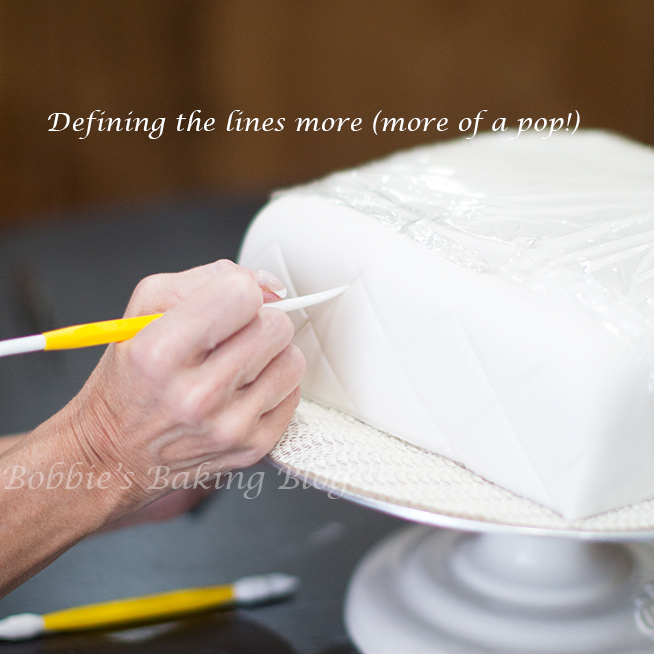
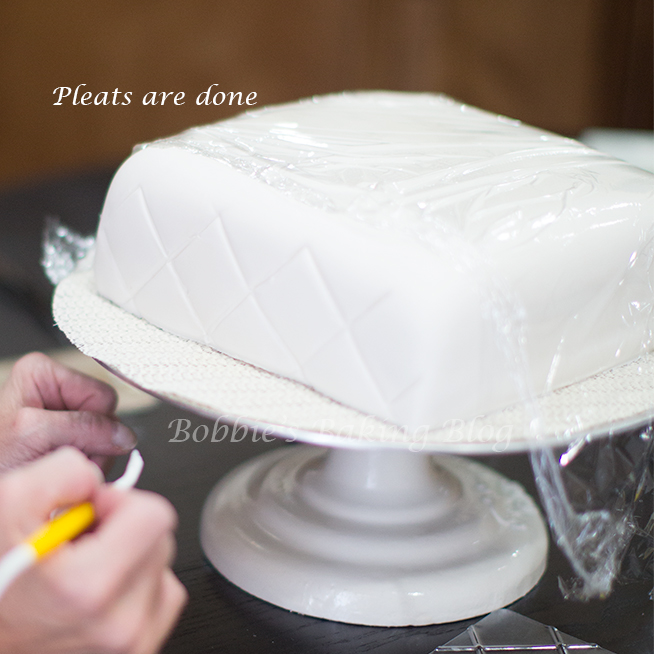
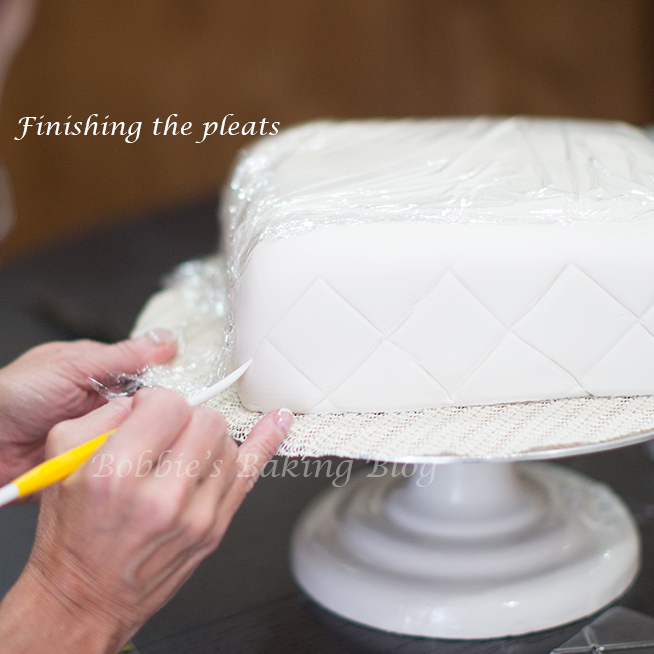
We generally start with the largest tier, however the instructions are the same for all the tiers. Once the cakes have been filled follow these instructions. Apply the fondant as you pleat the tier, so it remains soft, lay a piece of cling wrap around the side you are not working on to keep it pliable and easy to work with. Choose the side or the top you want to start with, lay the quick shape crafter square against the fondant, using a fondant smoother gently smooth the pattern into the fondant. Once you feel satisfied with amount of texture you have remove the square, lay the diamond impression mat over the same side, gently impress with your fondant smoother, we like to use the palm of our hands as well, lift a corner while holding the mat in place, if the impression looks good remove the mat. If you want the pleats to have a pillowy look go over each line with the PME scraper. Be careful to follow the lines you have created with the mat.
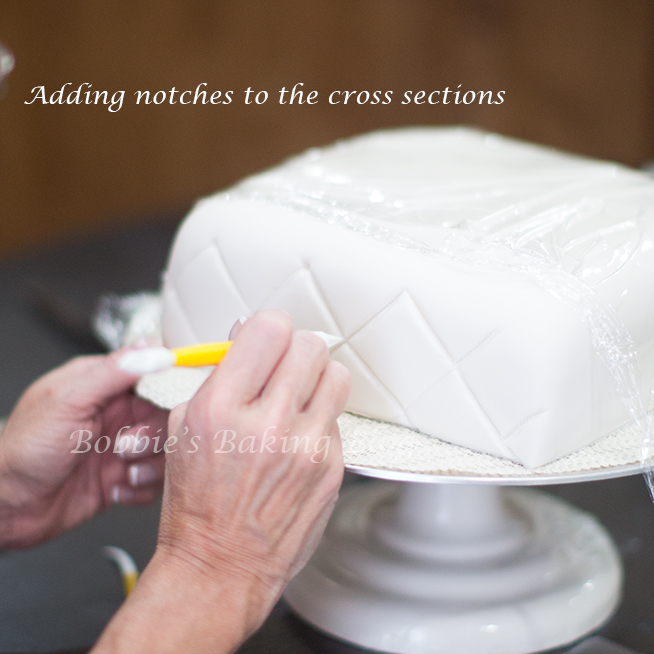
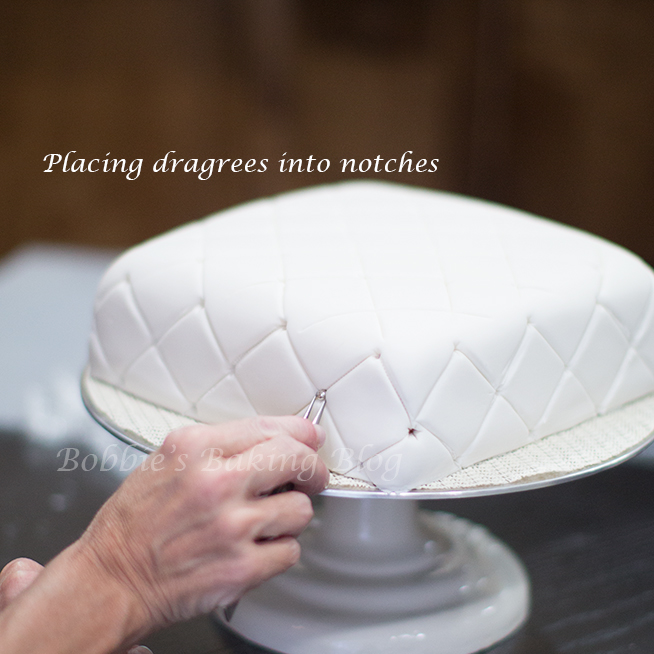
For an extraordinaire pillow pleat look, Josh John Russell of Craftsy has a great video, I must admit I learned some unbelievable tricks of the trade, this is one of them: Use a PME flower molding tool, or a similar tool and trace the lines with the tool, and then retrace once again with a quilter triangle and PME quilting wheel. To place notches for the dragees press the taper cone into each diamond corner, and with the aide of tweezers and a small amount of piping gel place the draggers into the notches.
Sydney wanted the beads between the cake layer colored with a fairy pink petal dust, we give a full slider on how to do the beads in How to Tier a Cake. Finally it is time to decorate your delicious and elegant cake with the Butterfly Orchids you worked so diligently on. Place floral spikes into the cake , wherever you want, and put the orchids into the floral spikes!
Enjoy!



¡Wonderful! :O)
Thank you!
What a great way to celebrate with your daughter on her birthday! The cake turned out amazing =)
Thank you, it will be a special memory forever!
Hi i just saw this, it is amazing i was wonierdng whether you had a tutorial on this as i would love to make it it’s my birthday in october, so i would love to do this. also do you actually make and sell cakes as this one?