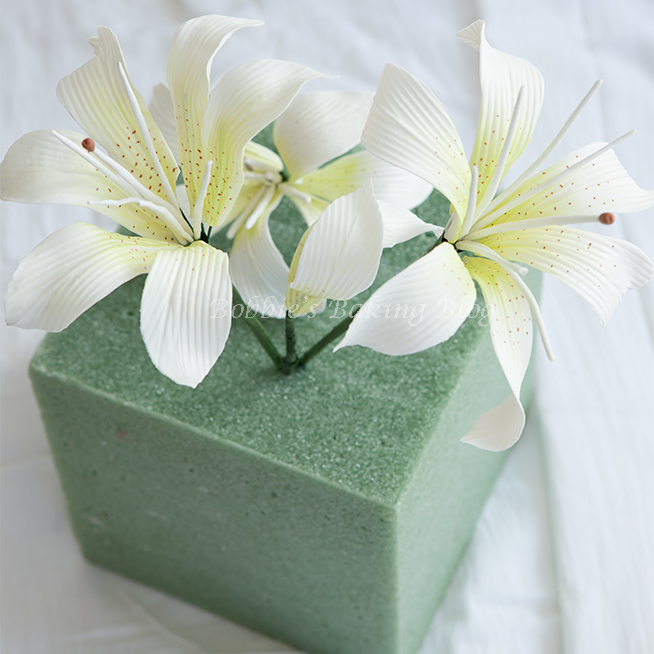
Tiger Lilies are the heart of exotic!
Tiger Lilies are romantic, amorous, and mysterious; perfect for wedding cakes. Weddings give off a feeling of enchantment, the bride feels as if she is a princesses for one beautiful day. The air of mystery seems to enthrall the couple the next day; unsure what the next twenty years will bring. Tiger Lilies are beautiful and full of pride. So it is apropos that many brides choose them for their wedding cake decor.
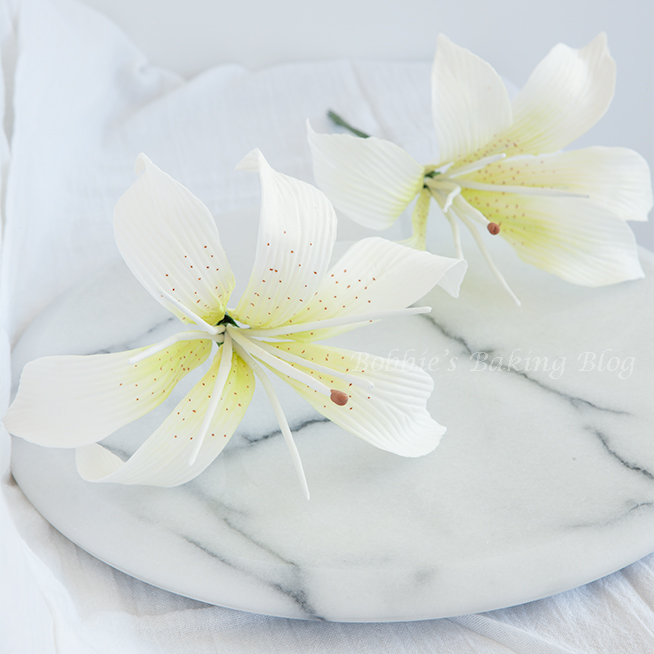
Awe inspring
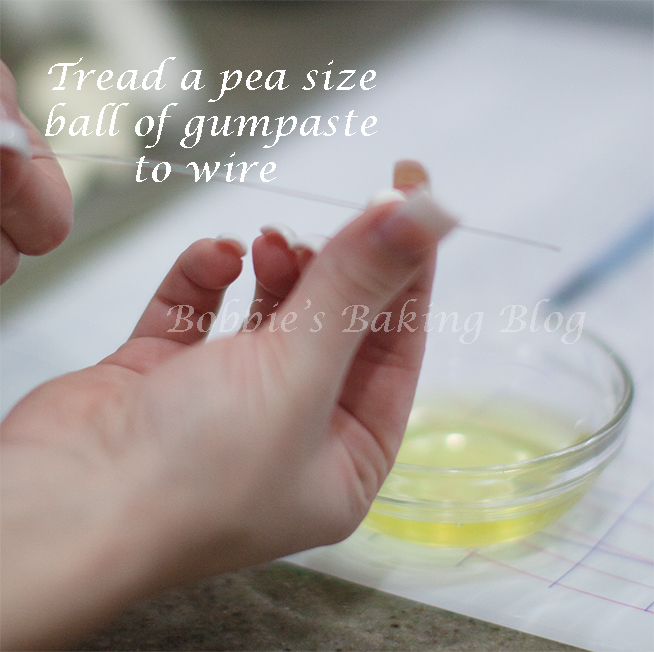
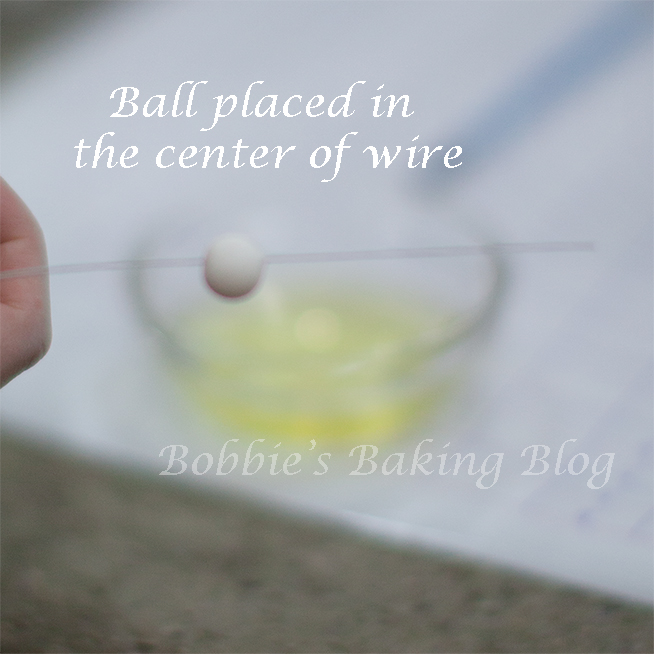
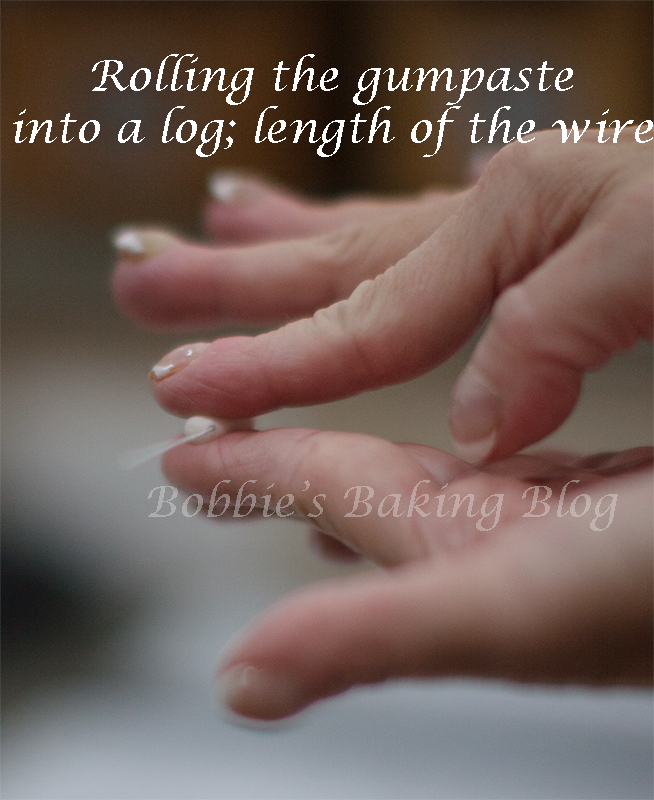
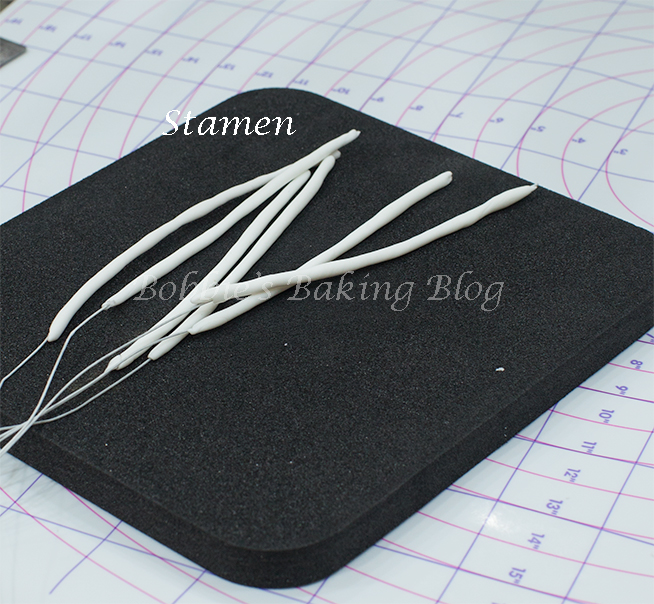
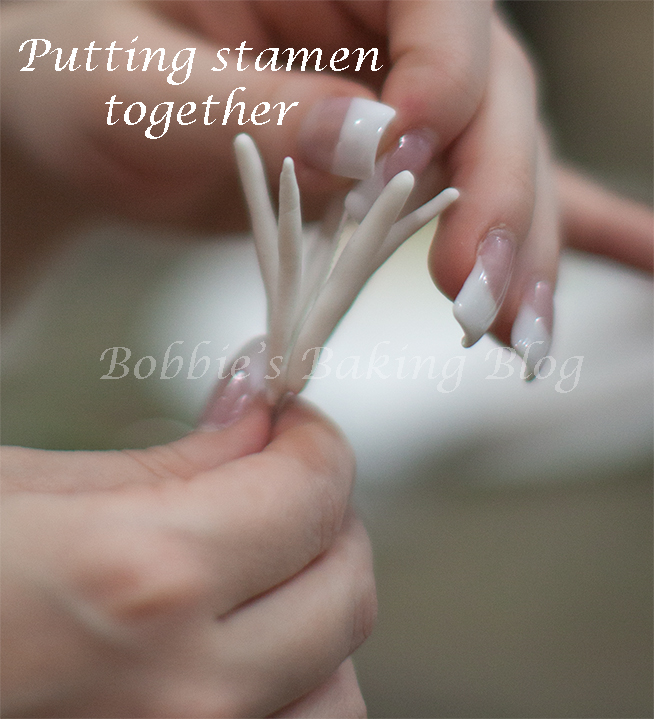
Creating them out of gum paste gives an illusion of realness and elegance. Mastering the technique takes time, patience, and an understanding of the flower. The center is composed of six stamens and a pistil in the center longer than stamens with a brown tip with a slight indent on top. The six stamens surround the pistil, now the Tiger Lily has a base. The outside of the flower has six long beautiful petals with color that is deeper at the base (the color can range from light green, pink, to orange or yellow). Petal dust has the ability to take an ordinary Tiger Lily to an awe inspiring flower. While designing the lilies Toba Garrett’s book was a great inspirational help!
The Tiger Lily:
- Gumpaste
- 7-23 cm/9-inch 26 gauge wire
- 8-23cm/ 9-inch 22-24 gauge wire, I like to create two extra in case of breakage
- Lily cutters
- Sunflower, corn husk veiner
- Bone or ball tool
- Foam pad
- Gumpaste rolling pins
- Brushes
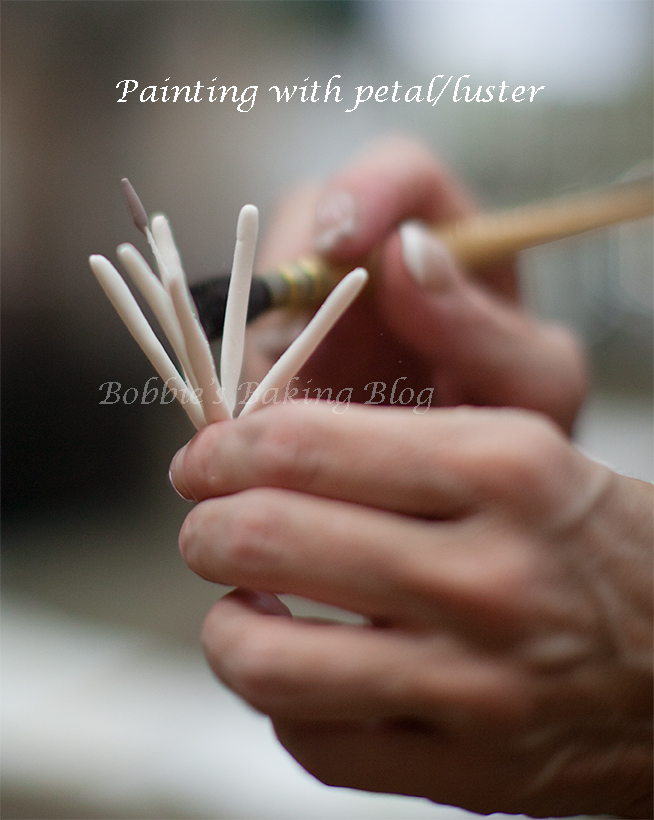
- Petal dust/luster, we chose lime green and antique silk
- A large rolling pin, for draping the petals
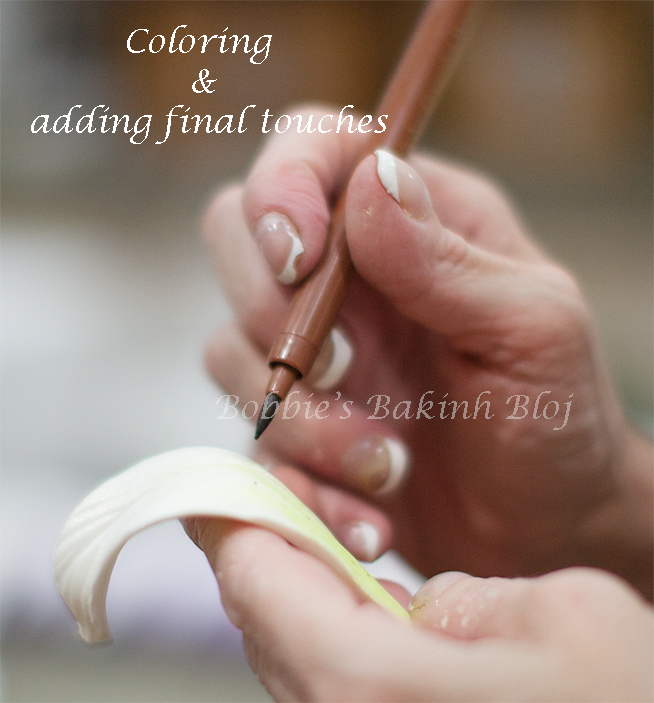
- Edible food grade marker, we chose brown
- A gum paste spatula, for lifting the rolled petal
- 1- x-aceto knife
- Painting palate, to hold the dust
- Floral tape
- Needle nose pillars
- 1 egg white, for dipping the wire
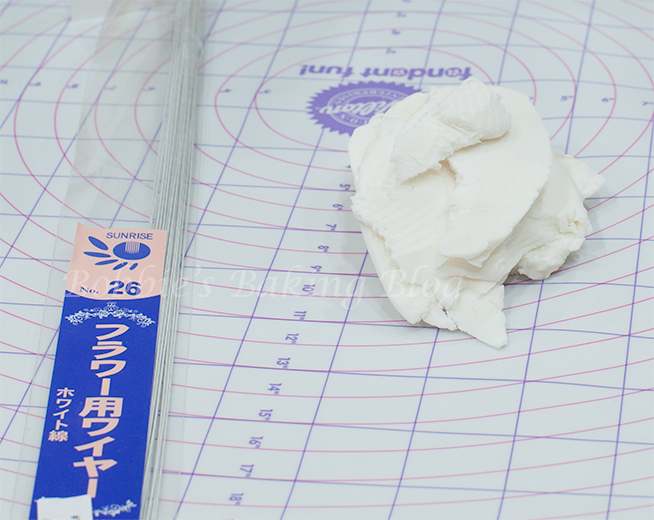
Prepare your mise en place.
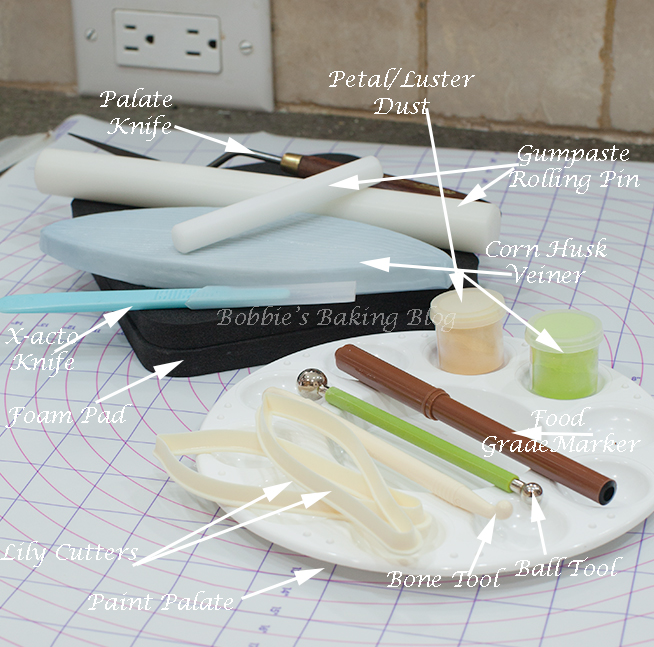
Mise en place
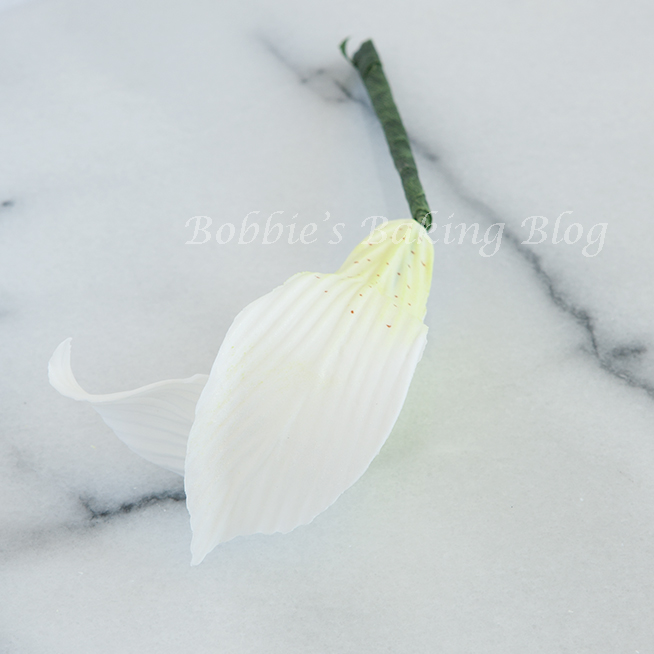
Two petals
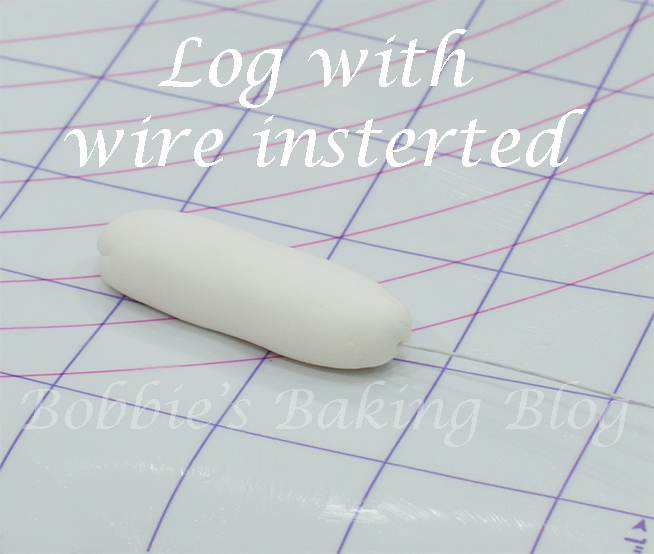
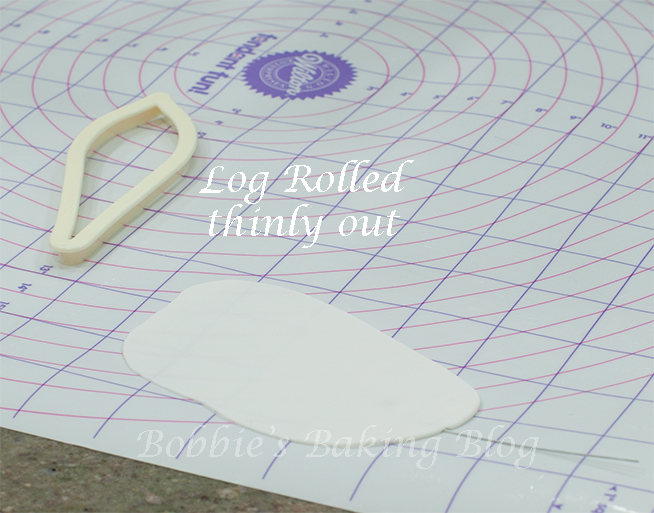
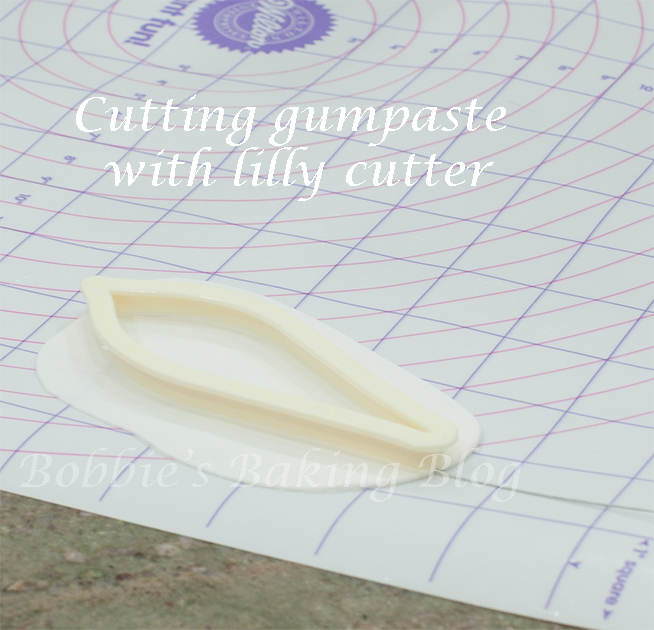
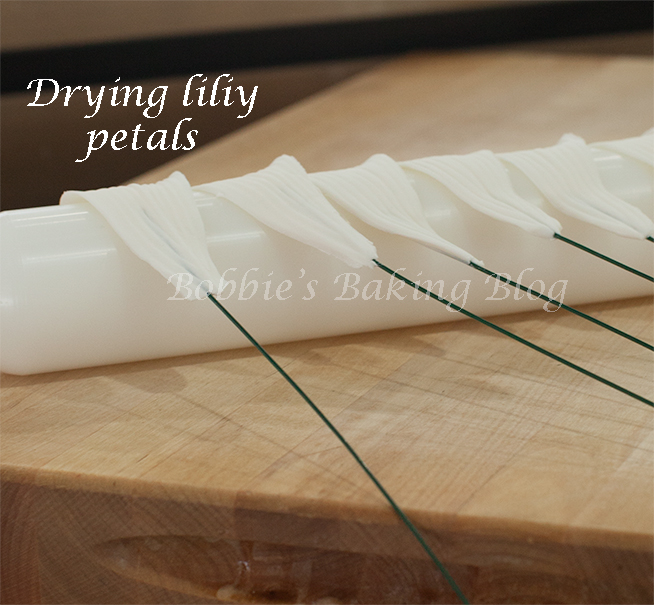
Now start designing the petals, have your 8 wires ready to go; I like to design two extra in case of breakage. Weigh 10 grams/1/3-ounce of gumpaste. Roll the gumpaste into a 3-inch/ 7.6cm log. Insert a wire, brush with egg white, about 1.25 cm/ .5-inches into the log and secure the bottom. Using a small gumpaste rolling pin roll the log out paper thin. Cut the paste with a lily cutter. Lift the lily with the aide of a spatula, lay it on the veiner, and brush gently and lightly with a bone or ball tool. Lay the Lily on a large nonstick rolling pin, Sydney and I like to add a small twist to the lilly.
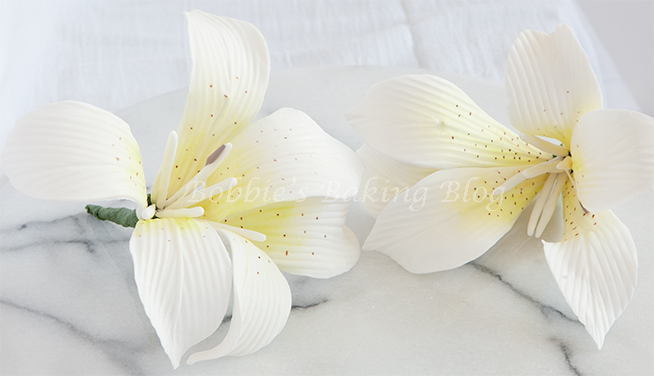
Fancy
Assembly and Color:
Allow the petals to dry overnight on the rolling pin.
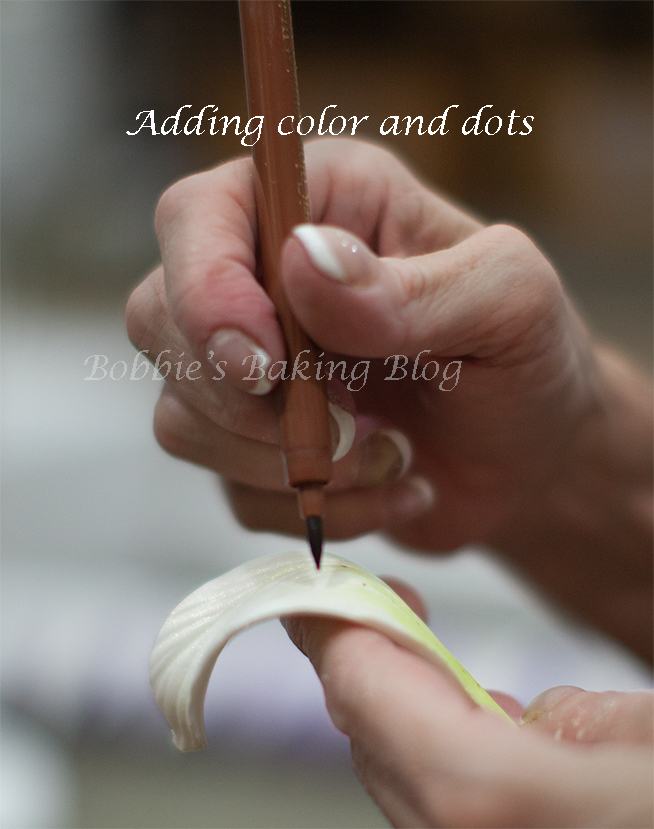
The next day color the stamens with antique silk, and the petals with antique silk (on the top of the petal) and lime green (at the base of the petal). Next using a brown edible marker randomly dot the Tiger Lilies starting at the bottom and towards the top.
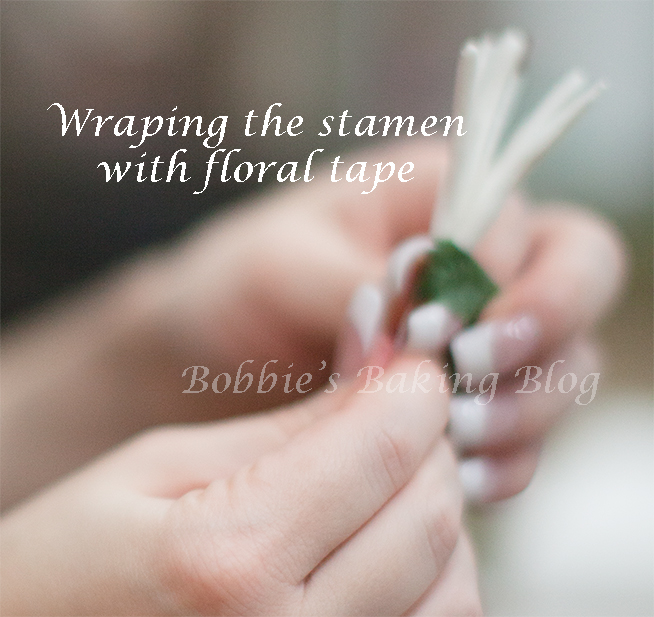
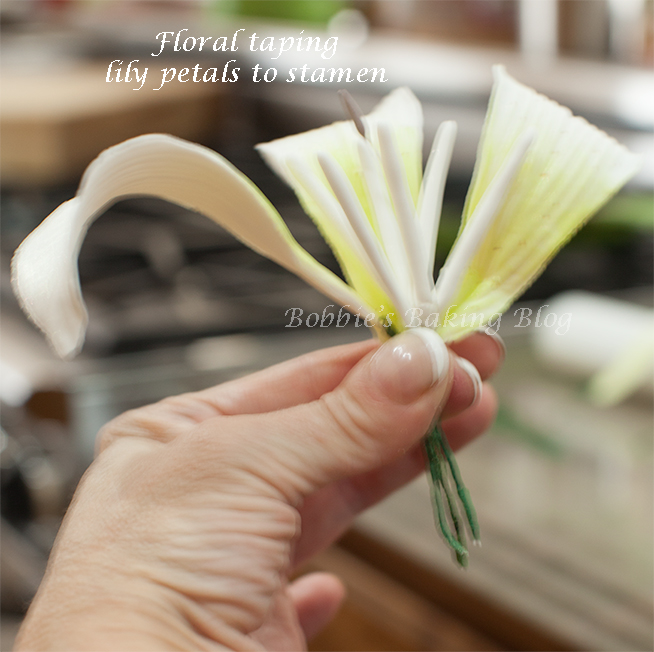
Assemble the six stamens around the pistil, floral tape the entire base together, with needle nose pillars bend the stamens into a natural look, and place on a floral foam. Carefully add three petals around the stamen/pistil base. Floral tape the petals to the stamens/pistil base, add three more petals and floral tape them to the flower, and with needle nose pillars gently bend them to look natural. Make sure to tape the petals tightly and securely to the base.
Be careful creating Tiger Lilies they can become addictive!
Have fun and we would love to see your Tiger Lillies!
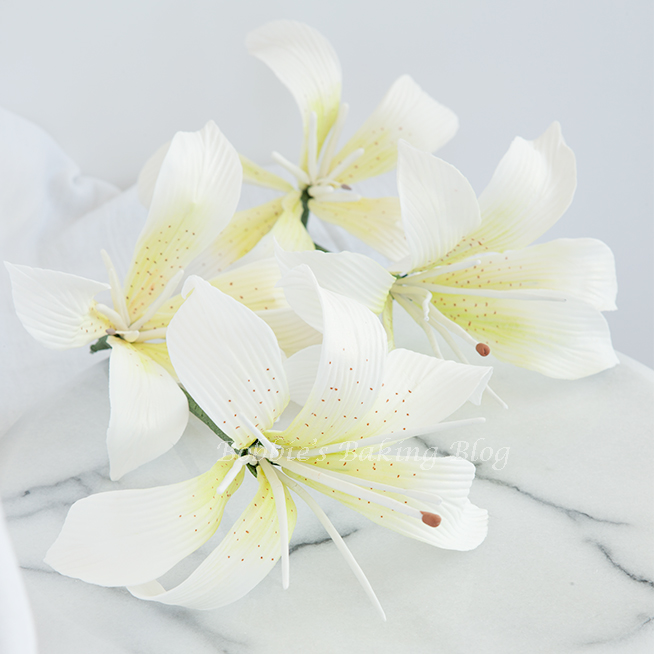
Voila!

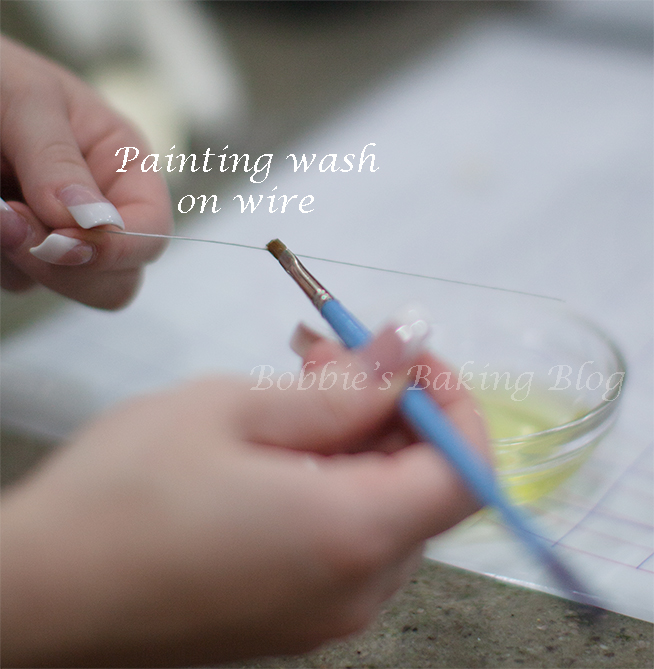


Beautiful!
Thank you, I am glad you enjoyed the lilies!
that is such serious talent!!! i totally thought they were real and that there was some sort of interesting goodie made with lilies. thanks for sharing 🙂
Thank you for you sweet comment.
Love this site. You do beautiful work. I have always loved to cook & back but am new to cake decorating. I love these gumpaste lilies but am unable to print all the pictures. Is there a way to do that? Thank you.
Thank you, I am not sure.. I will investigate and let you know.
Love it! Your flowers are beautiful! I have looked all over for detailed instructions on making lilies from gumpaste and this is perfect! Thank you for sharing!
Thank you for letting me know! 🙂
beautiful. you make it look so simple. will try these and when am as good will post a picture. till then cheerio and thanks for sharing such great stuff. yours is the best tutorial i’ve seen.
Rana, my pleasure! 🙂