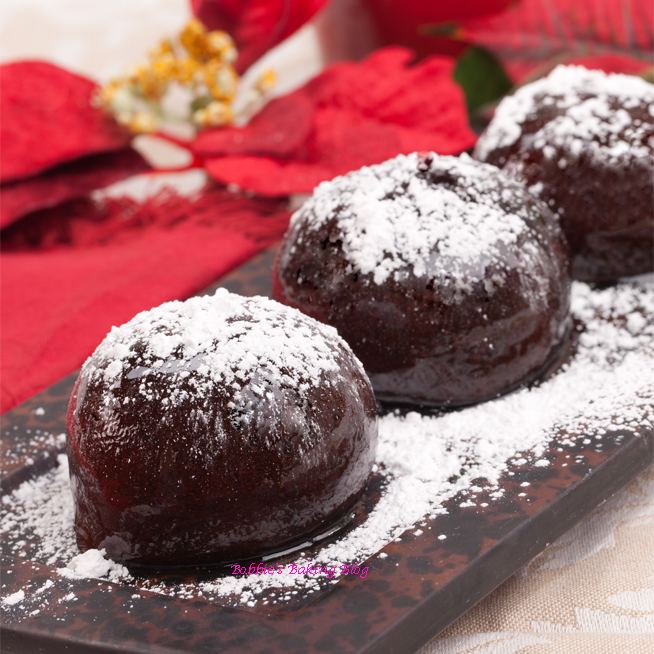
The days of winter become shorter and shorter, actually we do not lose hours, but daylight. For a photographer natural lighting is optimum, however it is not always available when you need to photograph. How do photographers make up for the lack of daylight? Our answer is studio lighting; the set up for the candied plums (above) was using a canon 100mm lens on a mark 111 with an ISO of 100, f-stop of 13, shutter speed was set at 1/5 of a second, and the lights were set to 96.
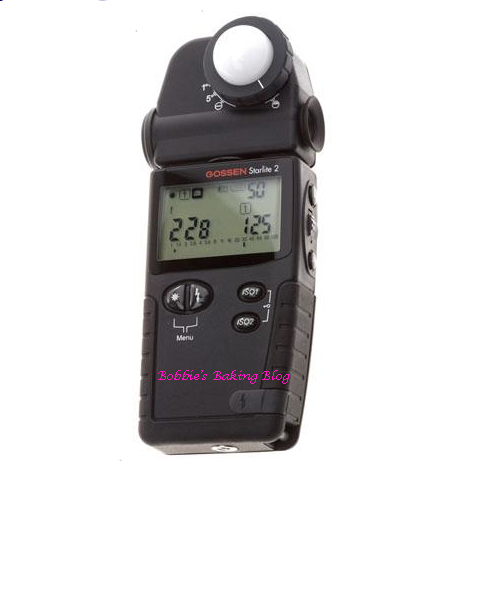
There are many different types of lighting available, regardless of your budget or preference a light meter is a must.
A light meter is essential in natural lighting or studio lighting; it guides you by giving suggested numbers to the camera’s settings. Generally it is on target, but every once in a while I need to tweak the information.
This photo for example the meter register 1/4, but 1/5 was a better shutter speed.
Last year Sydney and I tried several different types of lighting; except for flash lighting, we found it is to harsh. I started with a Lowel Ego lights on my kitchen counter top and my flood lights in the kitchen had been changed to white lights. This was to take away the yellow hues we were getting in some of our photos.
I found the lights had a tendency to add an odd hue on the food; I have talked with plenty of bloggers who love them, though. They are the easiest form of artificial lighting and the price is perfect, so if they work for you keep using them.
This is fine for showing step by step and prepping, but as a finished product I was not pleased.
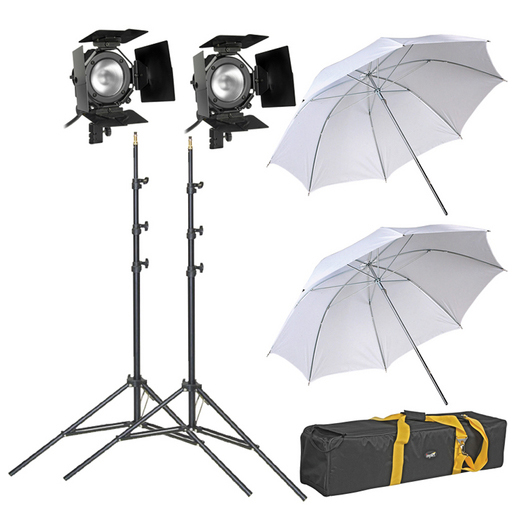
Then I tried light stands with umbrellas
I actually like the look I can achieve with this set up, but I had a difficult time with macro shooting, but it worked great for portraits and some food photos.
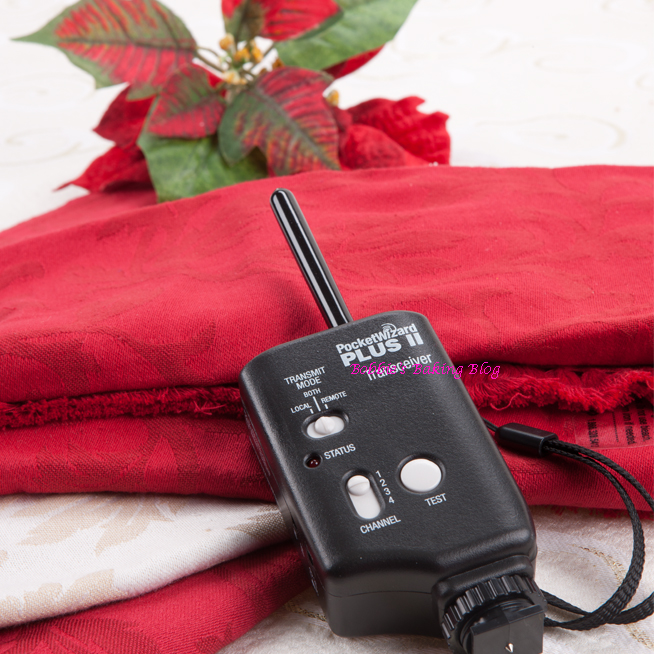
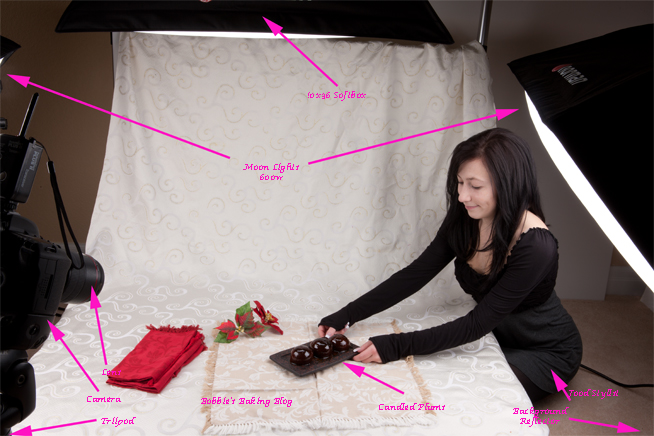
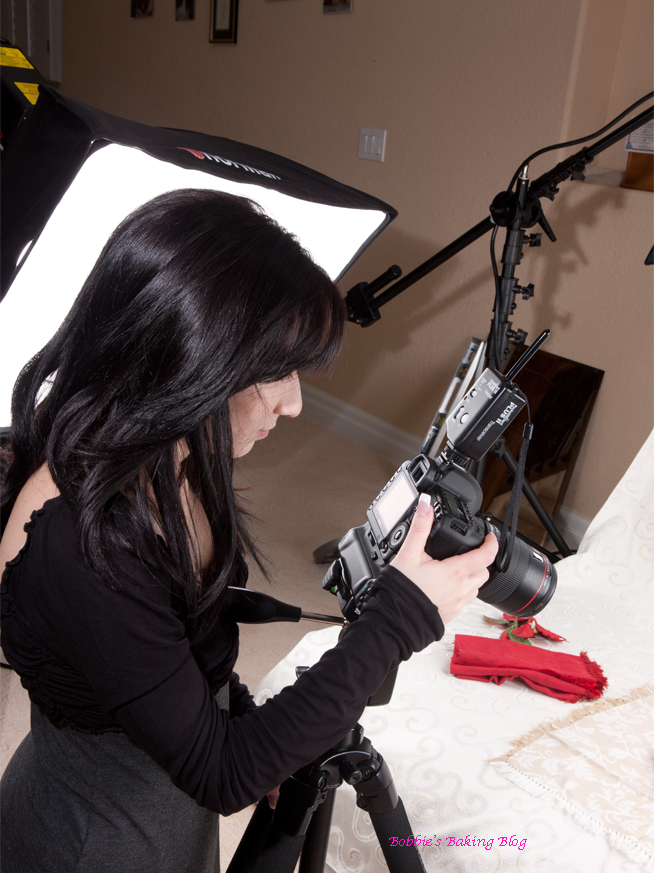
Finally I just decided to create a studio in my basement; I won’t tell you my photos were great at first, but Sydney and I practiced taking pictures and playing with the softboxes and the pocket wizard. The pocket wizard triggers a signal to a remote flash, without losing the camera’s shutter speed.
The studio.
Underneath the table cloth is a Manfrotto Large Still Life Shooting Table with 79 x 49 Plexiglass Panel; we moved the plexigalss to the floor with my husband’s weights as the legs. I am only 5 feet tall and this set up works best for me. The camera is on a slik tripod and the pocket wizard is attached to the camera.
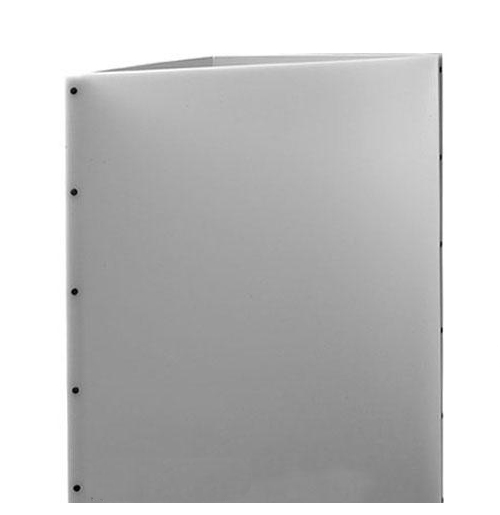
I use the camera on manual mode; this way I can control the iso, f-stop, and shutter speed. This photo was taken at 1/5 speed, ISO of 100, and f-stop of 16. The lights were set at 196, plus DF was holding the reflector behind Sydney. (We all spaced out the reflector had it’s own stand). An unexpected bonus to having Sydney helping me with studio and camera settings is she has become a brilliant photographer in her own right.
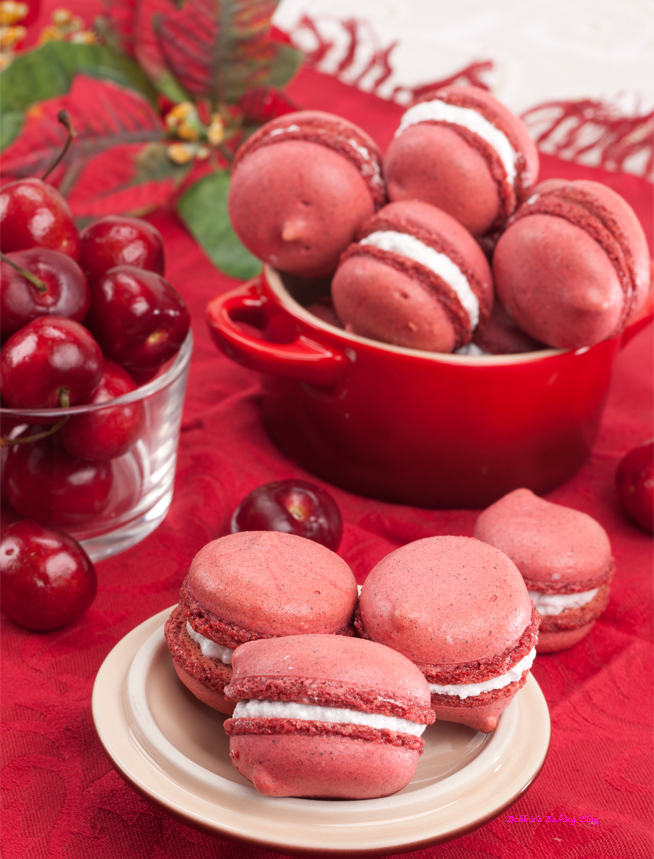
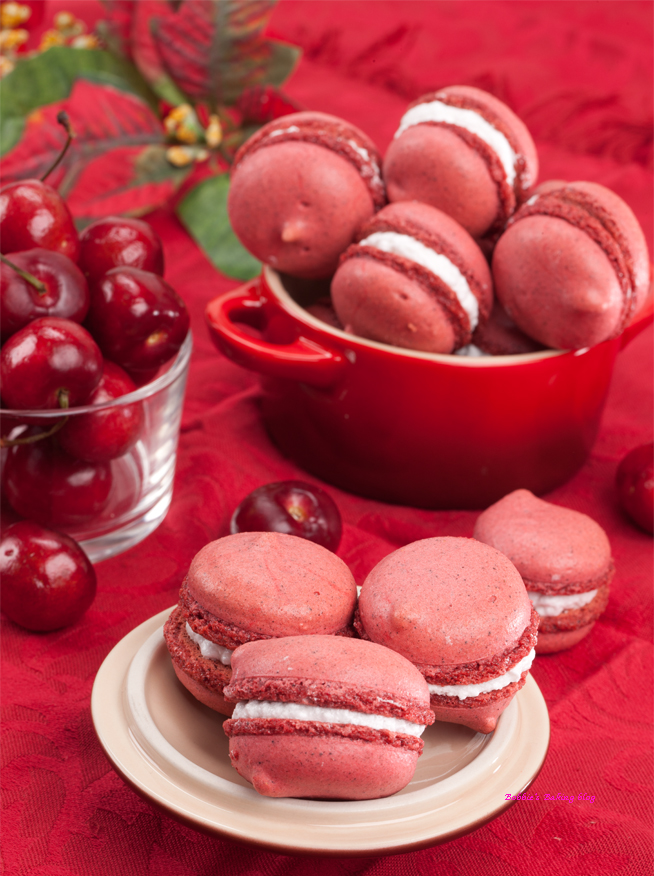
This photo of Cherry-Fig Macarons was done in the studio with the white tablecloth under two red napkins. The lens was a canon 100mm EF 1.28, the lights were set to 132, and the reflector was pointing toward the macarons at an upward angle.





These are great tips and it helps to see the equipment and your set up.
Bobbie, thank you so much for sharing your secrets with us. I’m really trying to work on my photography skills, and happen to know that Santa is bringing me a better camera for Christmas. Reading posts like yours is exactly what I’m looking for. Merry Christmas to you and Sydney 🙂
Its like you learn my mind! You appear to understand a lot about this, such as you wrote the e-book in it or something. I think that you could do with a few percent to power the message house a little bit, but other than that, this is excellent blog. A fantastic read. I’ll definitely be back.