
Though phyllo dough is not difficult to create, it does require patience, and a tender hand or hands. To create the delicate layers
Erica of Erica’s Edibles was our host for the Daring Baker’s June challenge. Erica challenged us to be truly DARING by making homemade phyllo dough and then to use that homemade dough to make Baklava.
I actually created phyllo dough and a baklava for a dear friend, whom was frustrated with the choice of baklava where he lived. He proclaimed the little Greek bakery in New york, where lived had tried baklava, while talking to us he explained you could watch the pastry chef pull the dough. I was intrigued to trying The Daring Baker’s challenge.
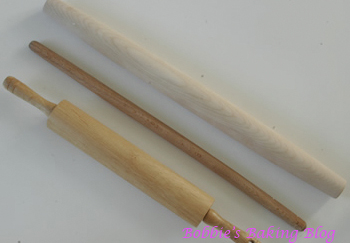
I collect rolling pins from around the world, as luck would have it I owned a oklava (a thin rolling pin, that is not tapered, specially designed to roll phyllo dough).
There are few ingredients for phyllo dough, Daring Baker’s choose all-purpose flour, we have always used a mixture of bread flour and all-purpose. I thoroughly enjoyed the challenge of using another recipe!
The Phyllo Dough
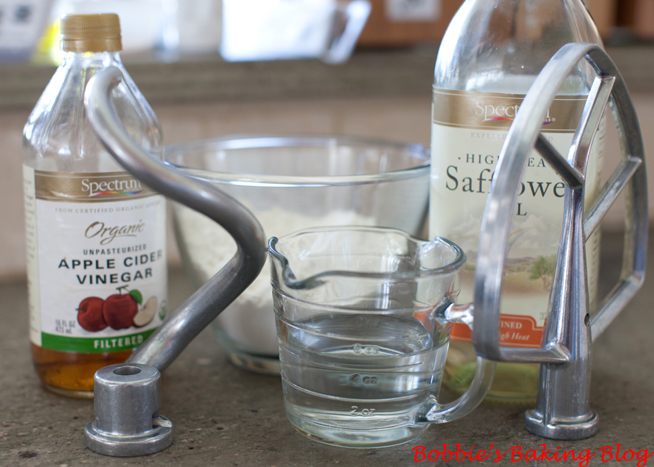
1 1/3 cups (320 ml) (185 gm/61⁄2 oz) unbleached all purpose (plain) flour
1/8 teaspoon (2/3 ml) (3⁄4 gm) salt
1/2 cup less 1 tablespoon (105 ml) water, plus more if needed
2 tablespoons (30 ml) vegetable oil, plus additional for coating the dough
1/2 teaspoon (21⁄2 ml) cider vinegar, (could substitute white wine vinegar or red wine vinegar, but could affect the taste)
In a small bowl whisk the oil, and water. Create a well in the center of flour mixture and pour the liquid ingredients in the well. Using a fork, work the flour mixture into the water mixture, scraping it in from the sides of the well to the center, turning the bowl as you go. The mixture will seem paste like at first; it will turn to a dough as you work it.
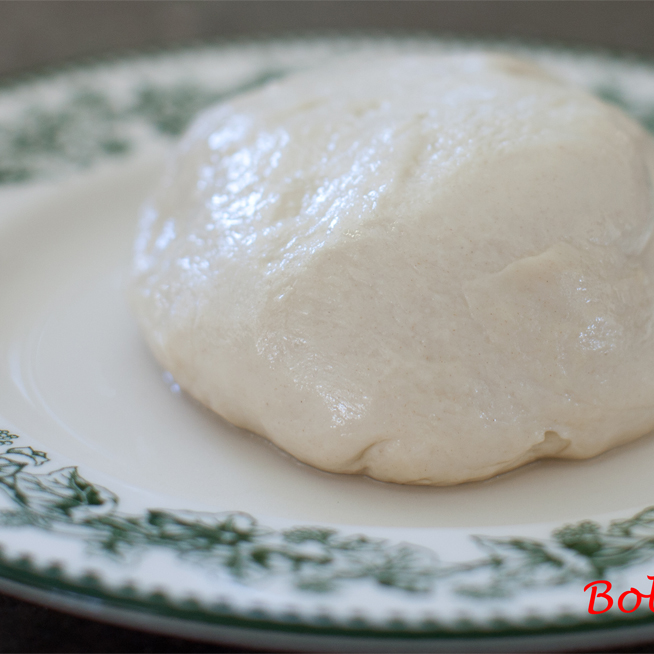
The fork will no longer be useful, but it is now time for your hands to start working, work and turn the flour into a dough. On a lightly floured work surface place the dough and begin to knead for about 10 minutes. The dough will be sticky at first, do not add flour to your hands, and just keep rubbing the dough. Pressing toward you and down. Once the dough is smooth, satiny, and elastic shape into a ball.
Oil the top of dough ball, cover with plastic film, tightly, and rest for 30 to 90 minutes.
Remove all rings and jewelry so it does not snag the dough**
Use whatever means you have to get the dough as thin as you can. Using a wooden dowel, worked perfectly for me. You may also use a pasta machine if you have one, or a normal rolling pin whatever works for you.
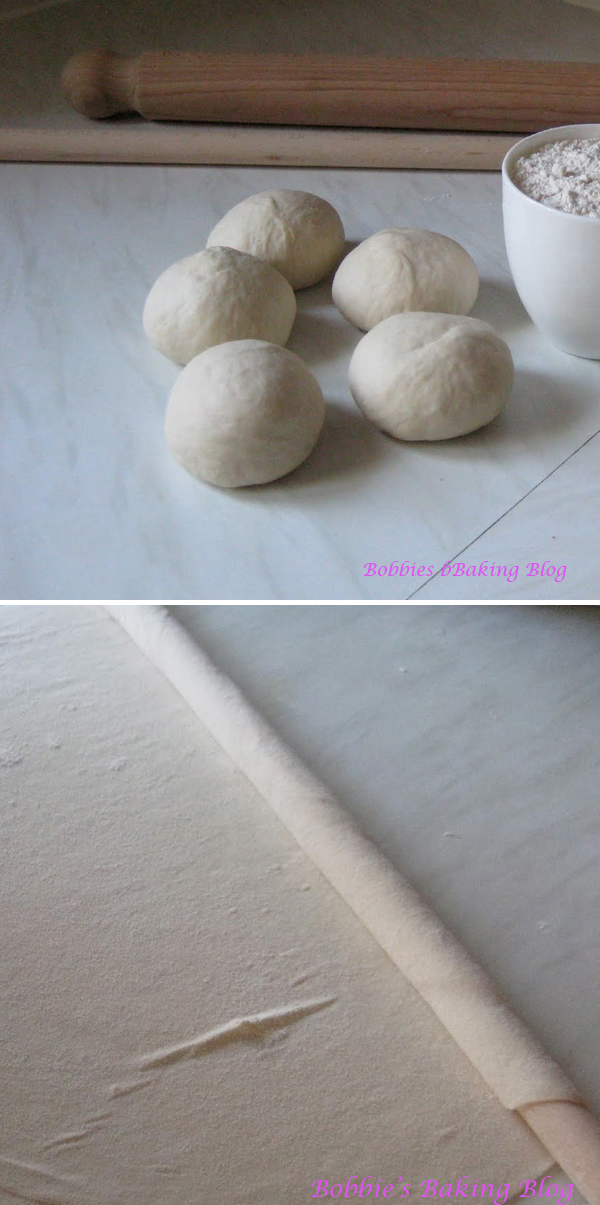
Unwrap your dough and cut off a chunk slightly larger then a golf ball. While you are rolling be sure to keep the other dough covered so it doesn’t dry out. Be sure to flour your hands, rolling pin and counter. As you roll you will need to keep adding, don’t worry, you can’t over-flour. Roll out the dough a bit to flatten it out.
Wrap the dough around your rolling pin/dowel, roll back and forth quickly with the dough remaining on the dowel Remove; notice how much bigger it is!
Rotate and repeat until it is as thin as you can it. Don’t worry if you get rips in the dough, as long as you have one perfect one for the top you will never notice. Too many wholes or to large can be problematic, however if you knead the dough, lightly, oil the top again, and rest for one hour the phyllo dough should be fine to try again.
Set aside on a well-floured surface. Repeat the process until your dough is used up. Between each sheet again flour well. You will not need to cover your dough with a wet cloth, as you do with boxed dough, it is moist enough that it will not dry out. Wetting a cloth created a gummy dough, so re just covered the dough with plastic film and seemed to work better for our climate.
The easiest and most efficient method Sydney and I found for cutting and layering the baklava is to cut the dough directly on the card table using a pizza cutter and a food safe measuring tape. Since our pan was an 20.32 x 20.32 cm/ 8×8-inch square pan, we cut the dough into 20.32 x20.32/ 8 x8-inch squares. With the melted clarified butter brush the pan and layer one square at a time, buttering each square gently with the melted clarified butter, once there are four sheets layered sprinkle the nut mixture generously with the nut mixture. since the Daring Baker method had not mentioned this method Sydney and I used both.
Begin the same process of layering four more sheets and then adding the nut mixture until you have reached the top, ending with four buttered layers.
The Filling
1 (5-inch/125 mm piece) cinnamon stick, broken into 2 to 3 pieces or 2 teaspoons (10 ml) (8 gm) ground cinnamon
15 to 20 whole allspice berries ( I just used a few pinches)
3/4 cup (180 ml) (170 gm/6 oz) blanched almonds
3/4 cup (180 ml) (155 gm/51⁄2 oz) raw or roasted walnuts
3/4 cup (180 ml) (140 gm/5 oz) raw or roasted pistachios
2/3 cup (160 ml) (150 gm/ 5 1/3 oz) sugar
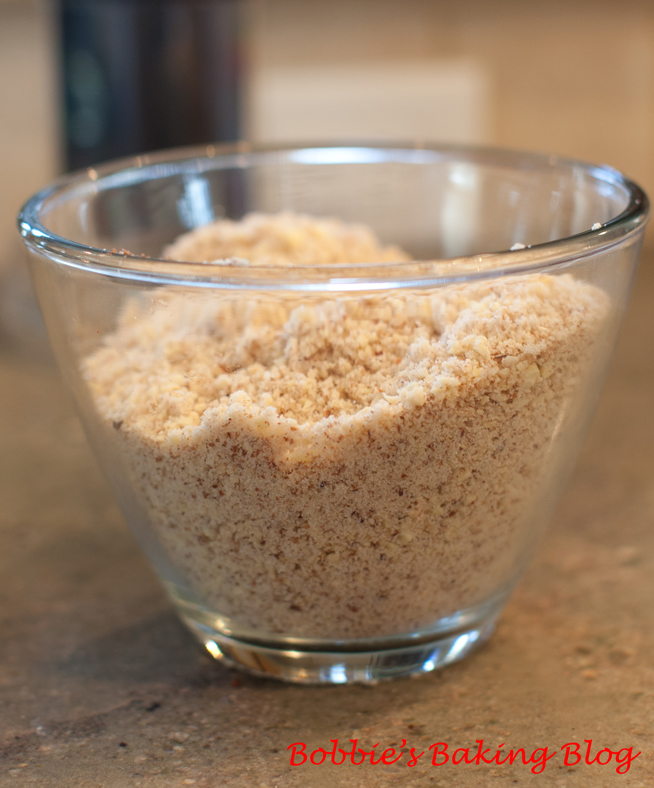
Combine nuts, sugar and spices in a food processor and pulse on high until finely chopped. If you do not
have a food processor us a mortar and pestle. Set aside.
For the syrup:
1 1/4 cups (300 ml) honey
1 1/4 cups (300ml) water
1 1/4 cups (300 ml) (280 gm/10 oz) sugar
1 cinnamon stick
1 (2-inch/50 mm) piece fresh citrus peel (lemon or orange work best)
A few cloves or a pinch or ground clove
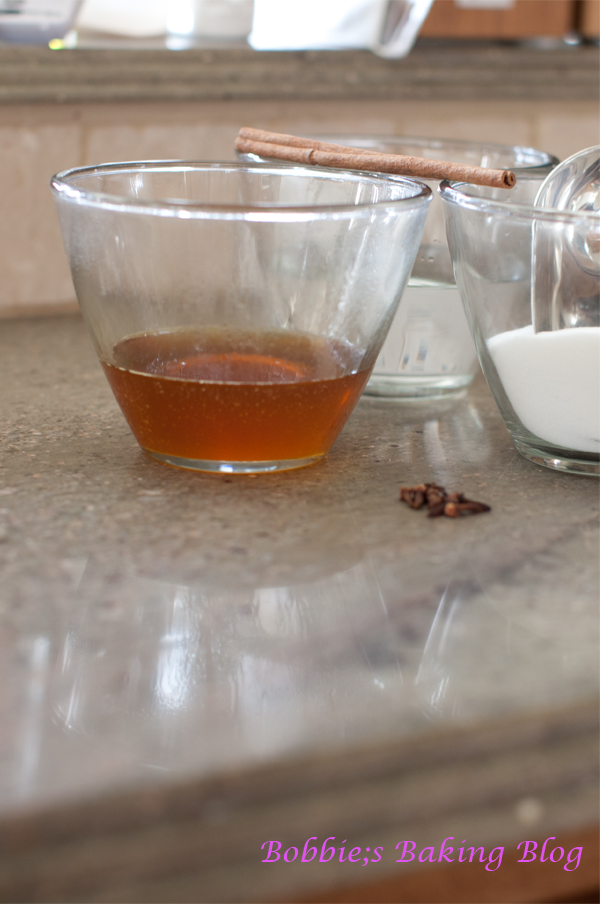
In a heavy saucepan place all the ingredients, stir just until the sugar is fully moistened. Bring the syrup to a simmer over medium to medium-high heat, stirring occasionally. Reduce the heat to medium-low and cook until the syrup is slightly thickened, about 10 minutes.
Remove the syrup from the heat, strain, pour the into a glass measuring jug, cover to keep warm. Set aside till the baklava is finished baking.
While the baklava is still warm cut once again, following the cut lines already in place. Pour the syrup over the warm and cut baklava, leave uncovered for least 6-hours to absorb all the syrup.
Continue layering phyllo and buttering repeating 4 times 8. Sprinkle 1/3 of the nut mixture on top 9. Continue layering phyllo and buttering repeating 4 times 10. Sprinkle 1/3 of the nut mixture on top11
Continue layering and buttering phyllo 5 more times. On the top layer, make sure you have a piece of phyllo with no holes if possible, just looks better.
Once you have applied the top layer tuck in all the edges to give a nice appearance.
With a Sharp knife cut your baklava in desired shapes and number of pieces. If you can’t cut all the ways through don’t worry you will cut again later. A 9×9 pan cuts nicely into 30 pieces. Then brush with a generous layer of butter making sure to cover every area and edge
Bake for approximately 30 minutes; remove from oven and cut again this time all the way through. Continue baking for another 30 minutes. (Oven temperatures will vary, you are looking for the top to be a golden brown, take close watch yours may need more or less time in the oven)
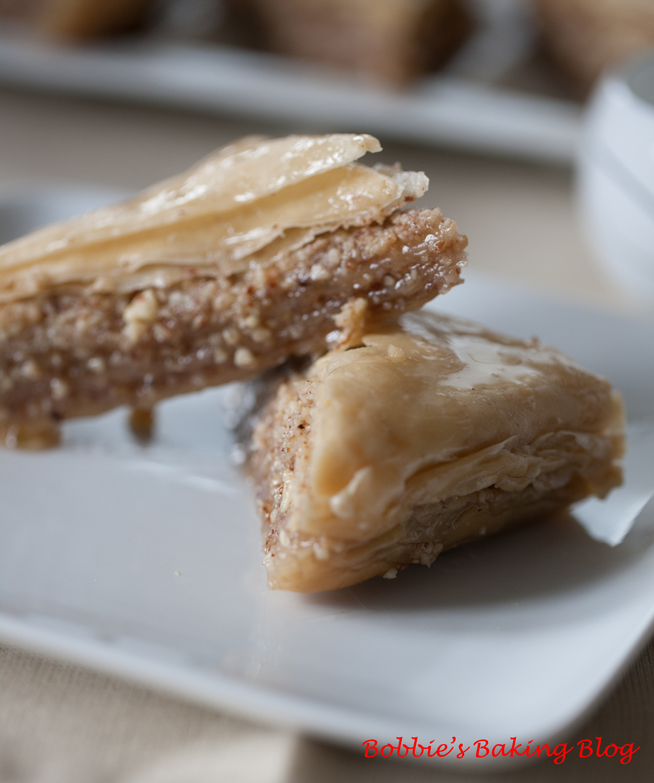
Once the baklava has finished baking remove from oven and pour the syrup evenly over the top, taking care to cover all surfaces when pouring. It looks like it is a lot but over night the syrup will soak into the baklava creating a beautifully sweet and wonderfully textured baklava!
Next morning all syrup is absorbed
Keep the syrup warm, but boiling hot. Once cooled cover and store at room temperature. Allow the baklava to sit overnight to absorb the syrup.
Serve at room temperature.
Freezing/Storage Instructions/Tips: There are a few ways to store your Baklava. It is recommended that you store your baklava at room temperature in an airtight container. Stored at room temperature your baklava will last for up to 2 weeks. You will notice as the days pass it will get a little juicier and chewier. You may choose to store it in the fridge; this will make it a little harder and chewy, but does increase the shelf life. You can also freeze your baklava and then just set it out at room temperature to thaw.
By the way if you enjoy culinary arts take a look at http://food.alltop.com/




You met this challenge head on and nailed it? Thank you for all the pictures they really helped to bring the recipe together.